Availability Windows
Availability windows allow you to schedule your content across different time periods with optional pricing. Availability windows can be targeted at different markets, enabling you to make your content available to different user groups on different dates with different pricing.
An availability window features different pricing types, including free, rental, and subscription. An availability window can also be set to "coming soon" to promote forthcoming content.
Add Markets
Availability windows are created within a market timeline. A new product will always contain the 'All customers' market by default. Any availability windows created within this market timeline will be available to all users.
Click the arrow icon to the left of All customers to expand the market timeline.

The All customers market timeline expanded.
The timeline will be empty until you add availability windows (details below).
To add a new market:
- Click the + Add Market button at the bottom of the Availability Windows section.
- Assuming you have already created one or more markets, select a market from the subsequent drop-down menu.
- Click Create to add your additional market timeline.
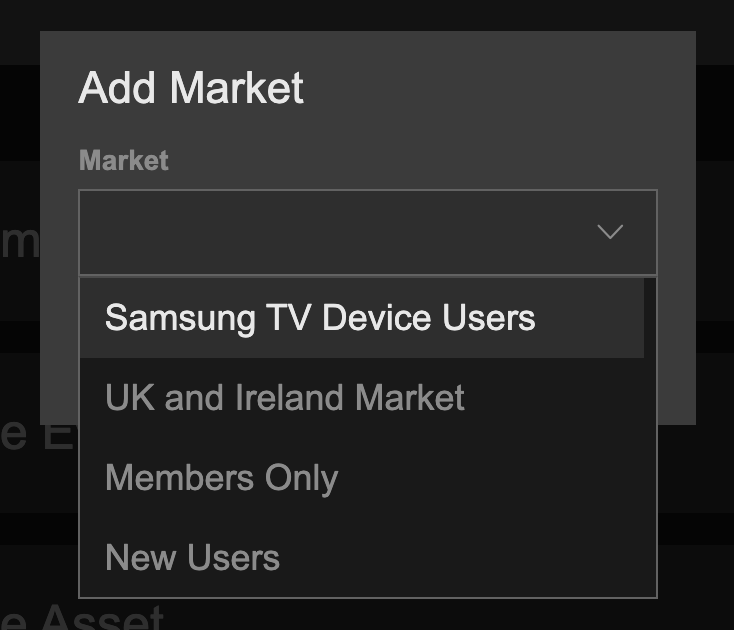
Select a market.

Your market timeline has been added.
We now have two market timelines. In our example, any availability windows added to Members Only will be targeted only at users who are part of the 'Members Only' market.
Filter Market Timelines
Over time, depending on your requirements, it can be possible to create many market timelines. You can use the search feature to filter your list of market timelines by name.
- Click the search icon above the market timelines.
- Type in the name of a market timeline.
- The list filters to display only timelines that match your search query.
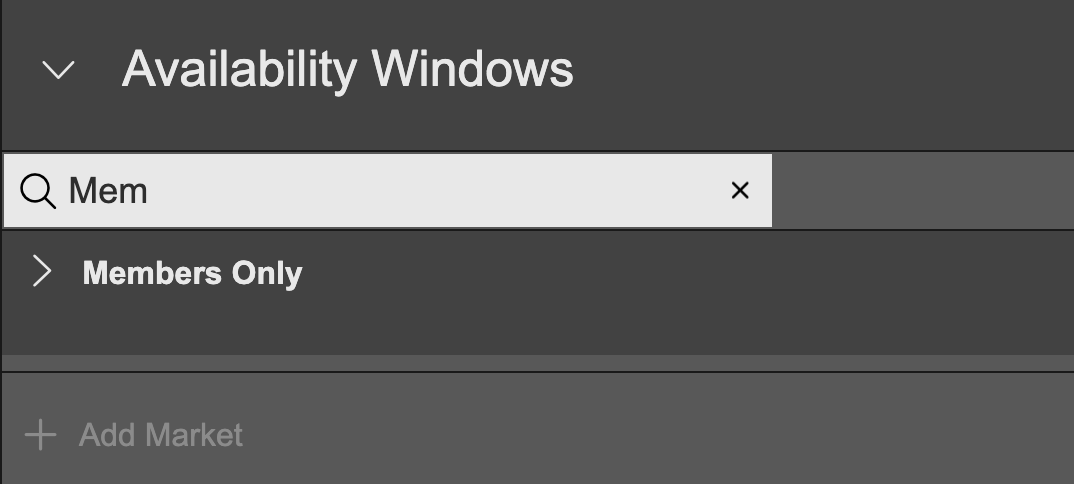
Enter the name of a market to filter the market timelines.
Add Availability Windows
There are four different types of availability windows:
- Coming Soon
- Free
- Rental (including midday rental)
- Subscription
Add Coming Soon Windows
Coming Soon availability windows are used to promote forthcoming products and to allow your customers to pre-order access (for when the product is available in a rental window).
- To add a window, hover over the Coming Soon row. The row will highlight, click to add a window.
- In the subsequent dialogue overlay, you can edit the following:
- Visible From allows you to set the start date for your availability window.
- Visible To allows you to set the end date for your availability window.
- Set a Release Date to inform your customer when the product will be available to watch.
- You are currently required to select a 'Coming Soon' Price Band which needs to be created in Global > Price Bands. Despite the name, a coming soon price band does not contain a price and does not incur a cost for your customer.
- Once you are satisfied with your selections, click Create to create the availability window and have it added to the market timeline.
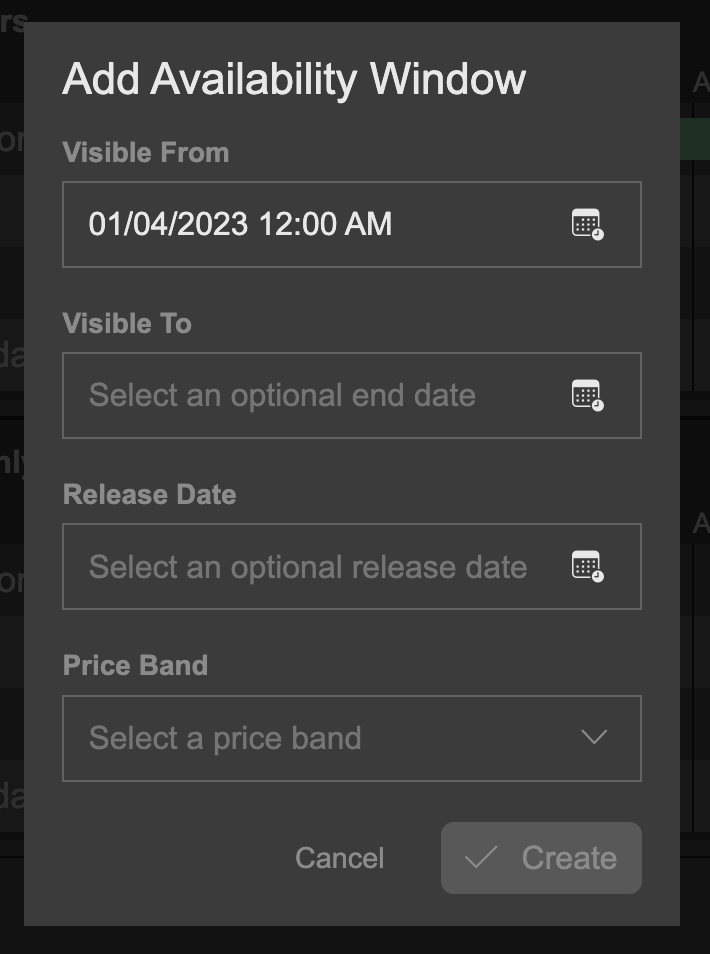
Enter details for your Coming Soon availability window

The Coming Soon availability window is added to the timeline
To remove a 'Visible to' or 'Release Date' value, click the Remove button.
Add Free Windows
Free availability windows are available to users for free.
- To add a window, hover over the Free row. The row will highlight, click to add a window.
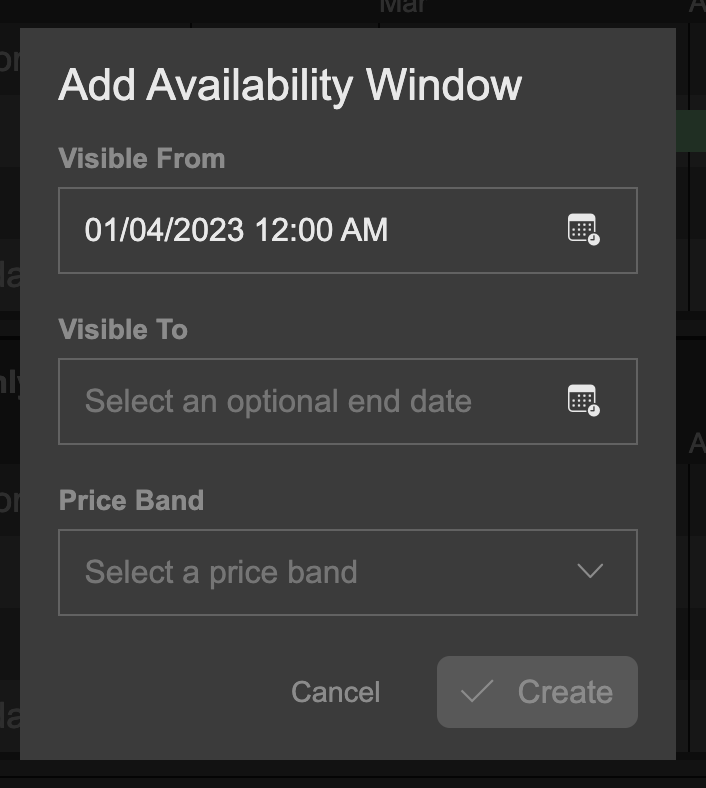
- In the subsequent dialogue overlay, you can edit the following:
- Visible From allows you to set the start date for your availability window.
- Visible To allows you to set the end date for your availability window.
- You are currently required to select a 'Free' Price Band which needs to be created in Global > Price Bands. A free price band does not contain a price and does not incur a cost for your customer.
- Once you are happy with your selections, click Create to create the availability window and have it added to the market timeline.

Enter the details for your Free availability window

The Free availability window is added to the timeline
Add Rental Windows
You can make your product available to your customers to rent for a price using the Rental availability window. There are two types of rental availability windows, and which one to use depends on your use case.
- Rental availability window: This is the standard availability window used by most clients. It uses the rental type price band which contains 'access window' and 'viewing window' details. An access window defines how long the customer has to start watching their rental once purchased, and the viewing window defines how long the customer has to finish watching their rental once they have started it. Access window and viewing window can be configured in Global > Price Bands.
- Rental Midday availability windows: This rental type is targeted at the hospitality industry providing in-room entertainment to hotel guests. It does not feature access window or viewing windows outlined above. Instead, the guest has until midday (midday today if purchased before 9 a.m. local time or midday tomorrow if purchased after 9 a.m. local time) to finish watching their rented product.
- To add a window, hover over the Rental (or Rental Midday) row. The row will highlight, click to add a window.
- In the subsequent dialogue overlay, you can edit the following:
- Visible From allows you to set the start date for your availability window.
- Visible To allows you to set the end date for your availability window.
- Select a price band from the Price Band drop-down select menu. The price band will contain pricing information, access window, and viewing window information. Price Bands can be created and edited in Global > Price Bands.
- Once you are happy with your selections, click Create to create the availability window and have it added to the market timeline.
Enter the details for your rental availability window

The Rental availability window is added to the timeline
Updating and Deleting Availability Windows
- To edit existing availability window details, double click on a window segment on the timeline. This will open the relevant dialogue overlay, enabling you to edit the date, price band, etc.
- To delete the price band, click 'Delete availability window' in the dialogue overlay.
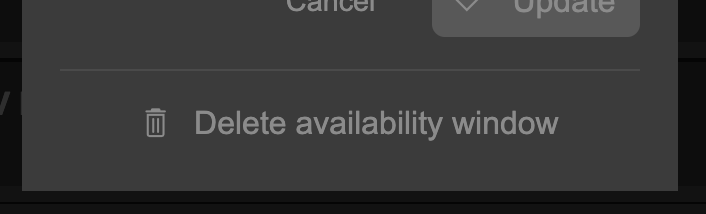
Click 'Delete availability window' to delete the window.
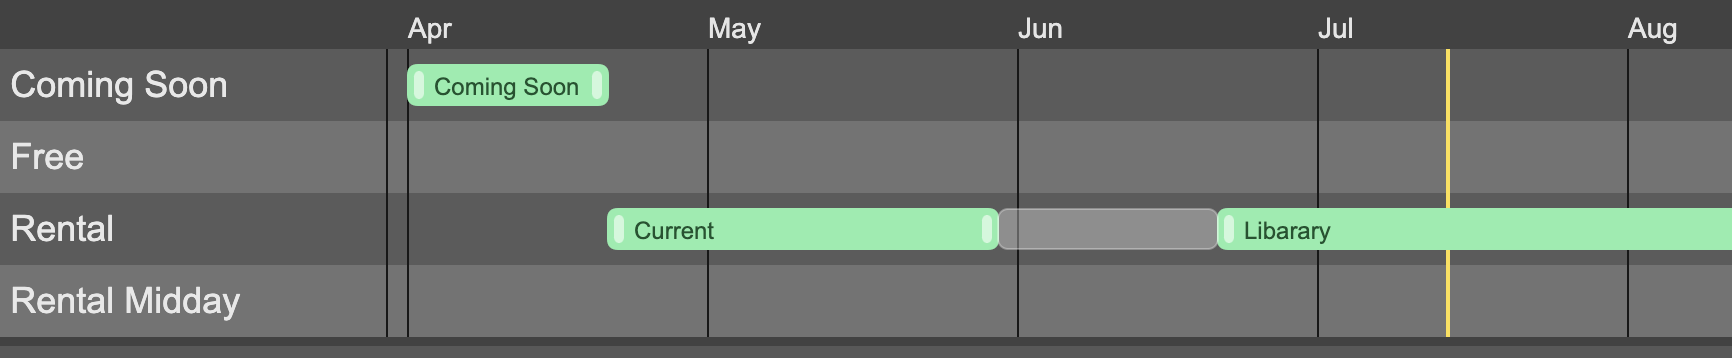
Managing Availability Windows on the Timeline
In addition to adding additional windows, you can manipulate existing availability window 'segments' directly on the timeline by dragging and dropping them to new positions.
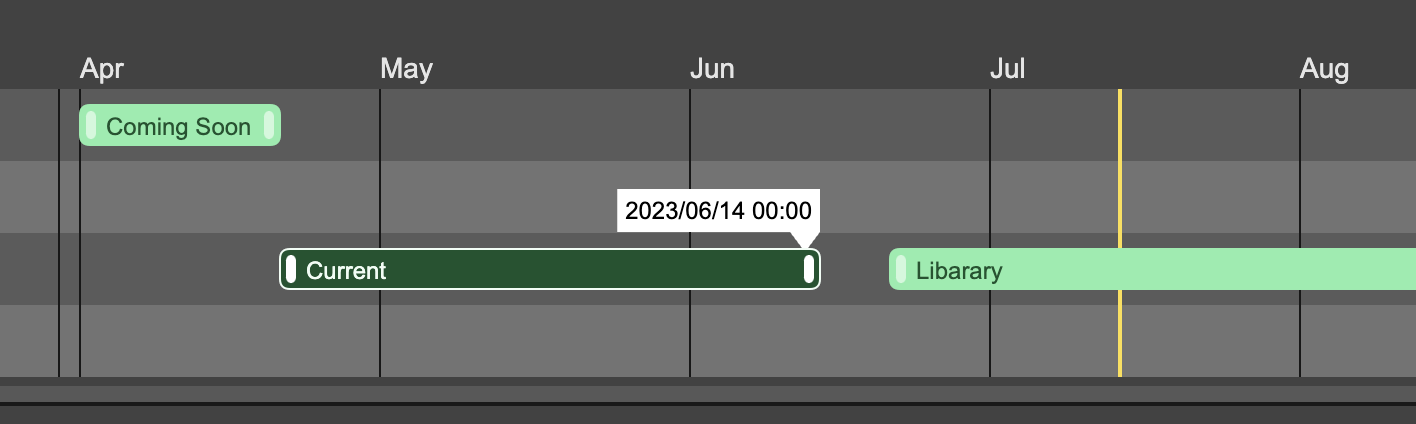
Creating Additional Windows
While hovering your mouse over a timeline, empty sections will highlight with a 'ghost segment'. This indicates that section of the timeline is vacant, and an availability window can be added. Clicking will open the 'Add Availability Window' dialogue overlay for you to populate as outlined in the guides above.
A 'ghost segment' appears on mouseover between the 'current' and 'library' availability windows.
Editing Existing Timeline Segments
You can also manipulate existing windows by dragging and dropping them.
- To move a window, hover over a timeline segment, click to grab, and then drag to a new position. Notice that the start and end dates are displayed as you drag the segment.
You cannot drag a segment over another one. You cannot drag onto another row.
As you drag the segment, the start and end dates are displayed.
You can extend the start and end dates of an availability window by grabbing the left/right end handles and extending or reducing the length of the segment. Notice the start/end date and time appearing as you drag the end handles.
Drag the end of the segment to extend or reduce the window length.
Navigating the Timeline
Navigate left and right along the timeline using your trackpad or mouse scroll wheel. Alternatively, you can click the left and right buttons at the top right of the availability windows section to page left and right along the timeline.
Click Today to shift the timeline to the current day.

Change the view of the timeline to zoom in or out and see more by clicking the Week, Month, or Year buttons.
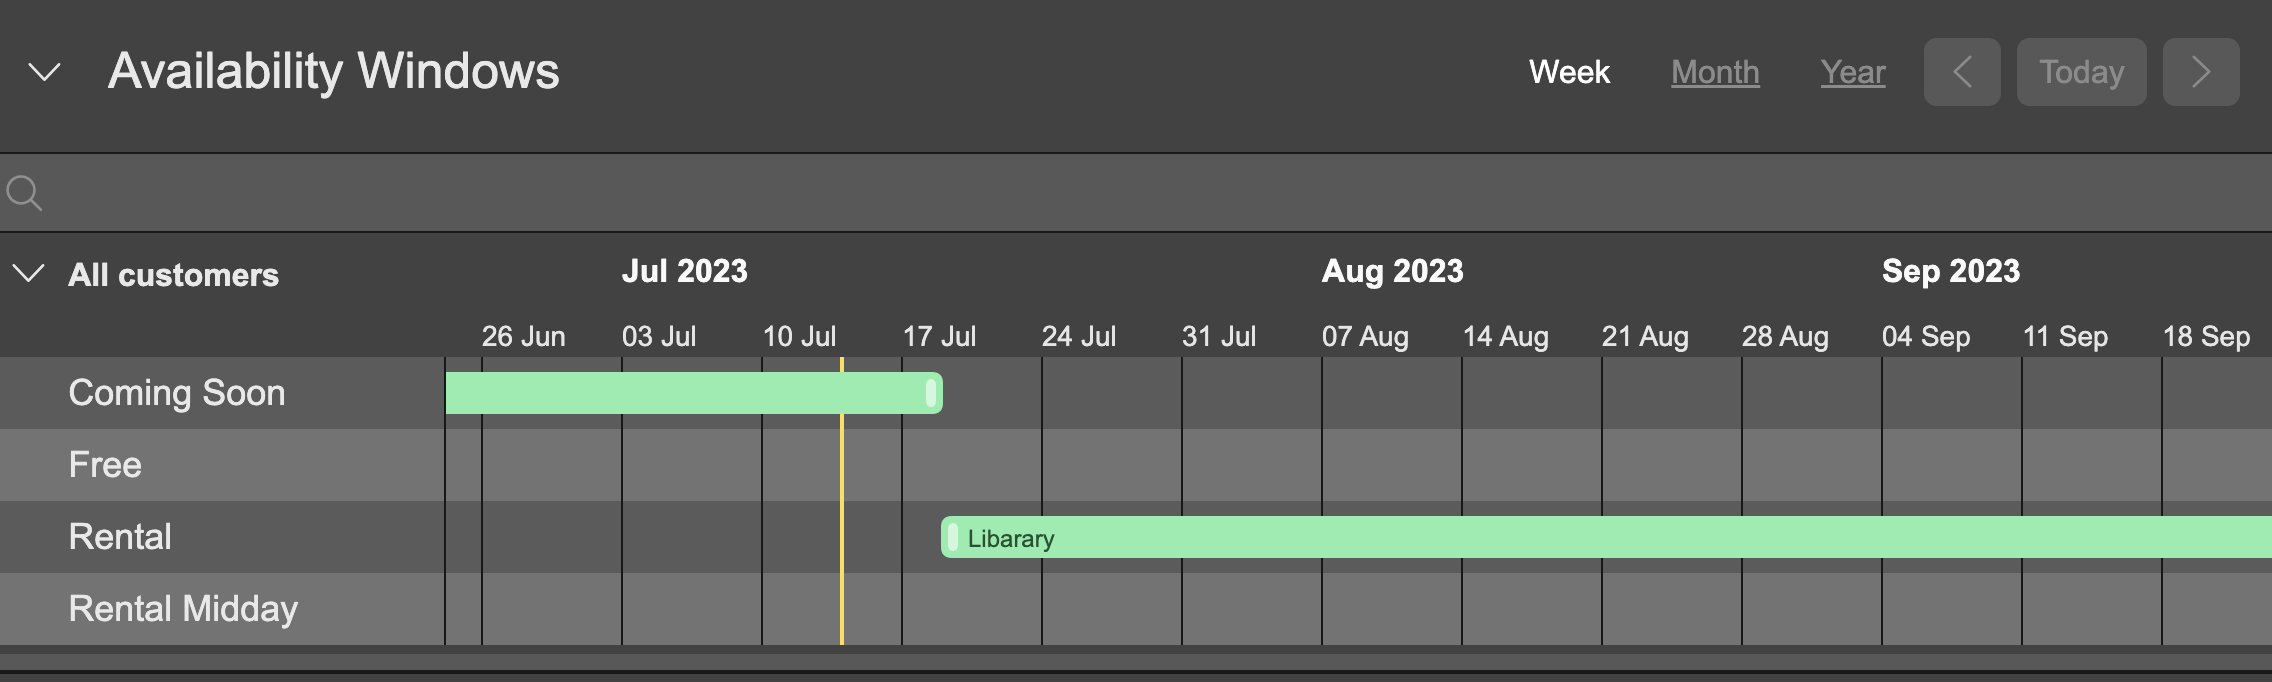
Click Week to see the timeline in days.
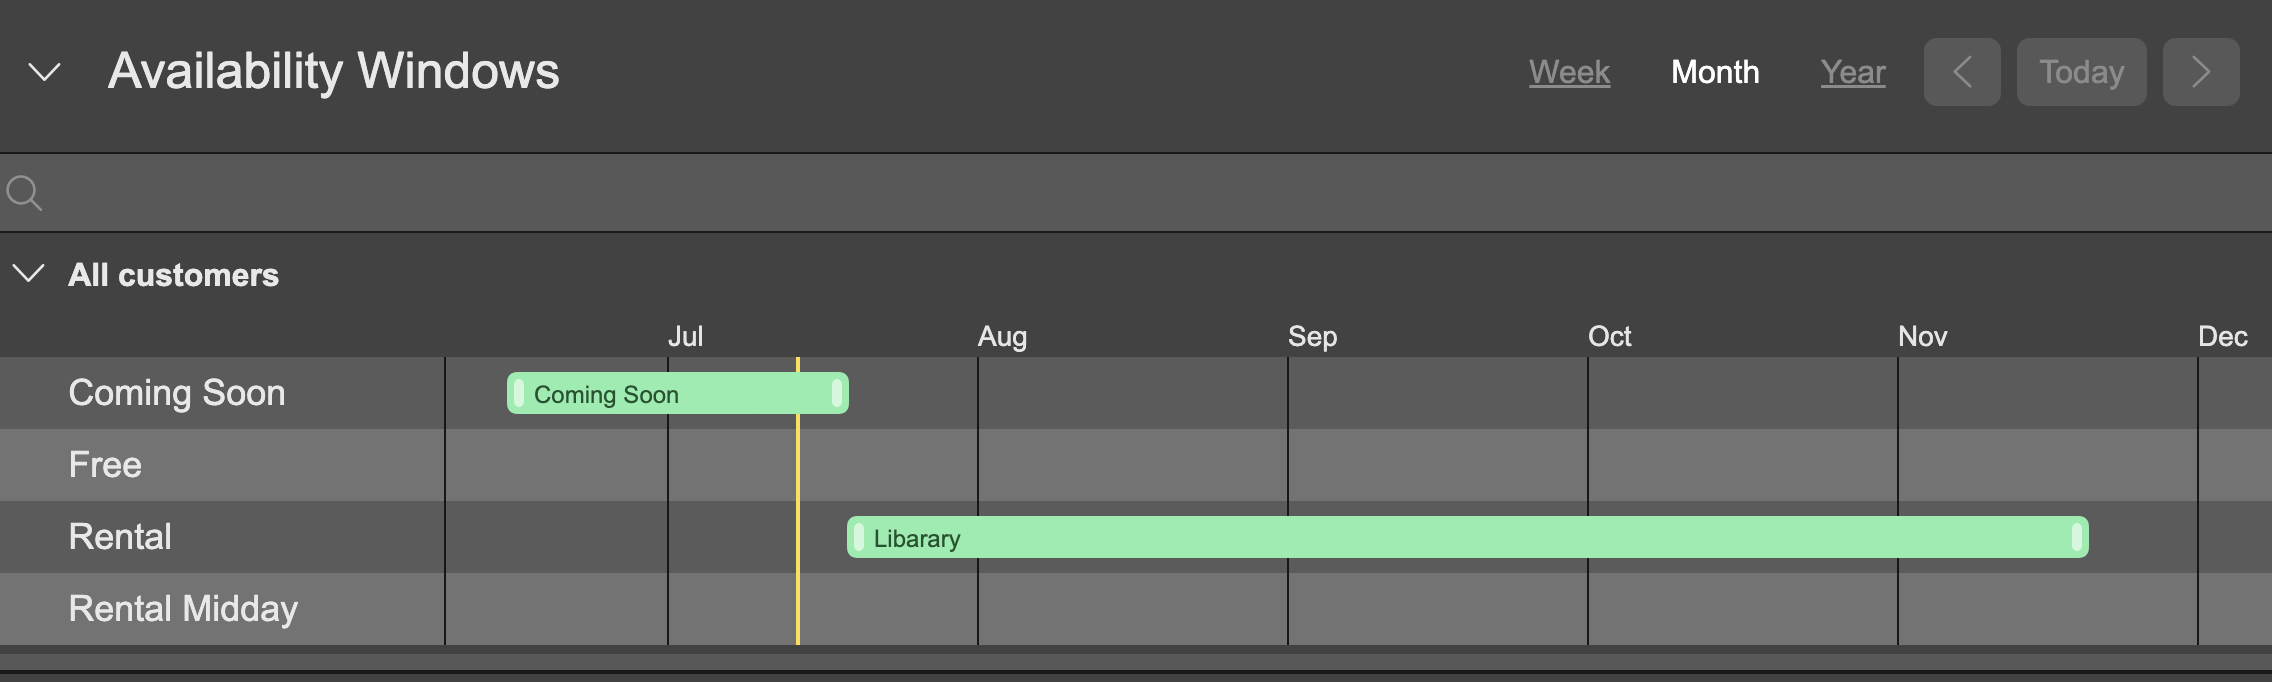
Click Month to see the timeline in months (default view)
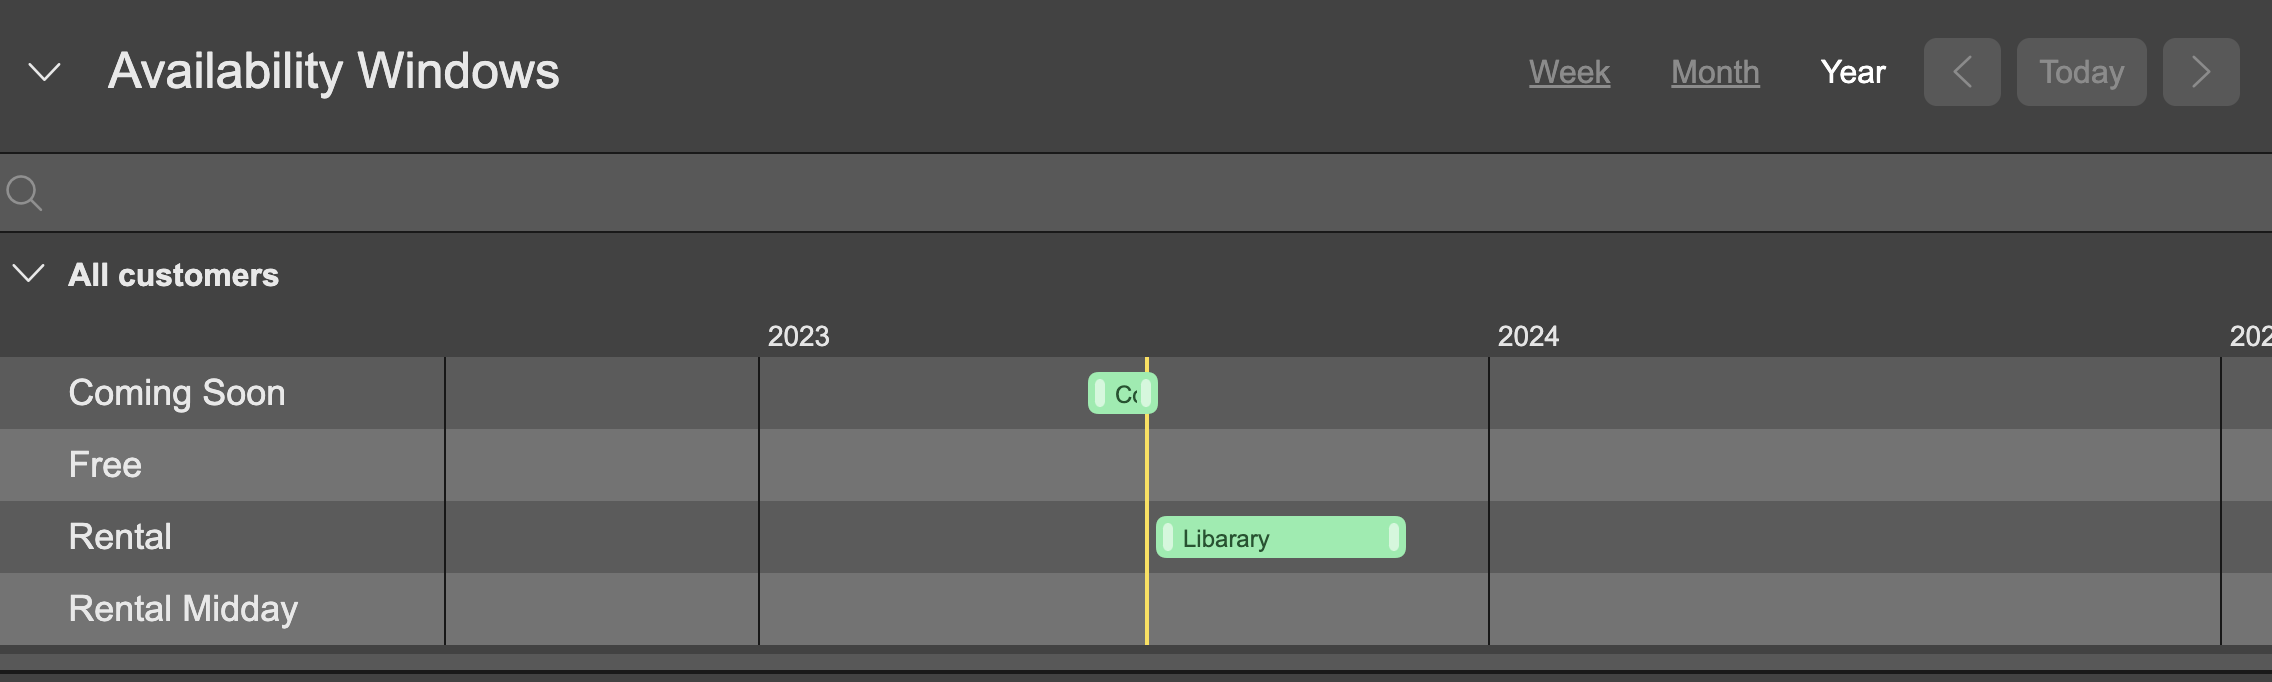
Click Year to see the timeline in years
And that is everything you need to know for creating, editing and removing availability windows and market timelines. Have fun!
Updated 8 months ago