Collections
Collection allow you to group you content together to display to the customer
There are two types of collections, Curated Collections and Dyanmic Collections. Curated Collections allow you to manually add content to the collection and set the order. Dynamic Collections are dynamically populated with content based on a matching category or contributor.
Create a Collection
- From the Content menu on the left, select Collections to expand it and click the + button.
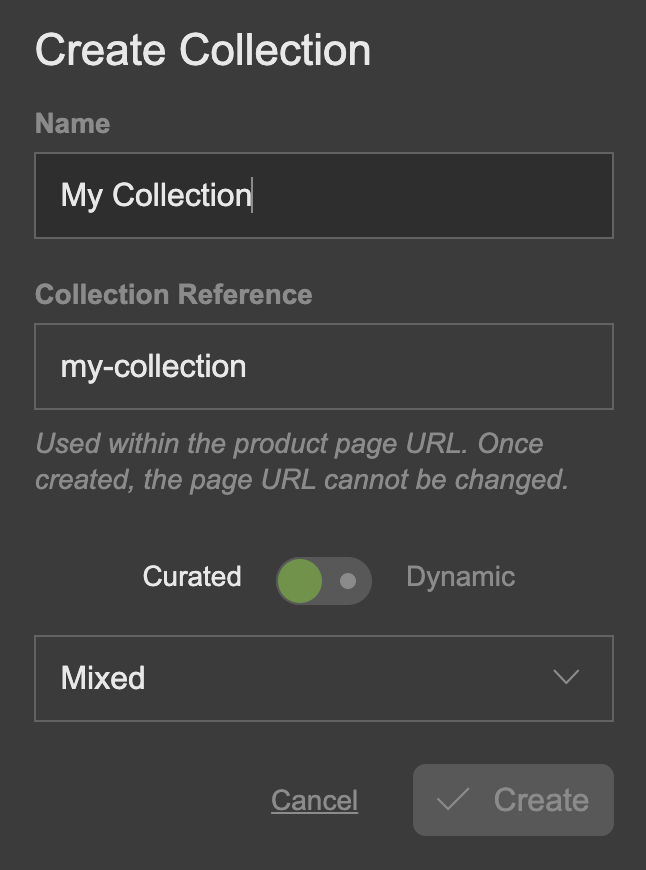
- In the subsequent dialogue overlay, add a name for your collection. You can update the name later.
- As you type in the collection name, the Collection Reference name will be completed to match the collection name in the required format. You can edit this reference name, but once you have created the collection, you will not be able to update it later.
- Flip the Curated/Dynamic switch to either Curated or Dynamic
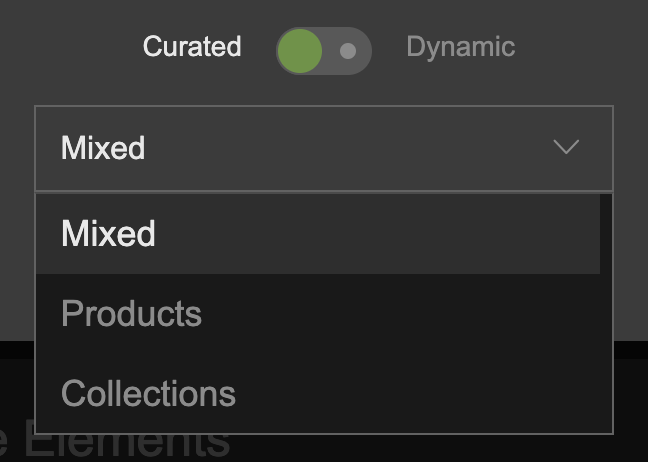
Flipped to Curated
From the drop down select menu, you have three options.
- Mixed: The collection can include a mixture of products and collections.
- Products: The collection can include ONLY products.
- Collections: The collection can include ONLY collections - these are sometimes called Nested Collections.
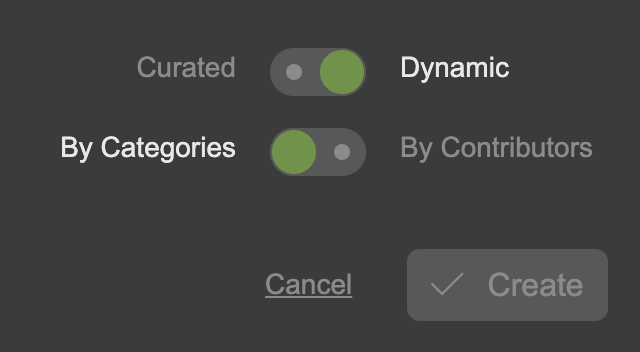
Flipped to Dynamic
Flipping the switch to Dynamic, an additional switch is exposed.
- By Categories: A single category can be used for your collection to dynamically collate matching content. For example, selecting an Action category would include all content which is tagged with the Action category.
- By Contributors: A single contributor can be used for your collection to dynamically collate matching content. For example, selecting a contributor named Tom Hanks would include all content which is tagged with the matching category.
Once you are ready, click Create.
The Collection Reference name can only be edited while the Create Collection dialogue overlay is open. Once you click Create, you will not be able to update the reference name later.
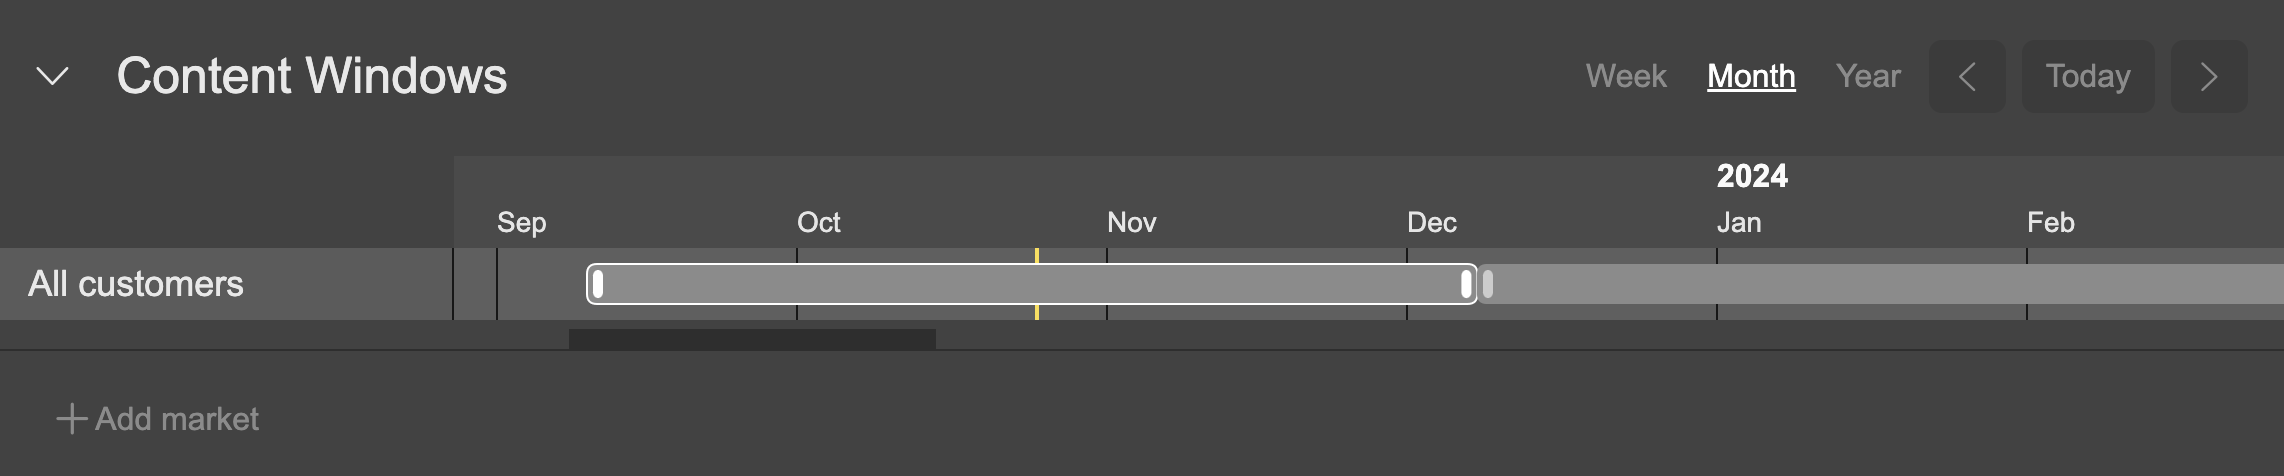
Content Windows
For information on using Content Windows, please reference Content Windows
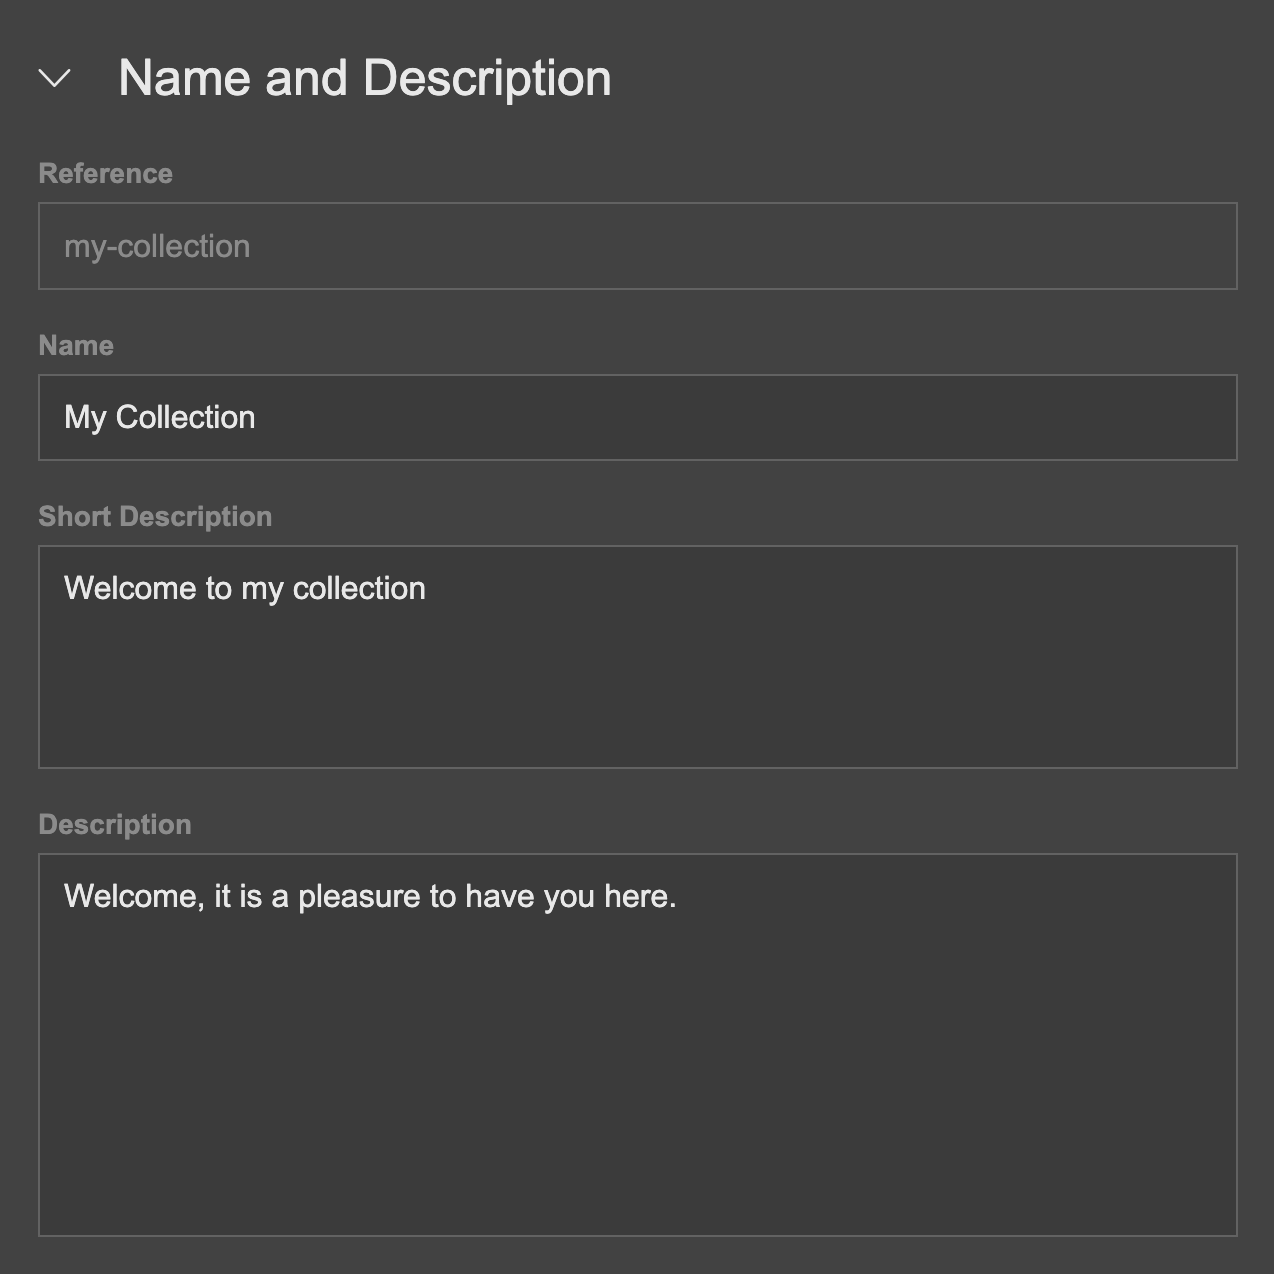
Name and Description
- Click the Name and Description section to expand it.
- Click Name to edit the text value.
- Click Short Description to enter text for a short description (optional).
- Click Long Description to enter text for a long description (optional).
You can also edit the collection name by clicking the edit (pen) icon to the right of the large name at the top of the page.
Categories
You can add categories to your collection to make it discoverable add display them on your collection in your customer apps (not support in all apps).
- Click the Catgories section to expand it.
- Click the Categories menu on the left, click a category type to reveal its categories.
- Grab a category of choice, drag and drop it onto the drop-zone in the expanded Categories section of your collection.
- The selected category will be added. It will be listed inside an expandable list labeled with the the parent category type name.
- Repeat this process for any other category you would like to add.
At the top right of the expanded Categories selection is a Show Categories Menu button. Clicking this shortcut will auto-open the Categories Menu on the left.
To remove a category from the collection, mouseover the category and click the subsequent Remove button.
See the Categories section for a guide to creating categories and category types.
Contributors
You can add contributors to your collection to to be displayed and to make your collection discoverable via the contributor names (not supported in all consumer apps)_
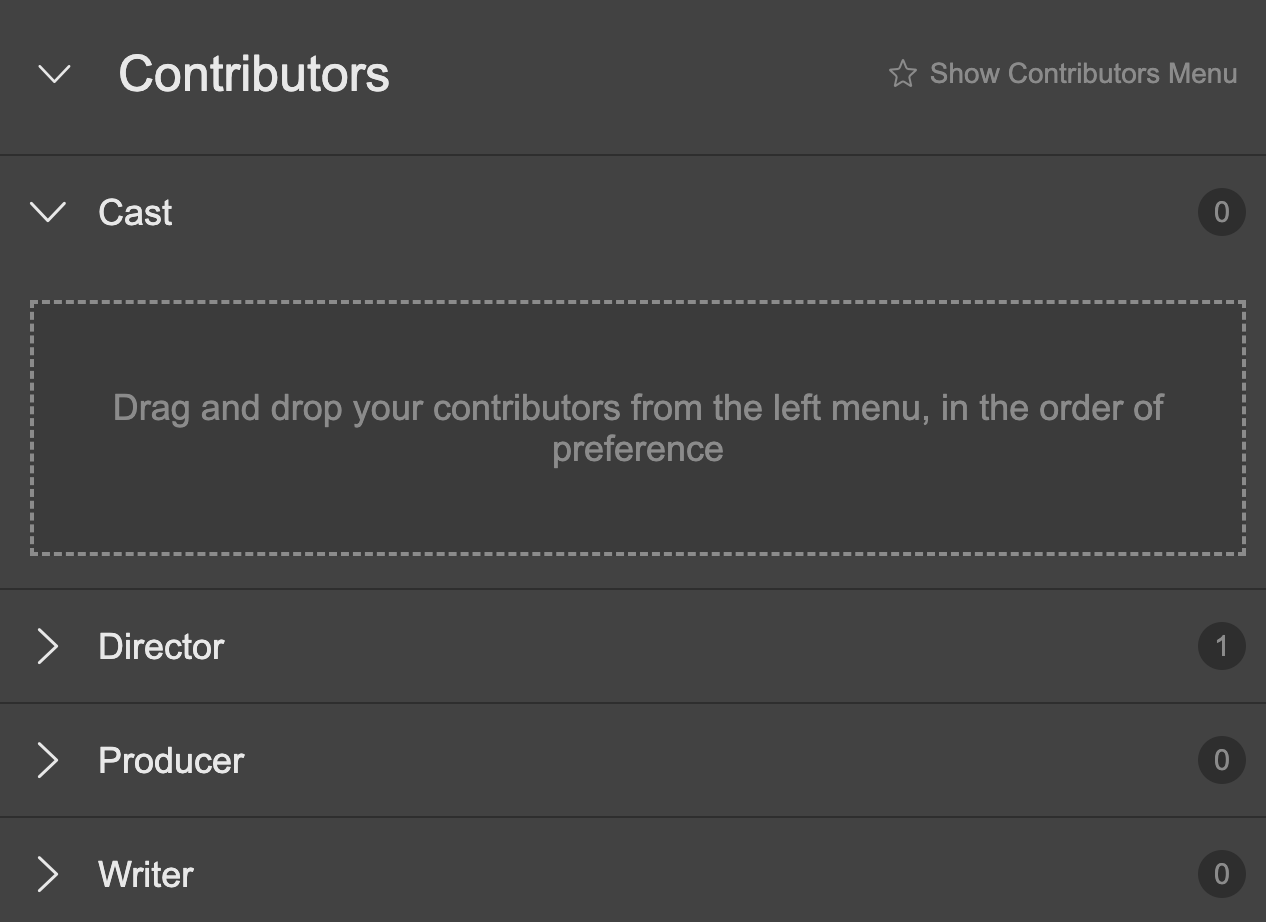
- Click the Contributors section to expand it.
- You will see all your available contributor types listed
- Click a contributor type to expand it.
- From the Contributors menu on the left, grab a contributor and drag and drop it onto the drop zone of the expanded contributor type on the right.
- The selected contributor will now be associated with the contributor type (for example, Tom Hanks might be associated with the Actor contributor type.) and attached to the collection.
- Repeat this process for any other contributors you wish to add to your collection.
Roles
Roles can be anything from the role the contributor plays in a movie, to the instrument the member of a band plays. To add a role, click + Add on the contributor you would like to add the role for.
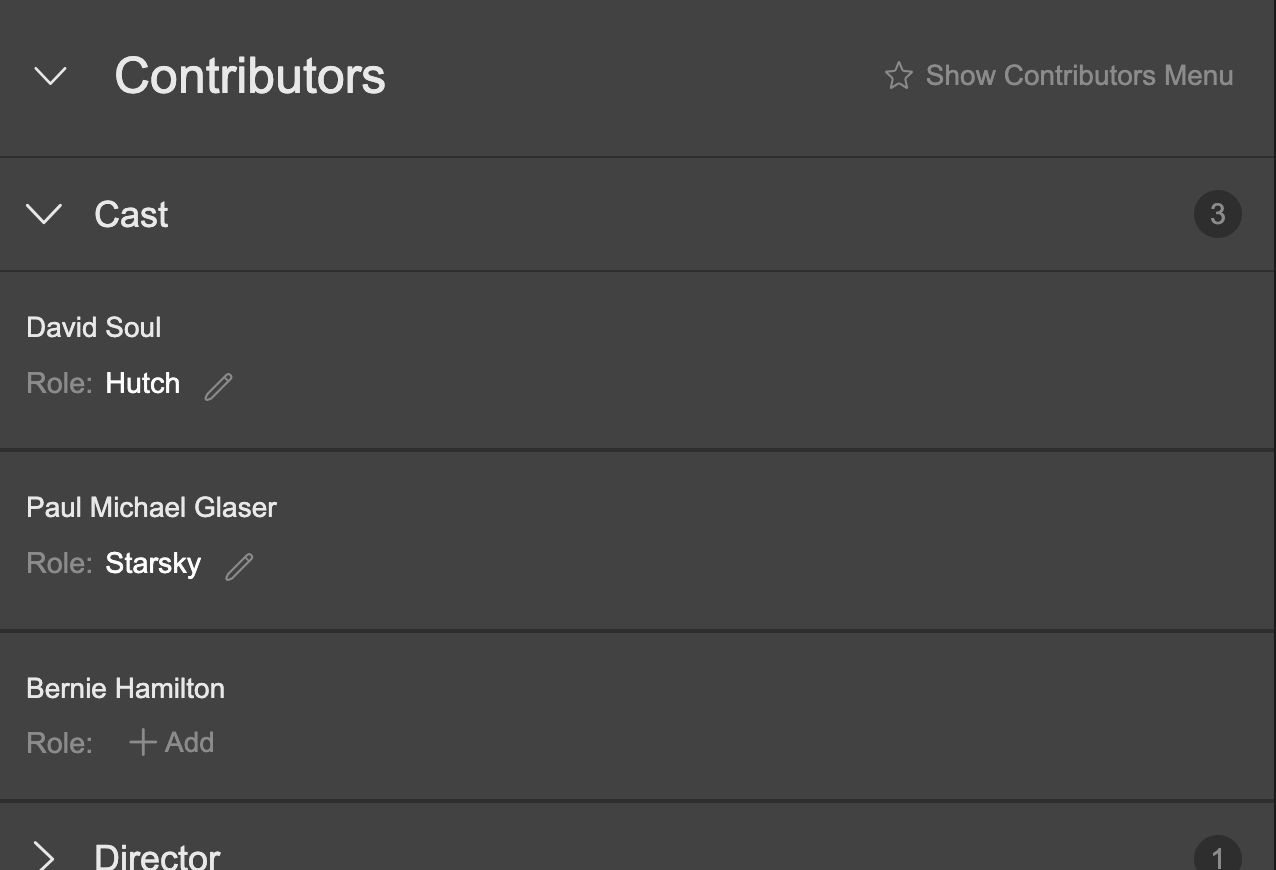
At the top right of the expanded Contributors selection is a Show Contributors Menu button. Clicking this shortcut will auto-open the Contributors Menu on the left.
To remove a contributor from the collection, mouseover the contributor and click the subsequent Remove button.
See the Contributors section for a guide to creating contributors and contributor types.
Age Ratings
Existing age ratings can be applied to collections. These can be used to display speed-bumps.
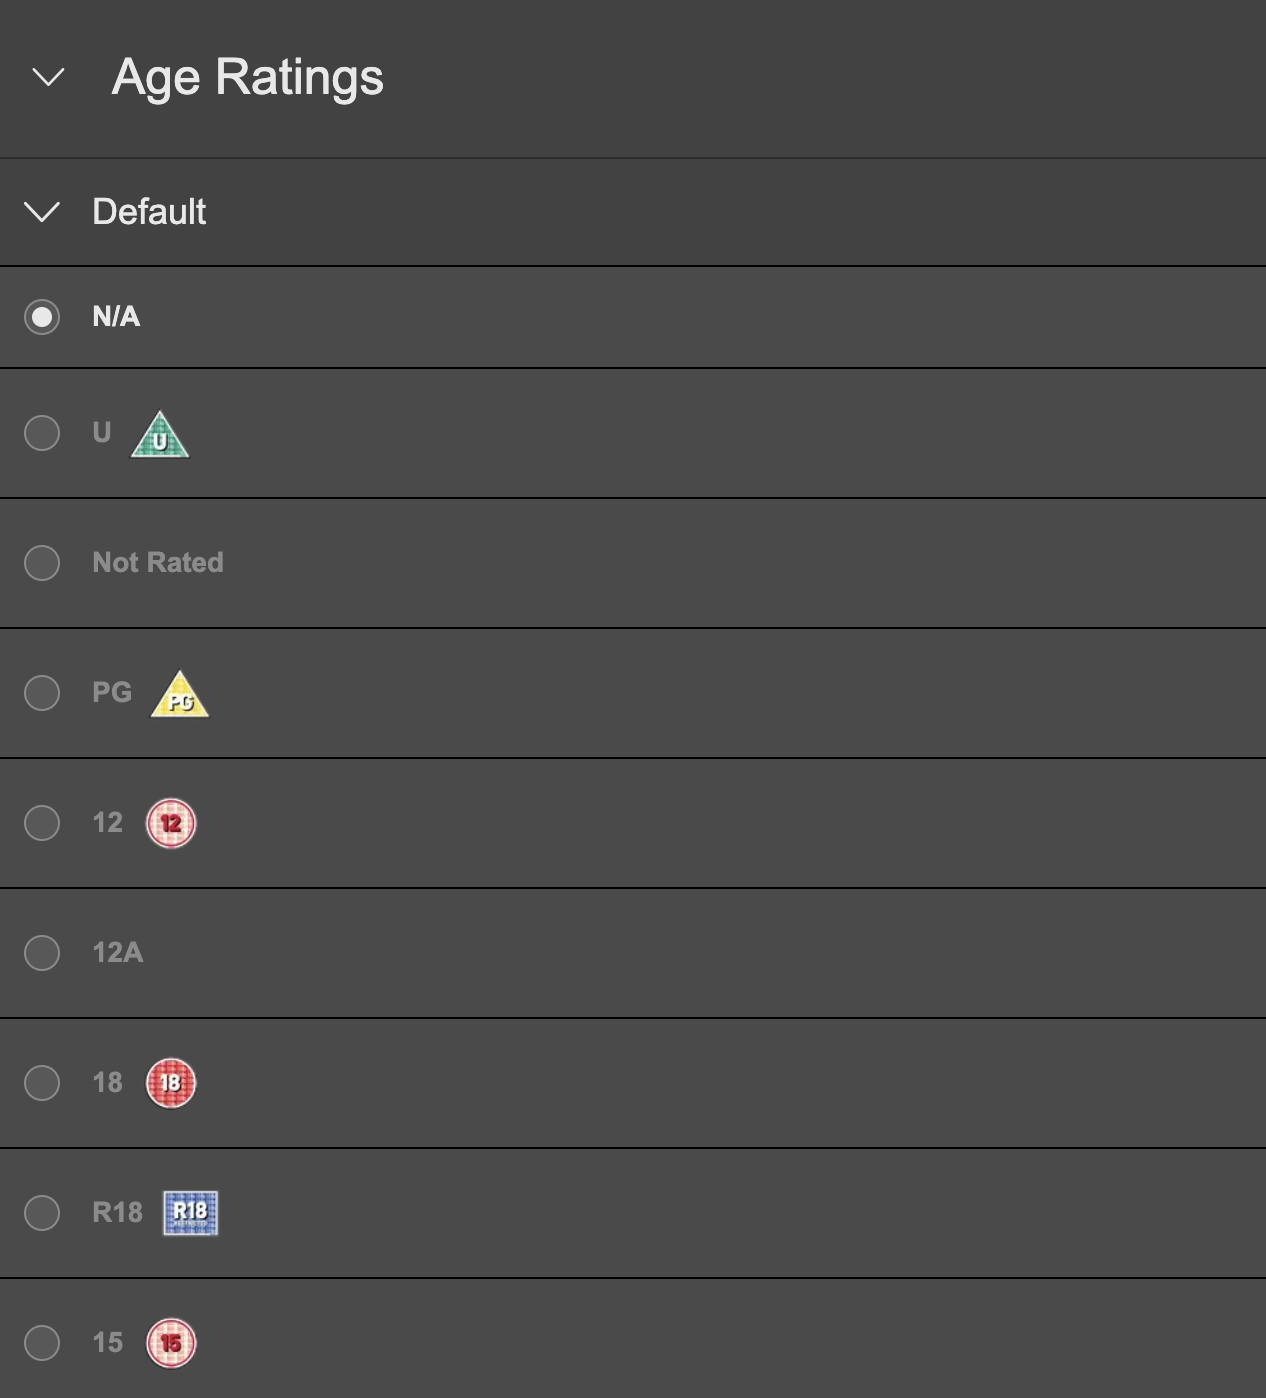
- Click the Age Ratings section to expand it.
- Existing age ratings sets will be listed.
- Clicking an age rating set will expand it and reveal all the age ratings which belong to that set.
- Select an age rating from a set to apply to the collection.
You can apply one age rating from each age rating set. Each age rating set is usually targeted at a different market, enabling you to apply a different age rating for each market.
See the Age Ratings section for a guide to creating age ratings.
Images
For information on adding images, please reference the Images guide.
Adding Content to a Curated Collection
You can manually drag and drop the content of your choice to a Curated Collection and edit the order in which they are presented to your customers.
Adding Content to your Curated Collection
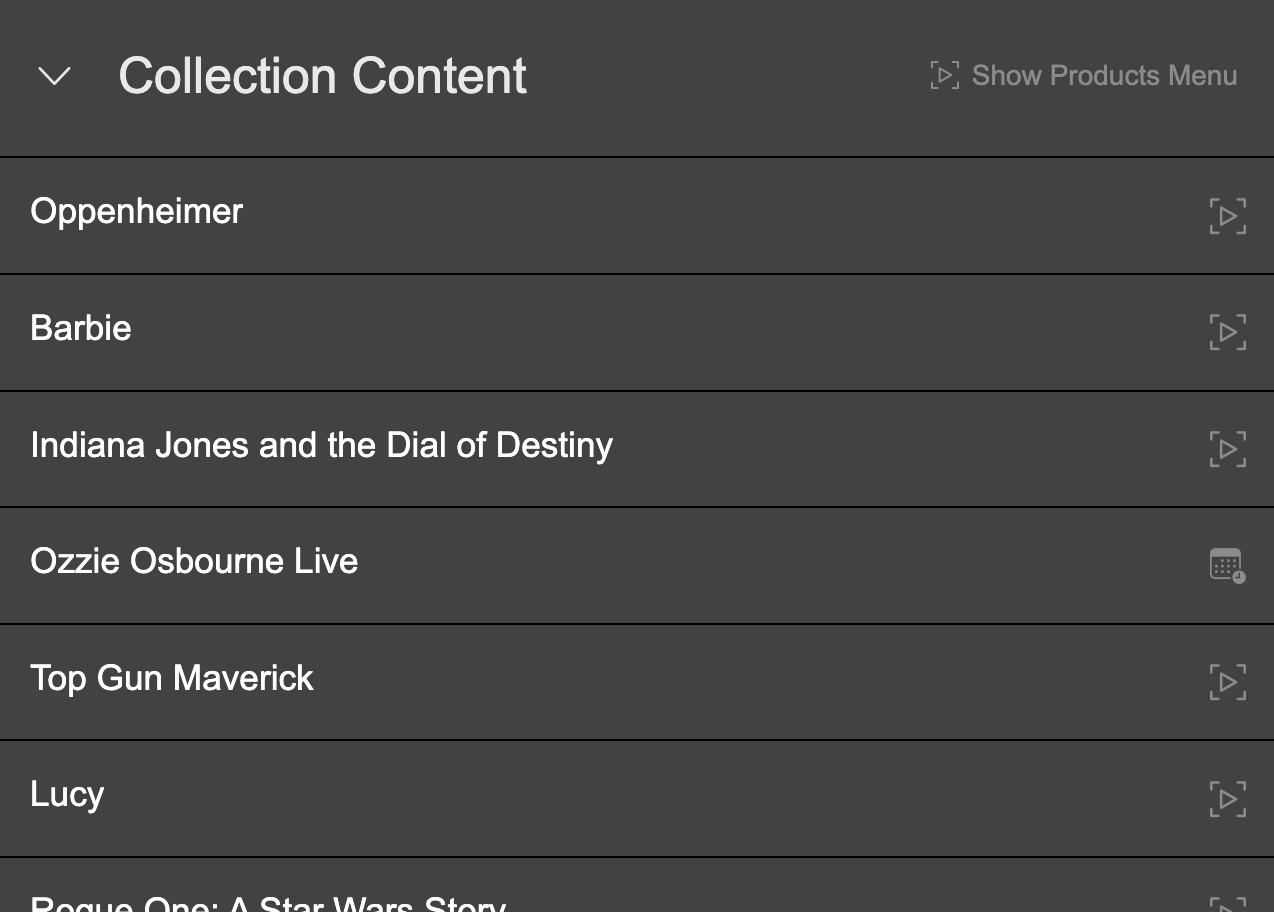
- Click the Collection Content section to expand it
- From the left menu grab a Product, TV Show, Live Event, Channel or another Collection and drag and drop it on drop zone under Collection Content.
- Repeat this to build up your list of content
If you have selected Products or Collections only when creating your collection, you will not be able to mix content
The type of each item in the Collection Content list can be identified by the icon on the right of the item.
Reordering Content
- Grab an item in Collection Content.
- Drag it to a new position in your list of content.
- Release the item into the new position.
Removing Content
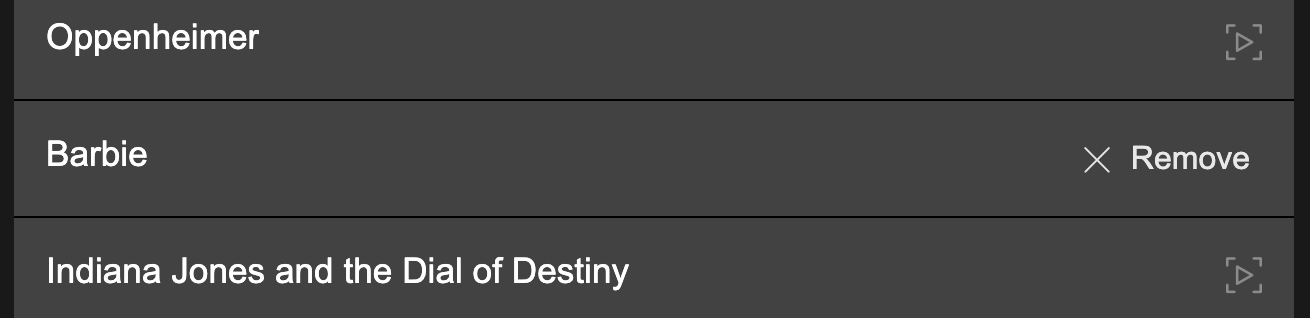
- Mouse over a Collection Content item.
- Click on the subsequent Remove button.
- The item is removed from the list.
Defining a Dynamic Collection
You can define the type of content that will automatically populate a Dynamic Collection by adding a category or contributor. The collection will be automatically populated by any content tagged with the matching category or contributor.
When you created the Dynamic Collection, setting it to 'By Categories' enables you to add a category only.
- Click the Dynamic Collection section to expand it.
- Click Categories in the left menu.
- Click a category type of your choice to expand it and list its categories
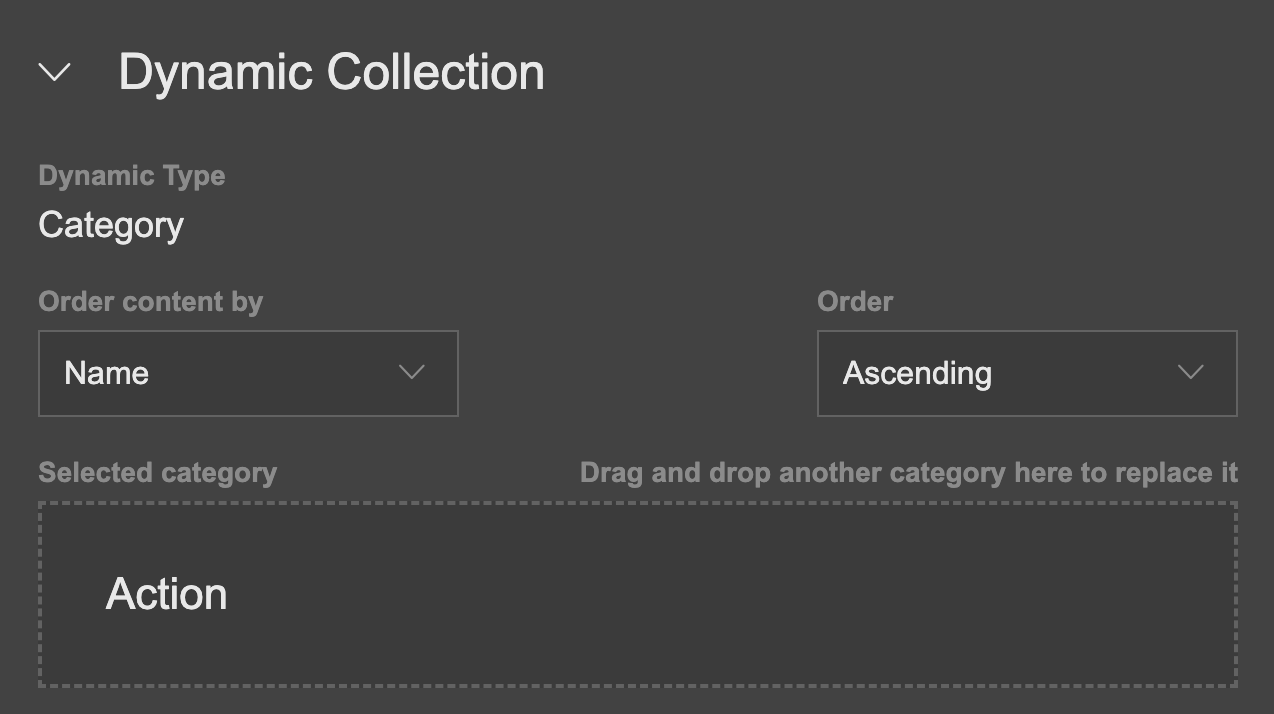
- Grab a category of choice, drag and drop it on the drop zone to the right.
- The collection is now defined with the category and will contain and content that is tagged with the matching category.
When you created the Dynamic Collection, setting it to 'By Contributors' enables you to add a contributor only.
-
Click the Dynamic Collection section to expand it.
-
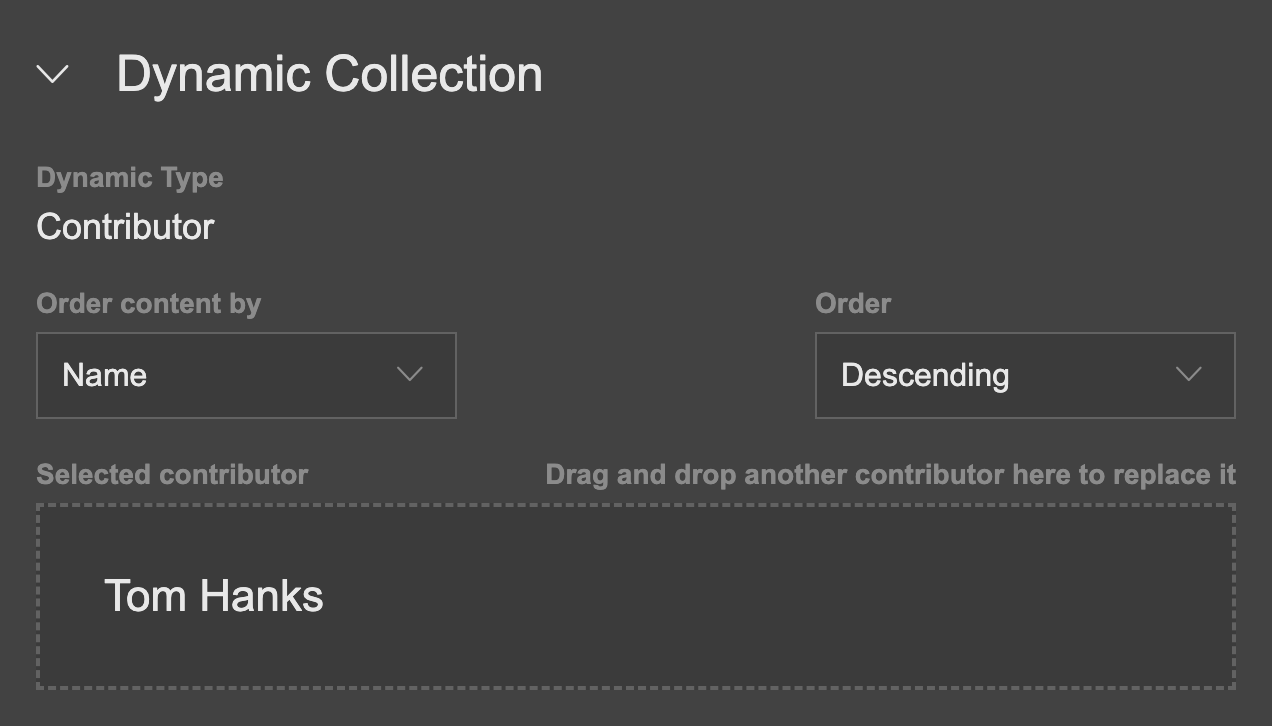
From the Contributors menu on the left, grab a contributor of choice and drag and drop it on the drop zone to the right.
-
The collection is now defined with the contributor and will contain and content that is associated with the matching contributor.
Defining the Order of Content
Under the Order content by title, click the drop down select menu. Select either:
- Name: Order the content in the dynamic collection by name.
- Publish Date: Order the content in the dynamic collection by the publish date.
- Release Date: Order the content in the dynamic collection by the release date.
Under the Order title, click the drop down select menu. Select either:
- Ascending: Order name A/Z. Order publish or release dates from oldest date first.
- Descending: Order name Z/A. Order publish or release dates from latest date first.

Delete a Collection
- Mouseover the trashcan icon at the top right of the page and click Delete Collection.
- A subsequent confirmation dialogue overlay will appear:
- Click Cancel or Delete
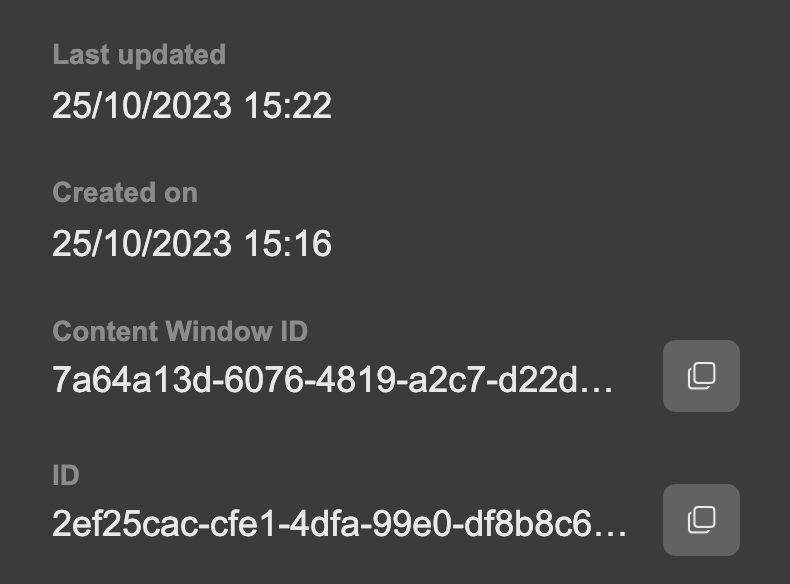
More Info
You can access additional information for a collection, including last updated and creation dates, and also the ID.
- Mouse over the info icon at the top right of the page and click More Info
- You will see various information displayed in the subsequent panel overlay.
- To copy and ID, click the copy icon.
- To close the panel, click anywhere outside of it.
Updated 9 months ago