Markets
Markets serve as a powerful tool for targeting content to different user groups. Markets can be customized according to various factors such as geographical location, gender, device type, or past viewing history. This tutorial will guide you through the process of creating and managing markets using 'segments'.
Understanding Markets and Segments
Think of a market as a customizable 'container' that holds specific 'segments' or groups of information. For instance:
- A 'Region' segment may include one or more countries.
- A 'Device Type' segment could include various device types, such as Apple TV, Fire TV, iOS, etc.
- A 'Time Watched' segment would contain data on when and for how long certain products were viewed.
Each segment represents a specific grouping of data which you create and then add to a market. This forms the rules that govern how that market behaves.
How to Create a Market
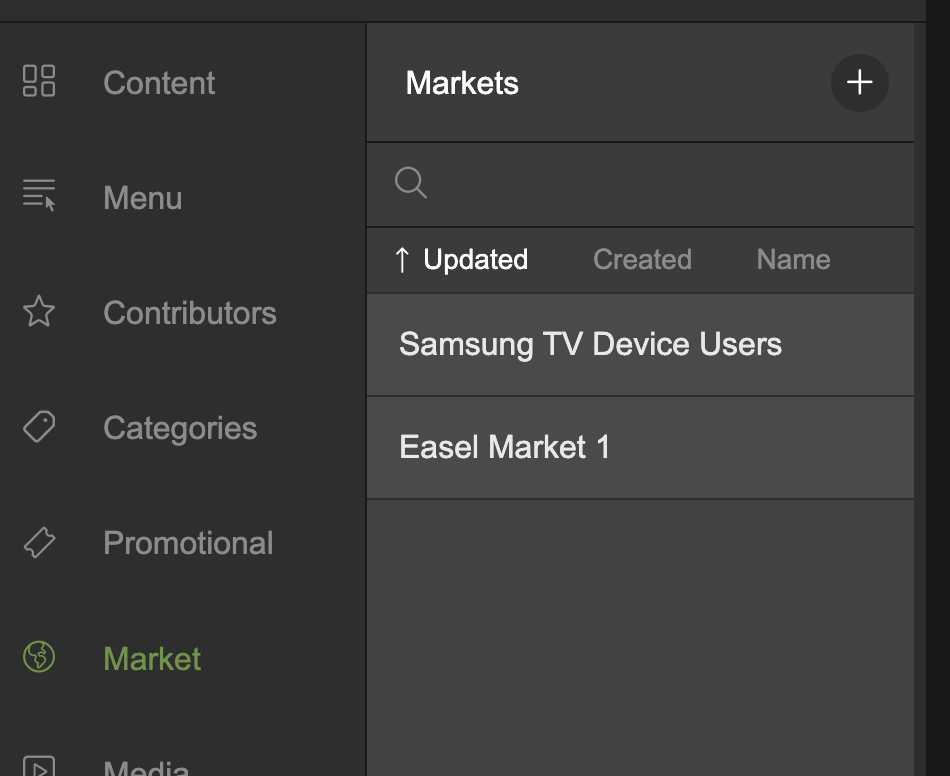
- At the top of the Market menu, click Markets.
- Click the + icon.
- Enter a reference name for your Market in the subsequent dialogue overlay.
- Click Create to create your Market.
Your new market will now appear in the 'Markets' list on the left.
Click the + icon to create a new market
How to Add Segments to Your Market
After you've created your market, the next step is to add segments to it. You do this by dragging and dropping the desired segment from each segment menu to your market.
- In the Market menu on the left, click and hold the segment you want to add to your market.
- Drag the segment over to your market and release the segment to drop it into the market.
Repeat this process until you've added all the necessary segments you need. The market will then only apply to users who fit the parameters defined by these segments.
Segments can be combined using logical operators like AND, OR, and NOT for more granular control over the market's behavior. For instance, you might want a market that targets users in the UK (Region Segment) AND using iOS or Android devices (Device Type Segment). This means the content for this market will only be visible to users who fit both of these criteria.
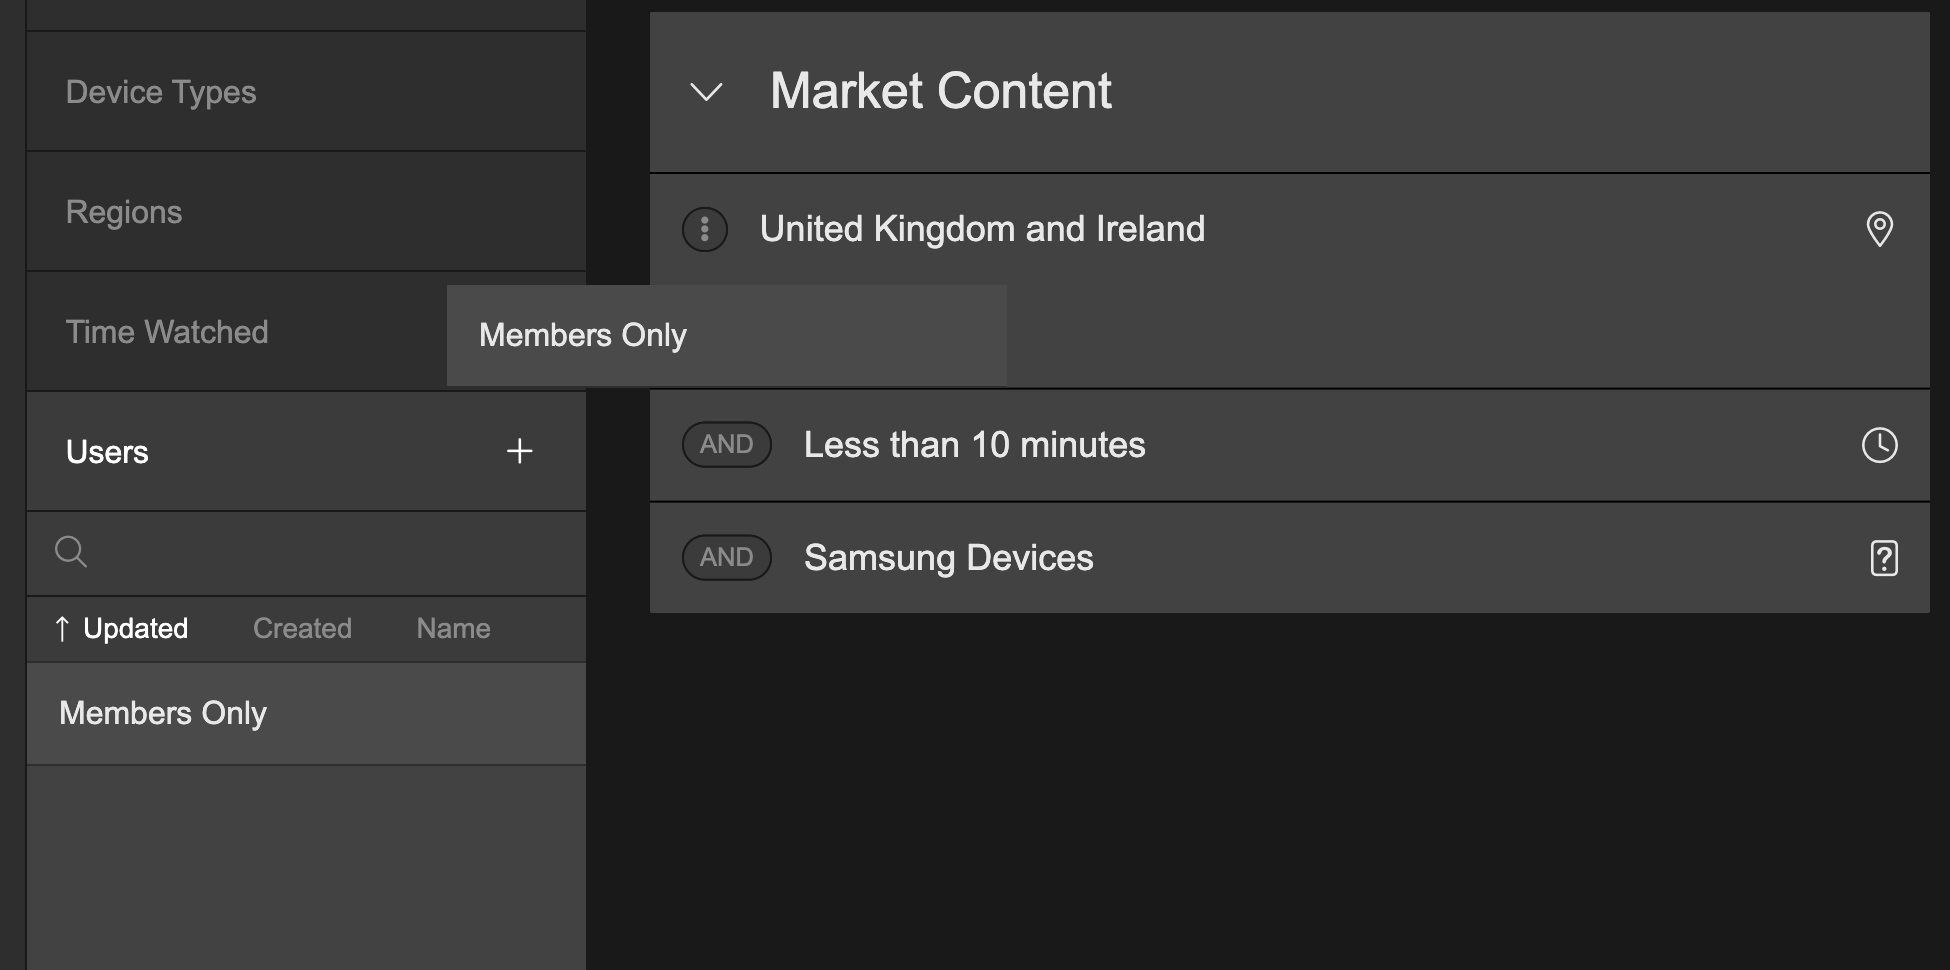
Drag and drop segments into a market
To remove a segment from a market, simply grab the segment and drag it away from the market segments list.
And there you have it! You now have the know-how to create markets and add segments to them.
Segments
A segment represents a certain group of items or information. For example, a Region segment contains one or more countries, a Device Type segment contains one or more device types (i.e. Apple TV, Fire TV, iOS, etc.), and a Time Watched segment includes information about when and how much one or more products were watched.
These segments are used as the building blocks for markets.
The following guide covers the groups of segments currently available and how to create and configure them.
Regions
The regions segment is used to create a group of countries that can be added to a market.
- Click Regions in the Market menu.
- Click the + icon.
- Enter a reference name for your region in the subsequent dialogue overlay.
- Click Create to create your region segment.

Click the + icon to create a new region segment
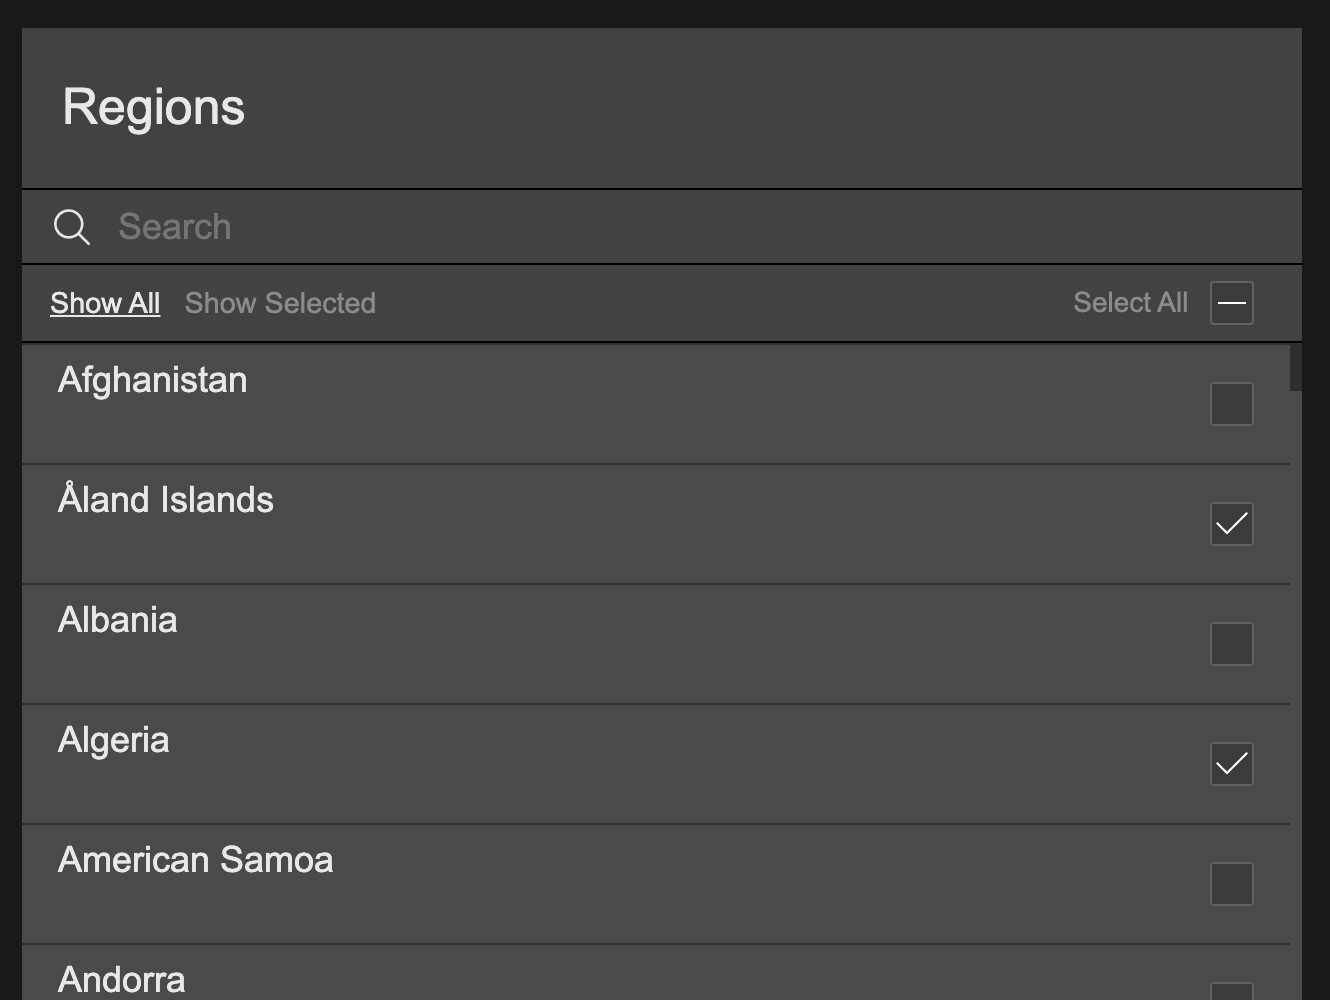
In the selected regions segment, we can start selecting the countries we want to add to our segment.
- A comprehensive list of countries is listed with a clickable checkbox to the right of each one.
- To add a country to the region segment, simply select the checkbox.
- You can add multiple countries to a region segment.
- You can select all countries by clicking the Select All checkbox. You can click it again to deselect all.
- You can search for a country by entering matching text in the search field. This will filter the list to country names matching the search query.
- Click Show All (selected by default) to list all available countries (selected by default). Click Show Selected to list only the countries you have selected.
Select one or more regions
Device Types
The Device Type segment is used to create a group of device types (i.e. Apple TV, iPhone, Fire TV, etc.) that can be added to a market.
- Click Device Types in the Market menu.
- Click the + icon.
- Enter a reference name for your device type in the subsequent dialogue overlay.
- Click Create to create your device type segment.
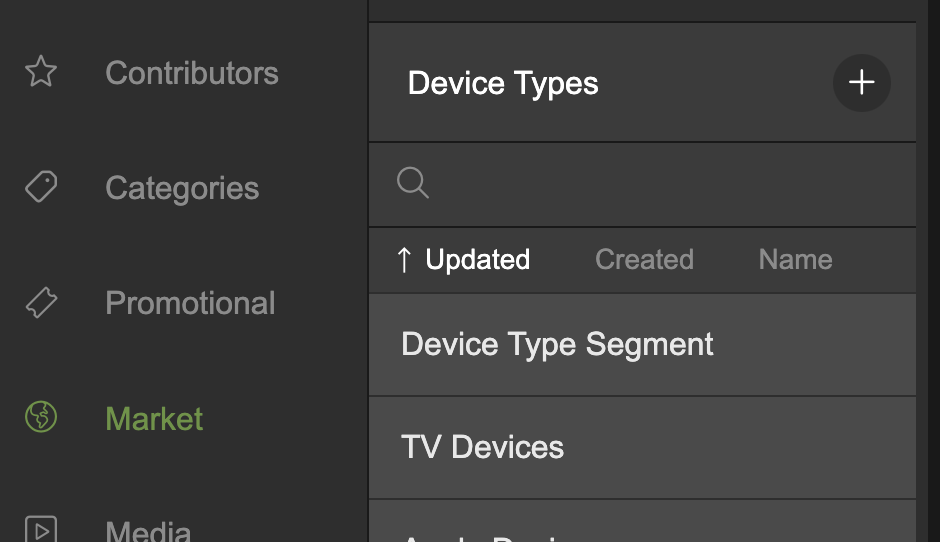
Click the + icon to create a new device type
In the selected device types segment, we can start selecting the device types we want to add to our segment.
- A list of available device types is listed with a clickable checkbox to the right of each one.
- To add a device type to the selected device type segment, simply select the checkbox.
- You can add multiple device types to a device type segment.
- You can select all device types by clicking the Select All checkbox. You can click it again to deselect all.
- You can search for a device type by entering matching text in the search field. This will filter the list to device type names matching the search query.
- Click Show All (selected by default) to list all available device types (selected by default). Click Show Selected to list only the device types you have selected.
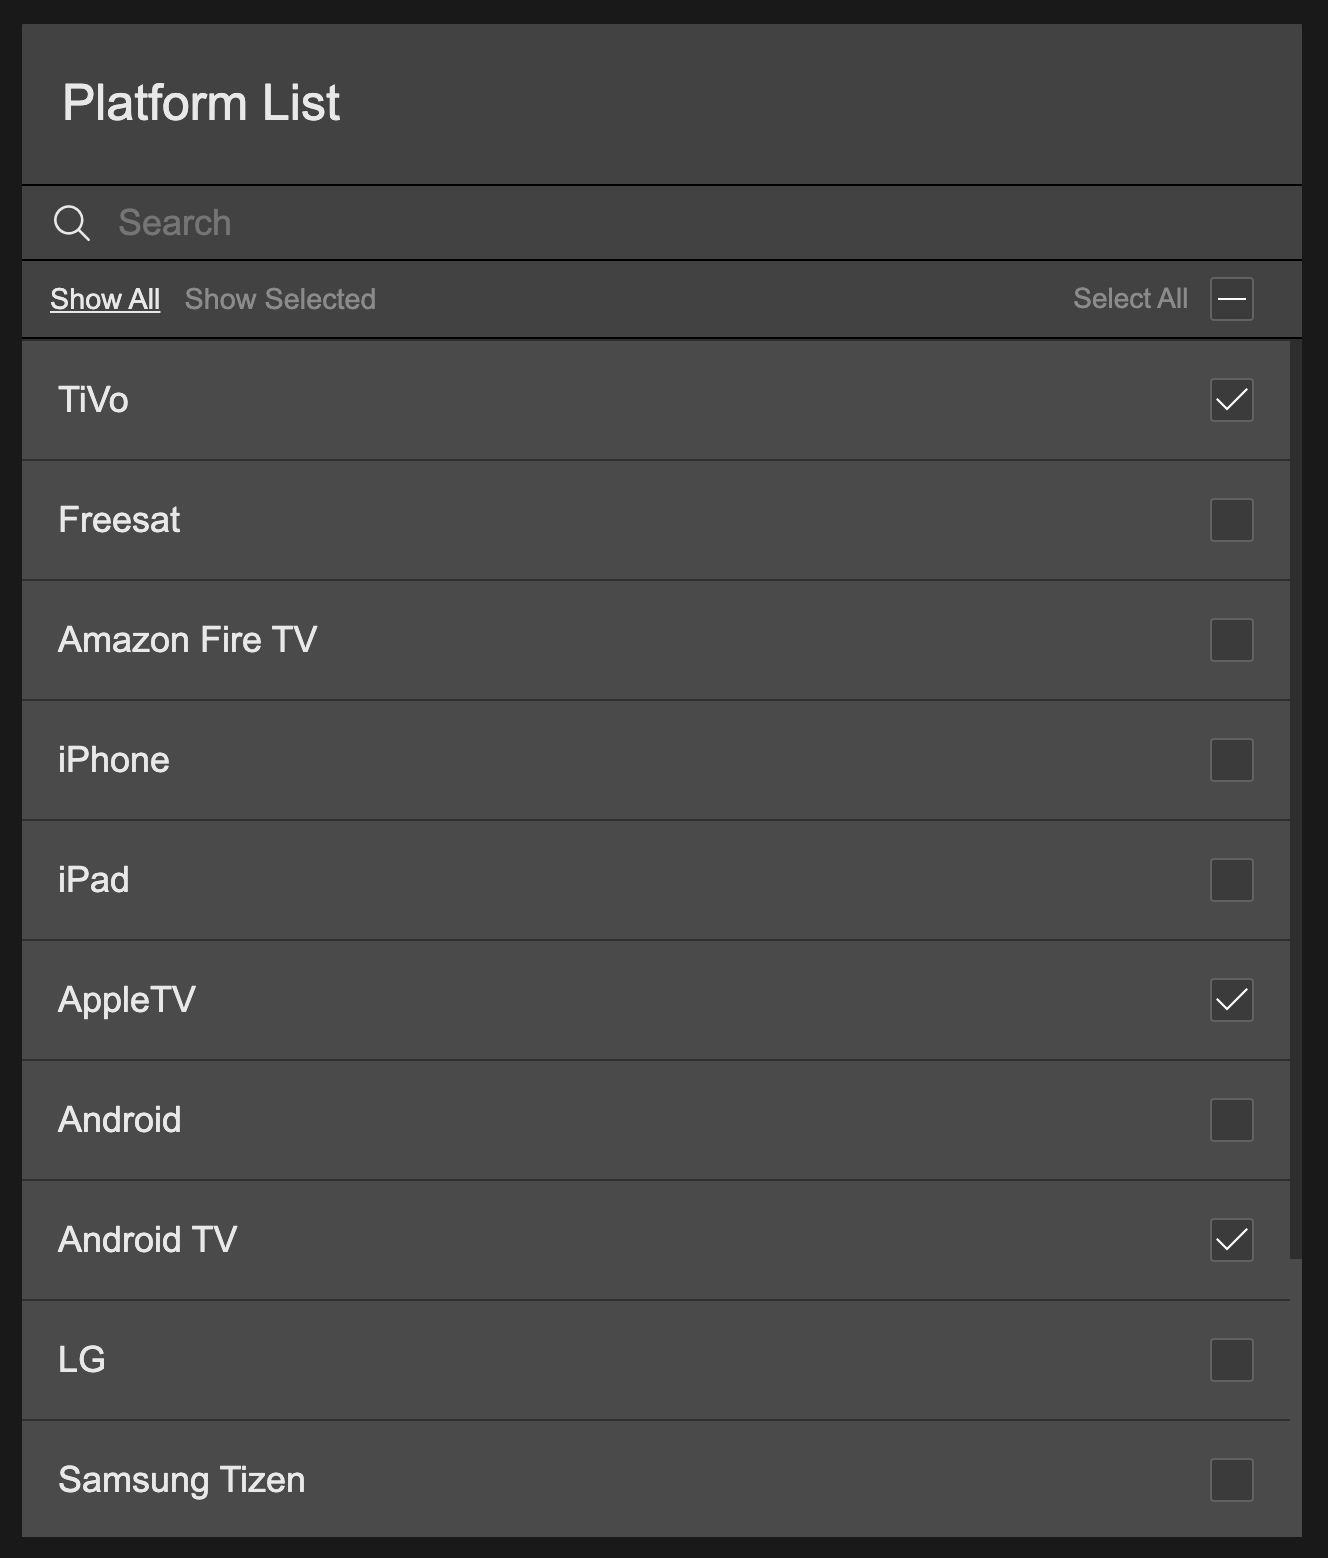
Select one or more device types
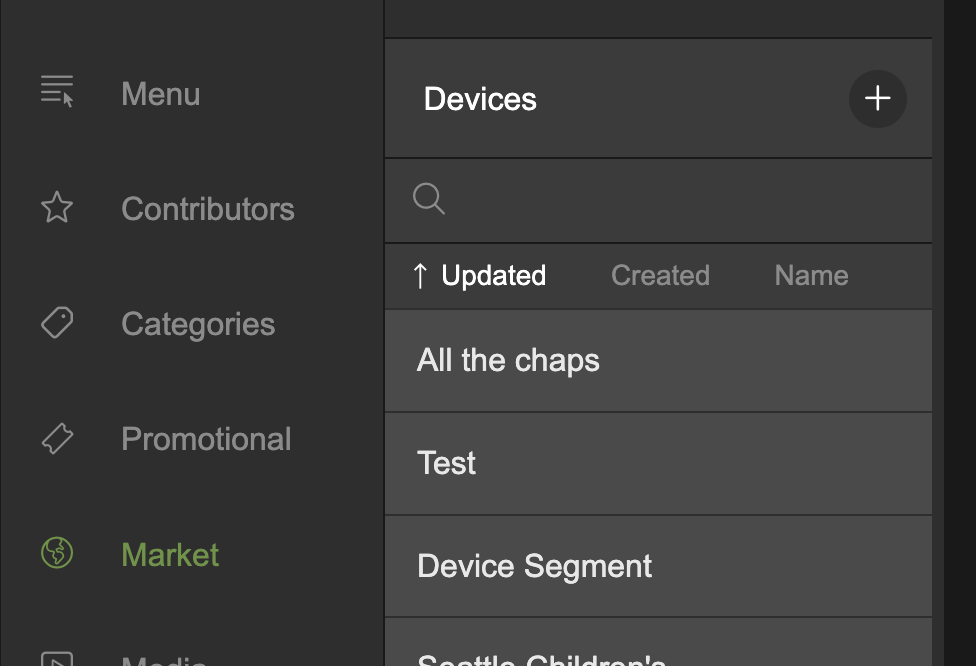
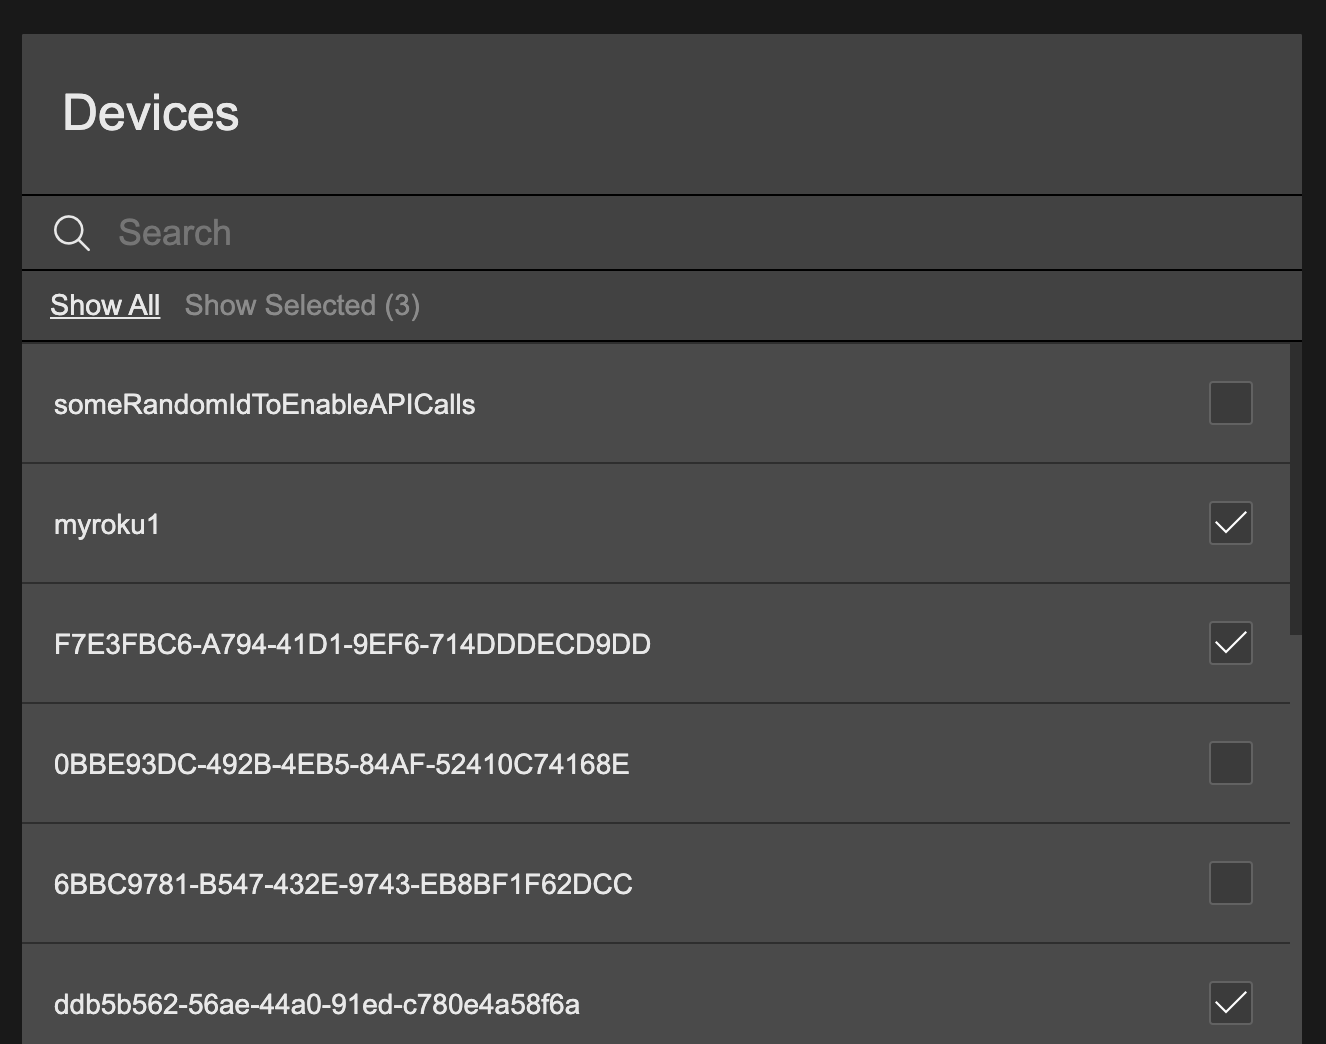
Devices
The Devices segment is used to create a group of existing devices.
- Click Devices in the Market menu.
- Click the + icon.
- Enter a reference name for your device group in the subsequent dialogue overlay.
- Click Create to create your device group segment.
Click the + icon to create a new devices segment
In the selected devices segment, we can start selecting the devices we want to add to our segment.
- A list of available device IDs is listed with a clickable checkbox to the right of each one.
- To add a device to the selected devices segment, simply select the checkbox.
- You can add multiple device IDs to a device segment.
- You can select all device IDs by clicking the Select All checkbox. Click it again to deselect all.
- You can search for a device by entering matching text in the search field. This will filter the list to device IDs matching the search query.
- Click Show All (selected by default) to list all available device IDs (selected by default). Click Show Selected to list only the devices you have selected.
- You can click a device ID to go to the device details page.
Select one or more devices
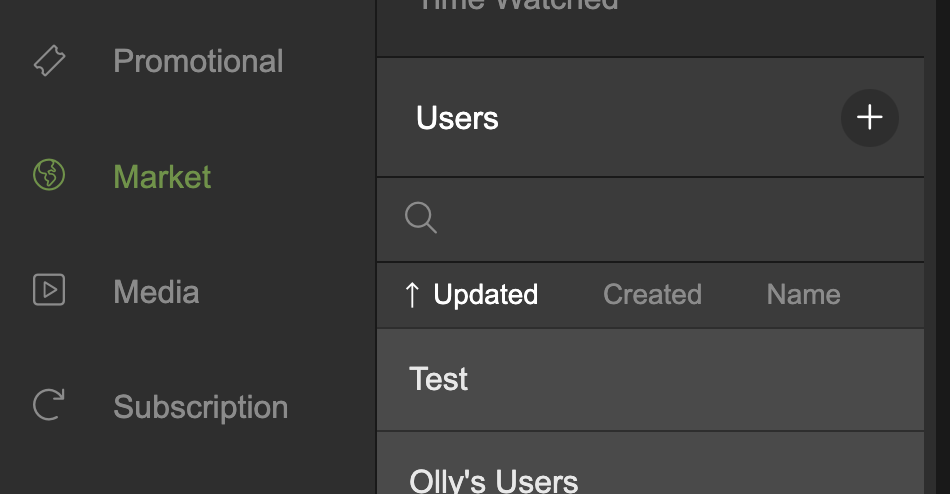
Users
The Users segment is used to create a group of existing users.
- Click Users in the Market menu.
- Click the + icon.
- Enter a reference name for your user group in the subsequent dialogue overlay.
- Click Create to create your user group segment.
Click the + icon to create a users segment
In the selected users segment, we can start selecting the users we want to add to our segment.
- A list of available usernames (a user ID will be displayed if a name does not exist) and emails are listed with a clickable checkbox to the right of each one.
- To add a user to the selected users segment, simply select the checkbox.
- You can add multiple users to a user segment.
- You can select all users by clicking the Select All checkbox. Click it again to deselect all.
- You can search for a user by entering matching text in the search field. This will filter the list to user names/IDs matching the search query.
- Click Show All (selected by default) to list all available users. Click Show Selected to list only the users you have selected.
- You can click a username to go to the user details page.
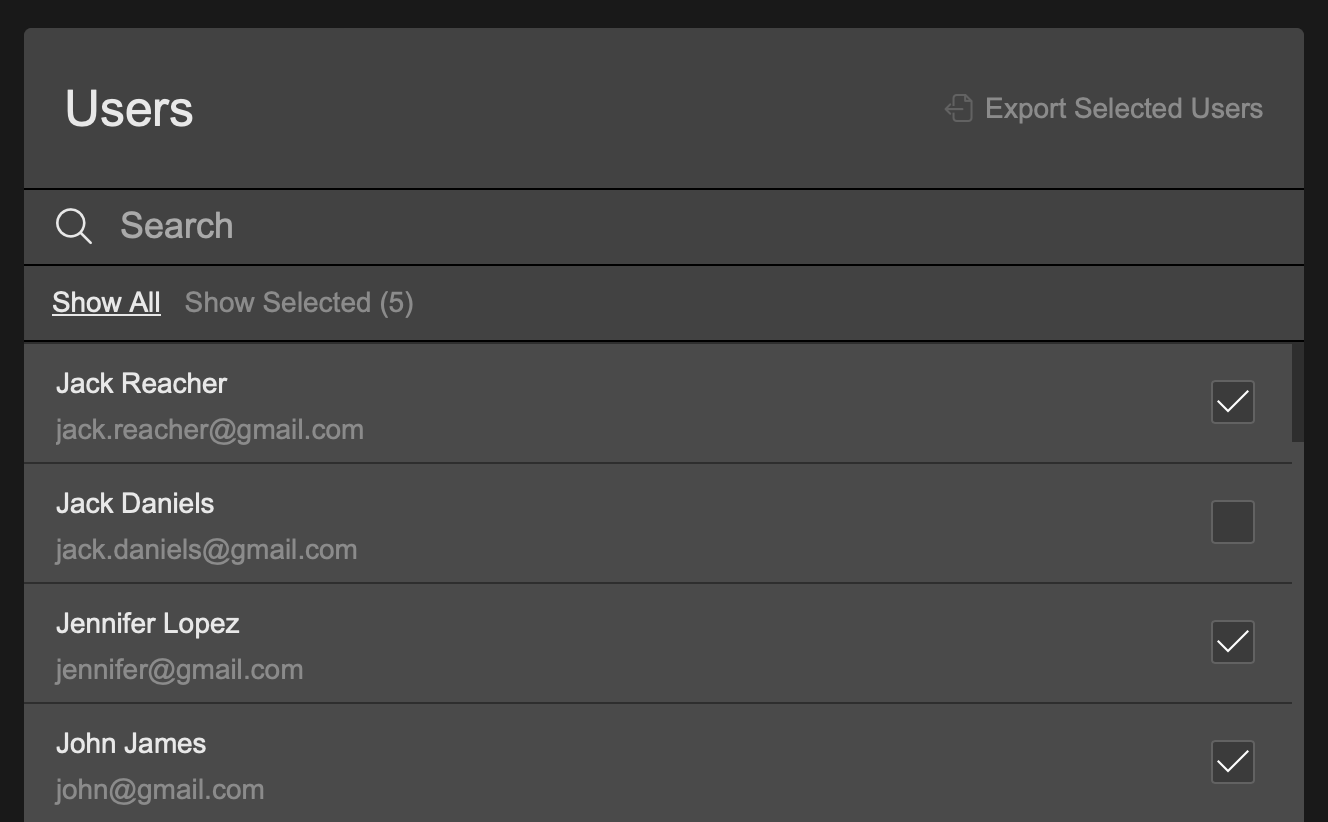
Select one or more users
Time Watched
The Time Watched segment allows you to select one or more products and define how much a customer has watched over a specific time period.
- Click Time Watched in the Market menu.
- Click the + icon.
- Enter a reference name for your time watched segment in the subsequent dialogue overlay.
- Click Create to create your time watched segment.
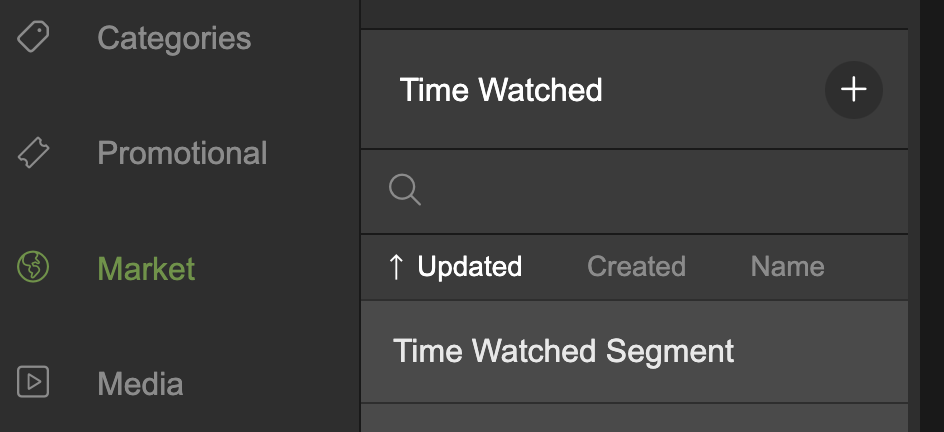
Click the + icon to create a 'time watched' segment
In the selected time watched segment, we can set products and the amount of time watched.
Products
- Click the Products section to expand.
- Click the 'Include all content' checkbox to include all products in this segment. This will also include any products added to the system in the future.
- To select individual products, deselect 'Include all content'. This will display the full list of available products, each with a clickable checkbox to the right of it.
- To add a product to the selected time watched segment, select the checkbox.
- You can add multiple products to a time watched segment.
- You can select all products by clicking the Select All checkbox. Click it again to deselect all.
- You can search for a product name by entering matching text in the search field. This will filter the list to products matching the search query.
- Click Show All (selected by default) to list all available products. Click Show Selected to list only the products you have selected.
- You can click a product name to go to the product page.
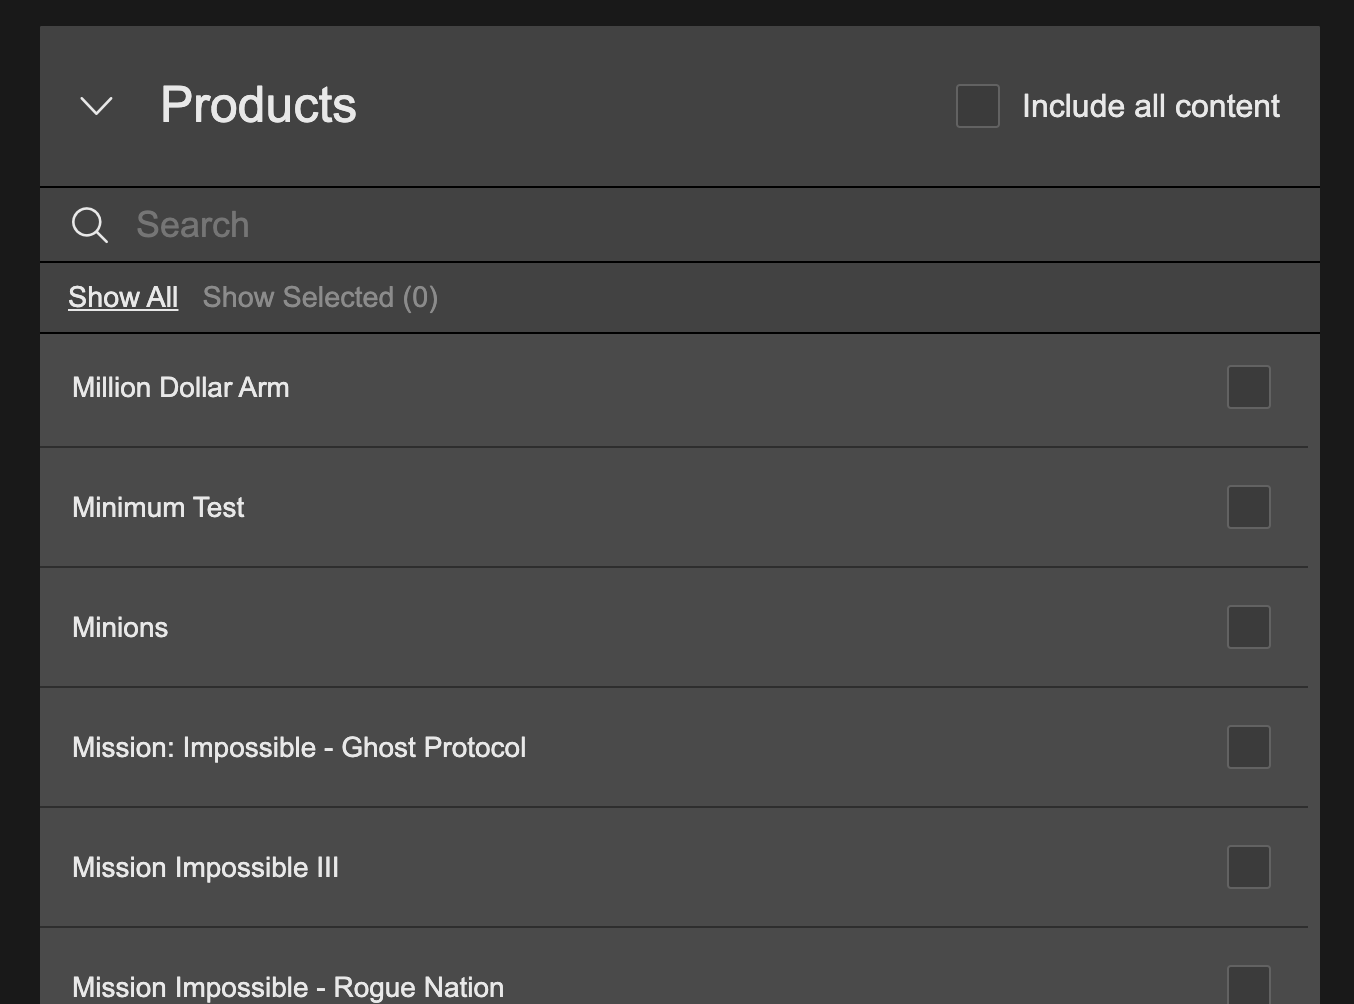
Select one or more products or select 'Include all content'
Time Watched
Define some simple rules for the amount of time a customer has watched your selected product(s).
- Click the Time Watched section to expand it.
- Click the options select menu and choose from:
- Less than
- Less than or equal to
- Equal to
- Not equal to
- More than or equal to
- Enter a value in minutes in the text field to the right of the select menu
For example, using the above settings, you might define a define a value like 'Less than 15 minutes'.
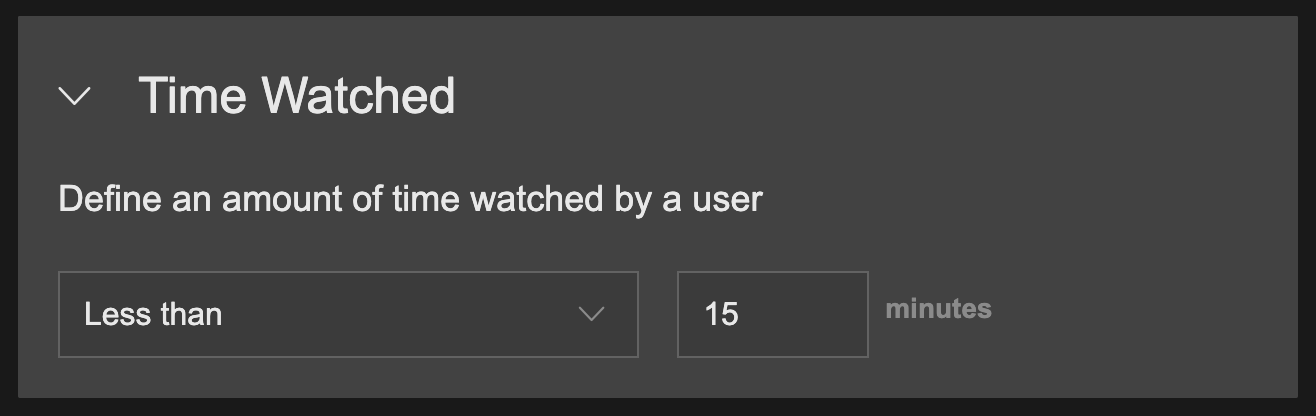
Define a rule and duration in minutes
Updated 8 months ago