Live Events
As a product, live events can be enhanced with various features typically associated with traditional products, including categories, contributors, and images. What sets live events apart is the ability to incorporate a live stream and schedule a specific start date and time. Managing the actual live event itself is done in the Media > Live Events section of the Dashboard. This user guide will walk you through the process of creating and scheduling a live event.
Creating a Live Event
- From the Content menu on the left, select Live Events.
- Click the + icon to create a new live event.
- In the dialogue overlay:
- Enter a name for your live event
- The reference name will automatically populate with the product name as you enter it. You can manually update the reference name. Note, the reference name is used as part of the web browser URL.
- Click 'Create' to create the new live event product. Click cancel discard the live event product.
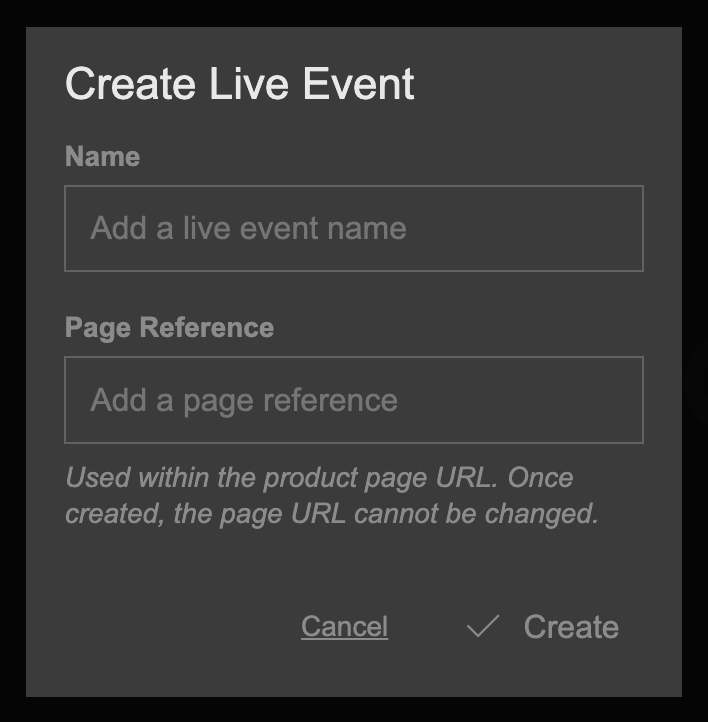
Enter a Live Event product name
Scheduling
Availability windows allow you to schedule your content across different time periods with optional pricing. Availability windows can be targeted at different markets, enabling you to make your content available to different user groups on different dates with different pricing.
Name and Description
You can add a name, short description and long description for your product. Short descriptions tend to be displayed with product tiles and over hero images on product pages. Long descriptions can usually be found on a product page.
- Click the Name and Description section to expand it.
- The name will be populated by the name you gave the product when you created it. However, you can change the name by clicking on the Name text field and editing it.
- Click the Short Description text field to add/edit the short description. The short description has a maximum character allowance of 200 characters.
- Click the Long Description text field to add/edit the long description.
- Click the Show in search results switch to decide whether you would like the product to be discoverable in content searches made within the consumer apps and website by you customers.
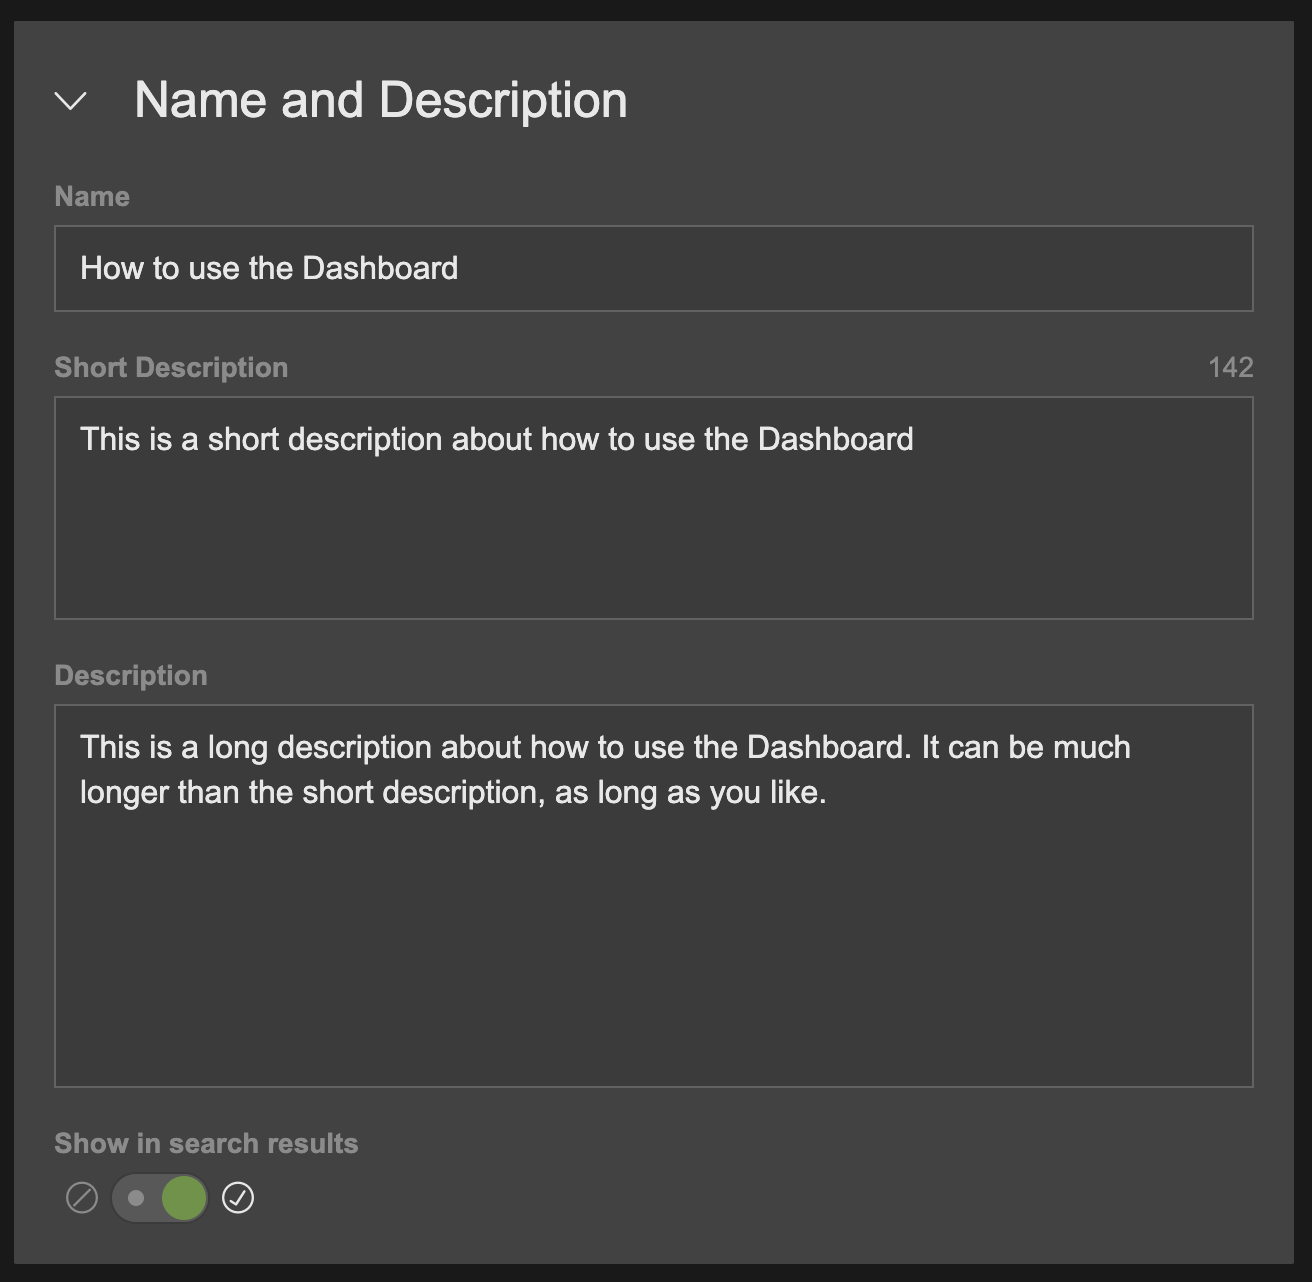
Edit the name, short description and long description
Live Event Info
Add a start date and time to inform your customers when your live event is scheduled to start. Once set, your customers will see a count down to the start date/time.
- Click the Live Event Info section to expand it.
- Click the date text field to open the calendar.
- Select a date and time.
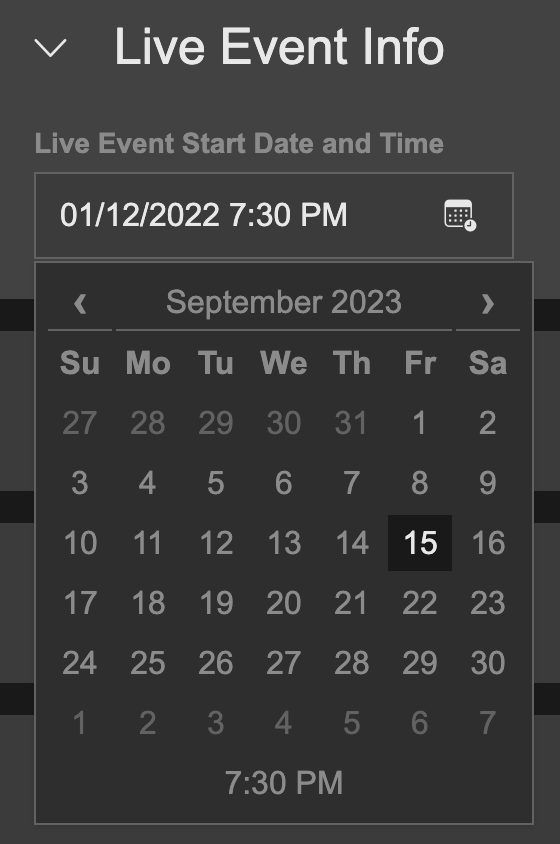
Select a start date and time
Your live event can be managed in the Live Media.
Live Event Media
The live event stream is a media asset which contains a live video stream. The live event stream is also used to control the live event. For example, the event can be delayed, started, finished via the live event stream.
First, you will need to create a live media stream by selecting Media in the main menu on the left, and then Live Event Streams.
Assuming you have a live media stream you have already created:
- Click Live Event Stream to expand it.
- Select Media from the main menu on the left and then click on Live Event Streams.
Tip: You can short cut to the Live Event Streams menu by clicking the 'Show Live Events Menu' button at the top right of the expanded Live Media Stream section.
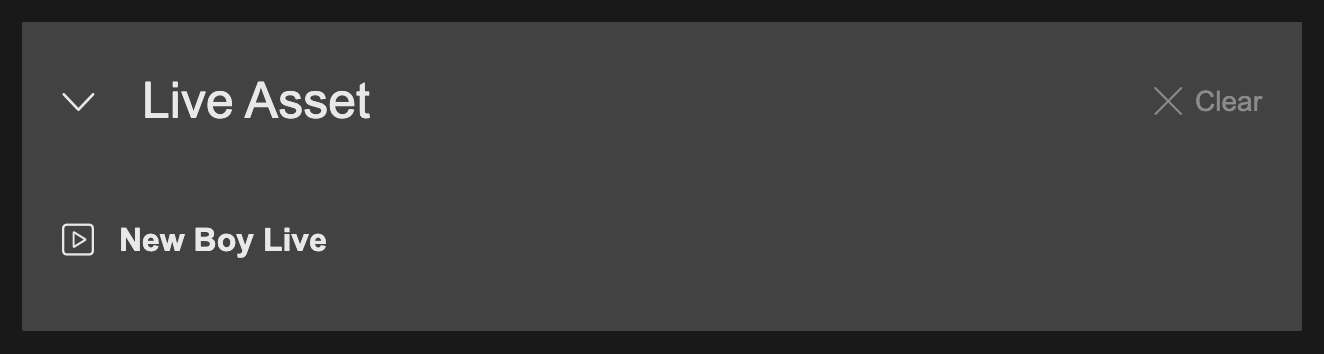
- Click and hold the Live Media Stream you would like to add to your live event product and drag and drop it onto the expanded Live Event Stream section of you live event product.
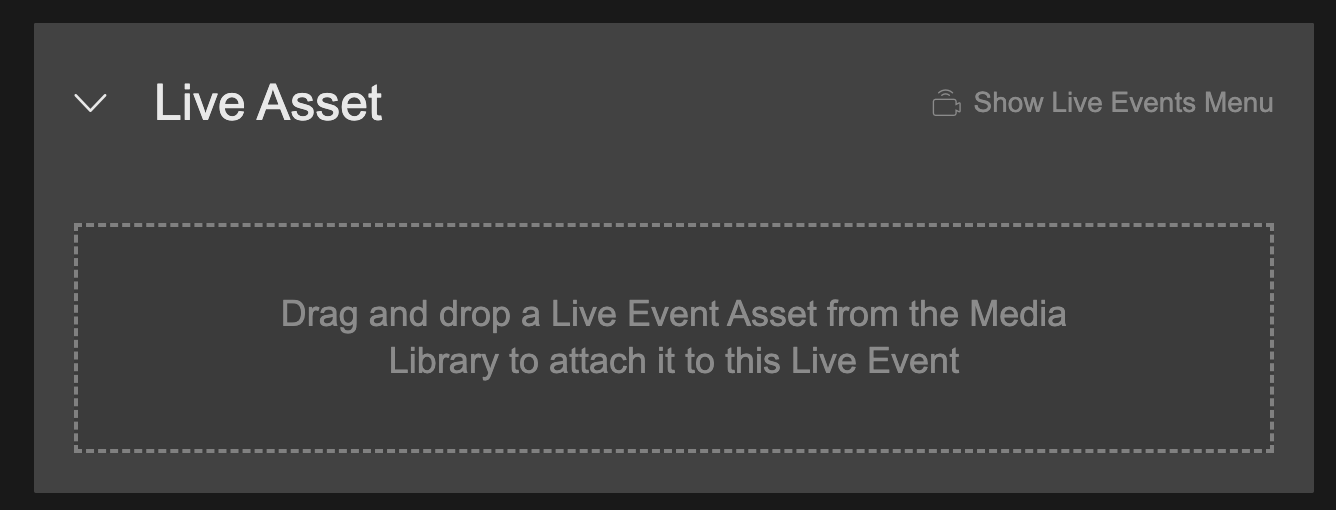
Drag and drop a live event stream to the live event product
Your live event product is now linked to the live event stream.
To remove a stream from a live event product, click the Remove button in the top right of the Live Event Product.
Click 'Remove' to remove the live event stream from the live event product
Trailer
If a product has a trailer, the customer can watch it for free from the product page. The trailer can also be played from a 'Video Carousel' element. A trailer can be added to a product by dragging and dropping a trailer video asset from the media menu.
- Click the Trailer Video section to expand it.
There are two ways to add a video asset to your product, from Media Library (Media > Non-Feature) menu, or from your local hard-drive
From the Media Library
- Select Media from the main menu on the left, and then click the Non-Feature menu to expand it. The 'Non-feature' menu contains video assets which are compatible as trailer videos.
- Drag and drop an existing 'Non-feature' video media asset from the left menu onto the Trailer section of your product.
- The media asset will be added to the product.
- Video media asset information will be displayed, including details such as duration,resolution, bitrate etc.
- If the video is has not already been encoded before being added to the product, a 'Not Encoded' message is displayed and the user can opt to click Encode video asset to encode it.
A video media asset must be encoded for it to be displayed in the customer apps and website.
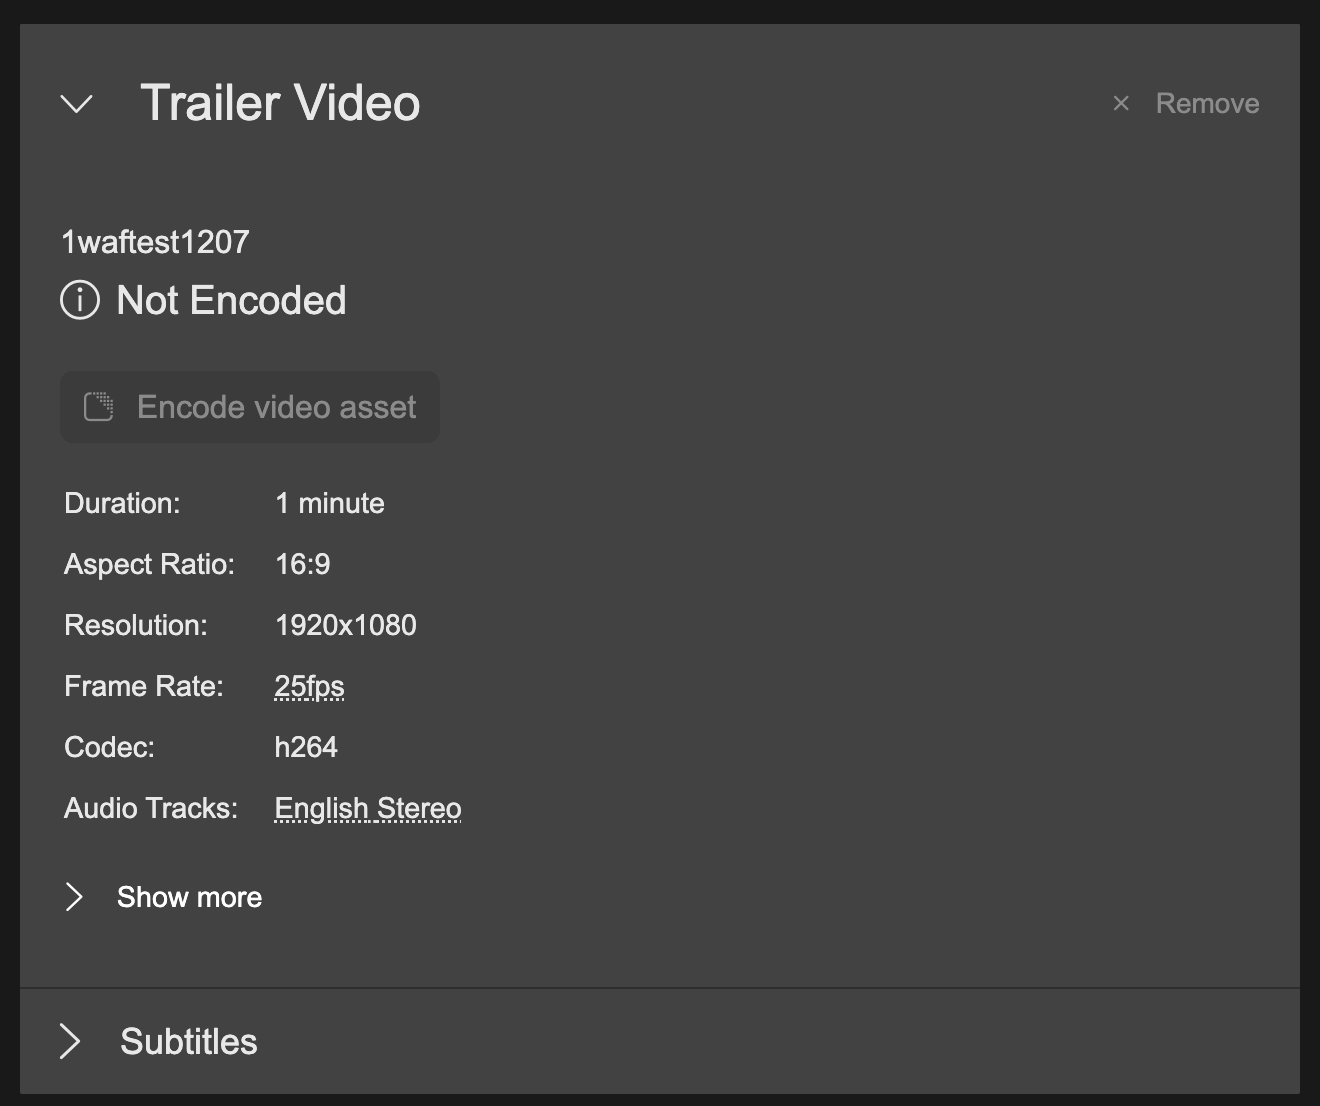
Video media asset information. Click 'Encode video asset' to encode non-encoded assets.
From Your Local Drive
- Either:
- Click Upload in the top right of the Video Trailer section, locate your video of choice from your local hard-drive and click 'OK' to upload it
- Locate a video of your choice on your hard drive, grab it and drag it onto the 'Trailer Video' section of your product.
- Once uploaded, information regarding the video will be displayed.
- The video trailer will start to encode. A progress bar will inform you of progress.
- The uploaded and encoded video is also added to the Media Library, allowing you to reuse the Media asset for other products if necessary.

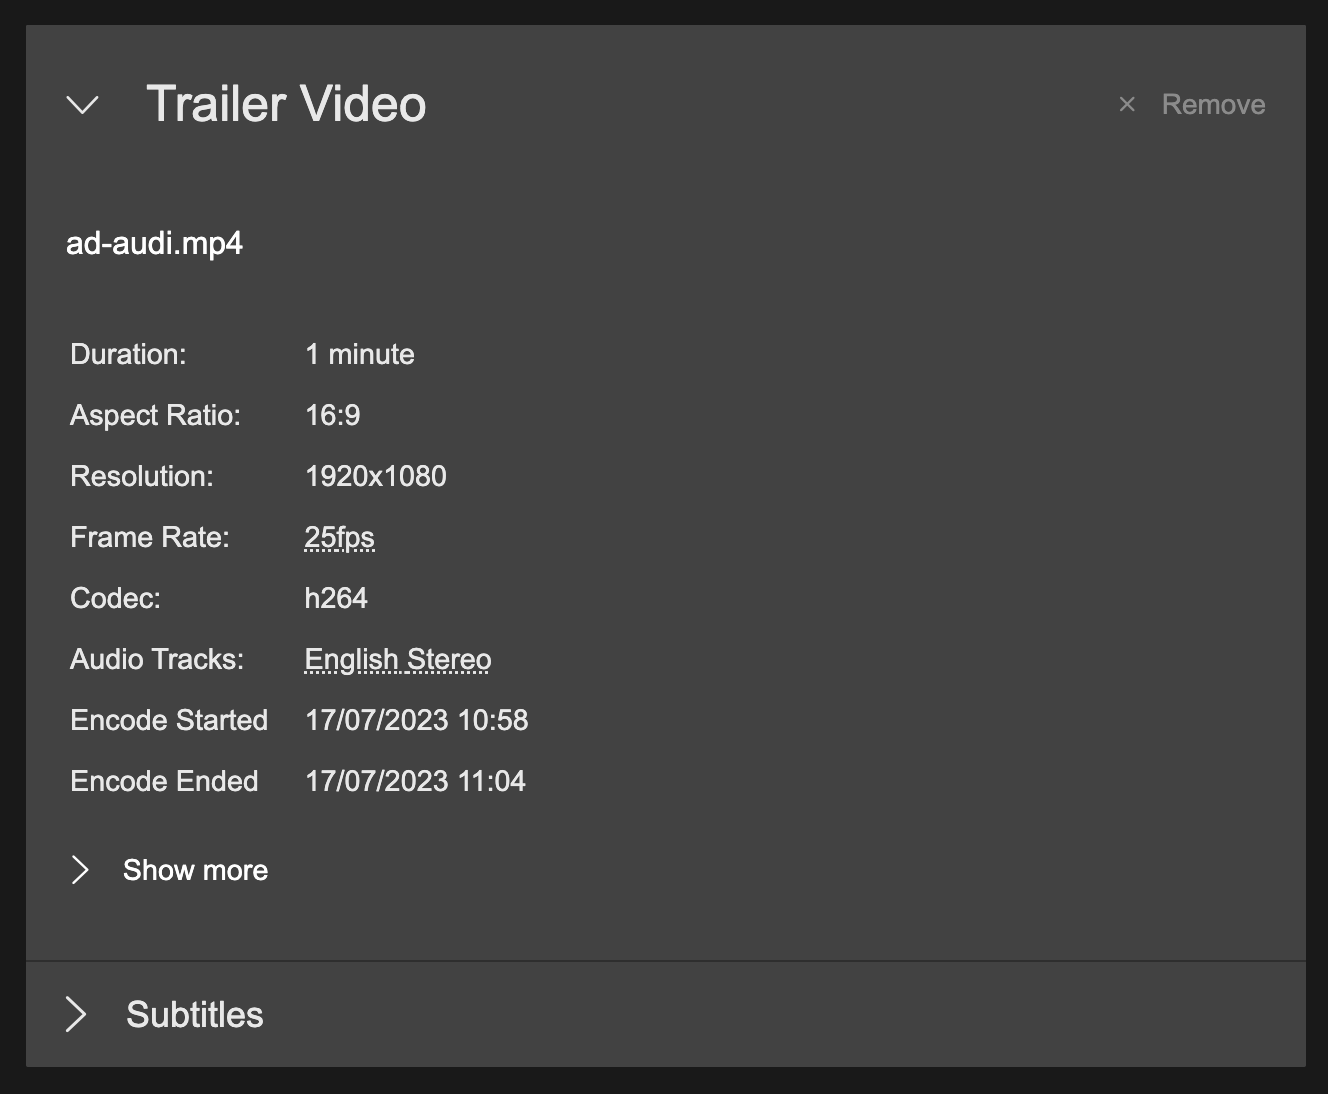
Information for uploaded and encoded video media asset
Subtitles
You can add subtitles to a video trailer after it has been uploaded.
- Click Subtitles in the 'Trailer Video' section to expand it.
- Either:
- Click Upload in the top right of the expanded Subtitles section, locate your subtitle file(s) of choice from your local hard-drive and click 'OK' to upload them.
- Locate subtitle files of your choice on your hard drive, grab them and drag them onto the 'Subtitles' section of your product.
You can add one or more subtitle files at a time. The Easel TV Dashboard supports VTT subtitles only.

The Dashboard will automatically select a language of the uploaded subtitle file based on the file name. You can change the language by clicking the drop-down select menu and selecting an alternative language.
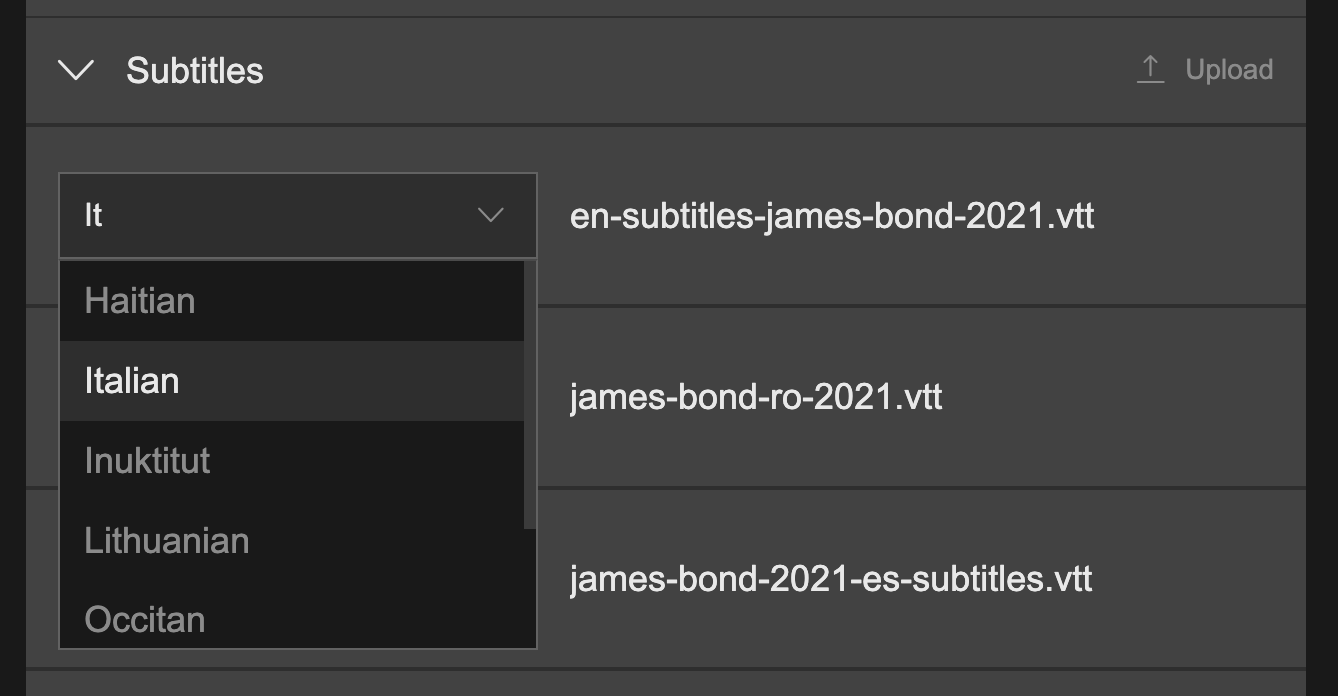
You can browse the language select menu to filter it by typing in a language name
Audio Languages
Audio languages are part of the video file and will be added automatically when available. On-screen information will provide details about the available language tracks.
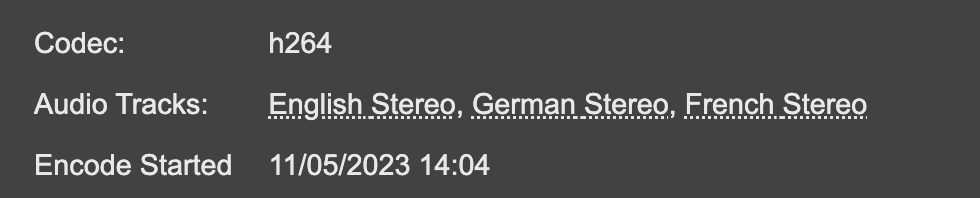
Information about multi-language audio tracks
Categories
Existing categories can be added to a product by dragging and dropping them from the categories menu on the left.
- Click the Categories section to expand it.
- Select Categories from the left menu to display all the existing category types.
You can short cut to the categories menu by clicking 'Show Categories Menu' button in the top left of the categories section.
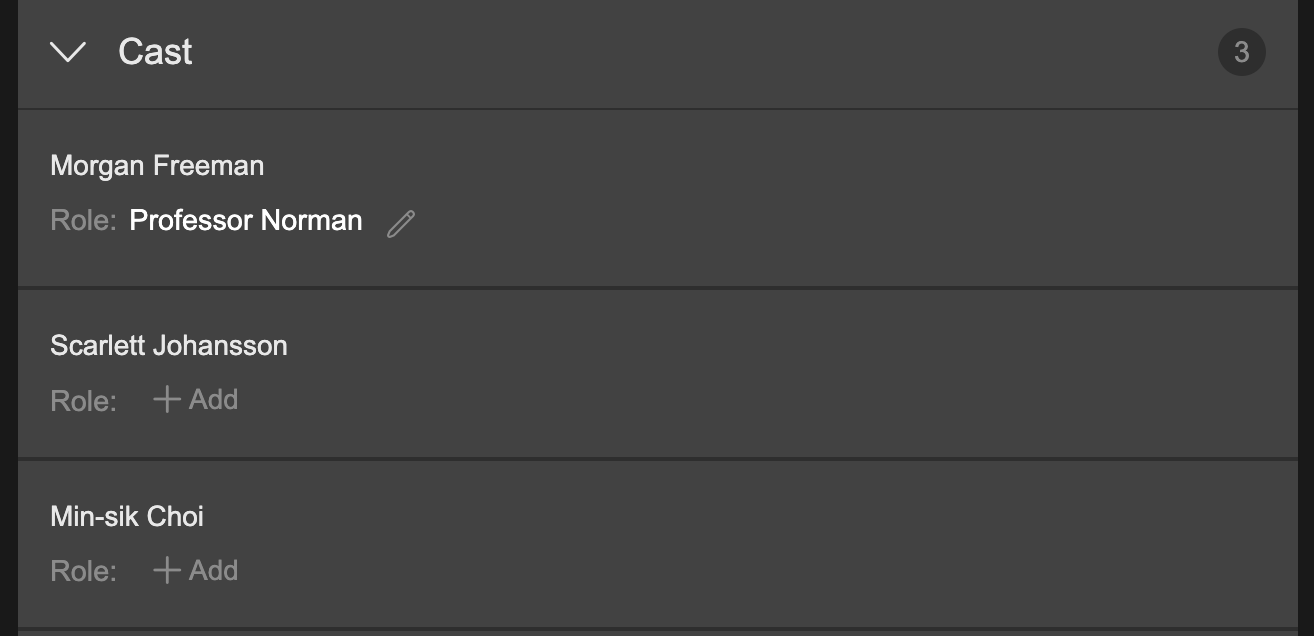
- Click a category type (i.e. Genres) to expand it and list the child categories.
- Grab a category, drag and drop it over the expanded Categories section on the product.
- When dropped onto the product, the category will be automatically grouped into a matching 'category type' folder. For example, dropping the 'Action' category onto a product will create a 'Genres' category type folder.
- Repeat until you have added all the categories you need.
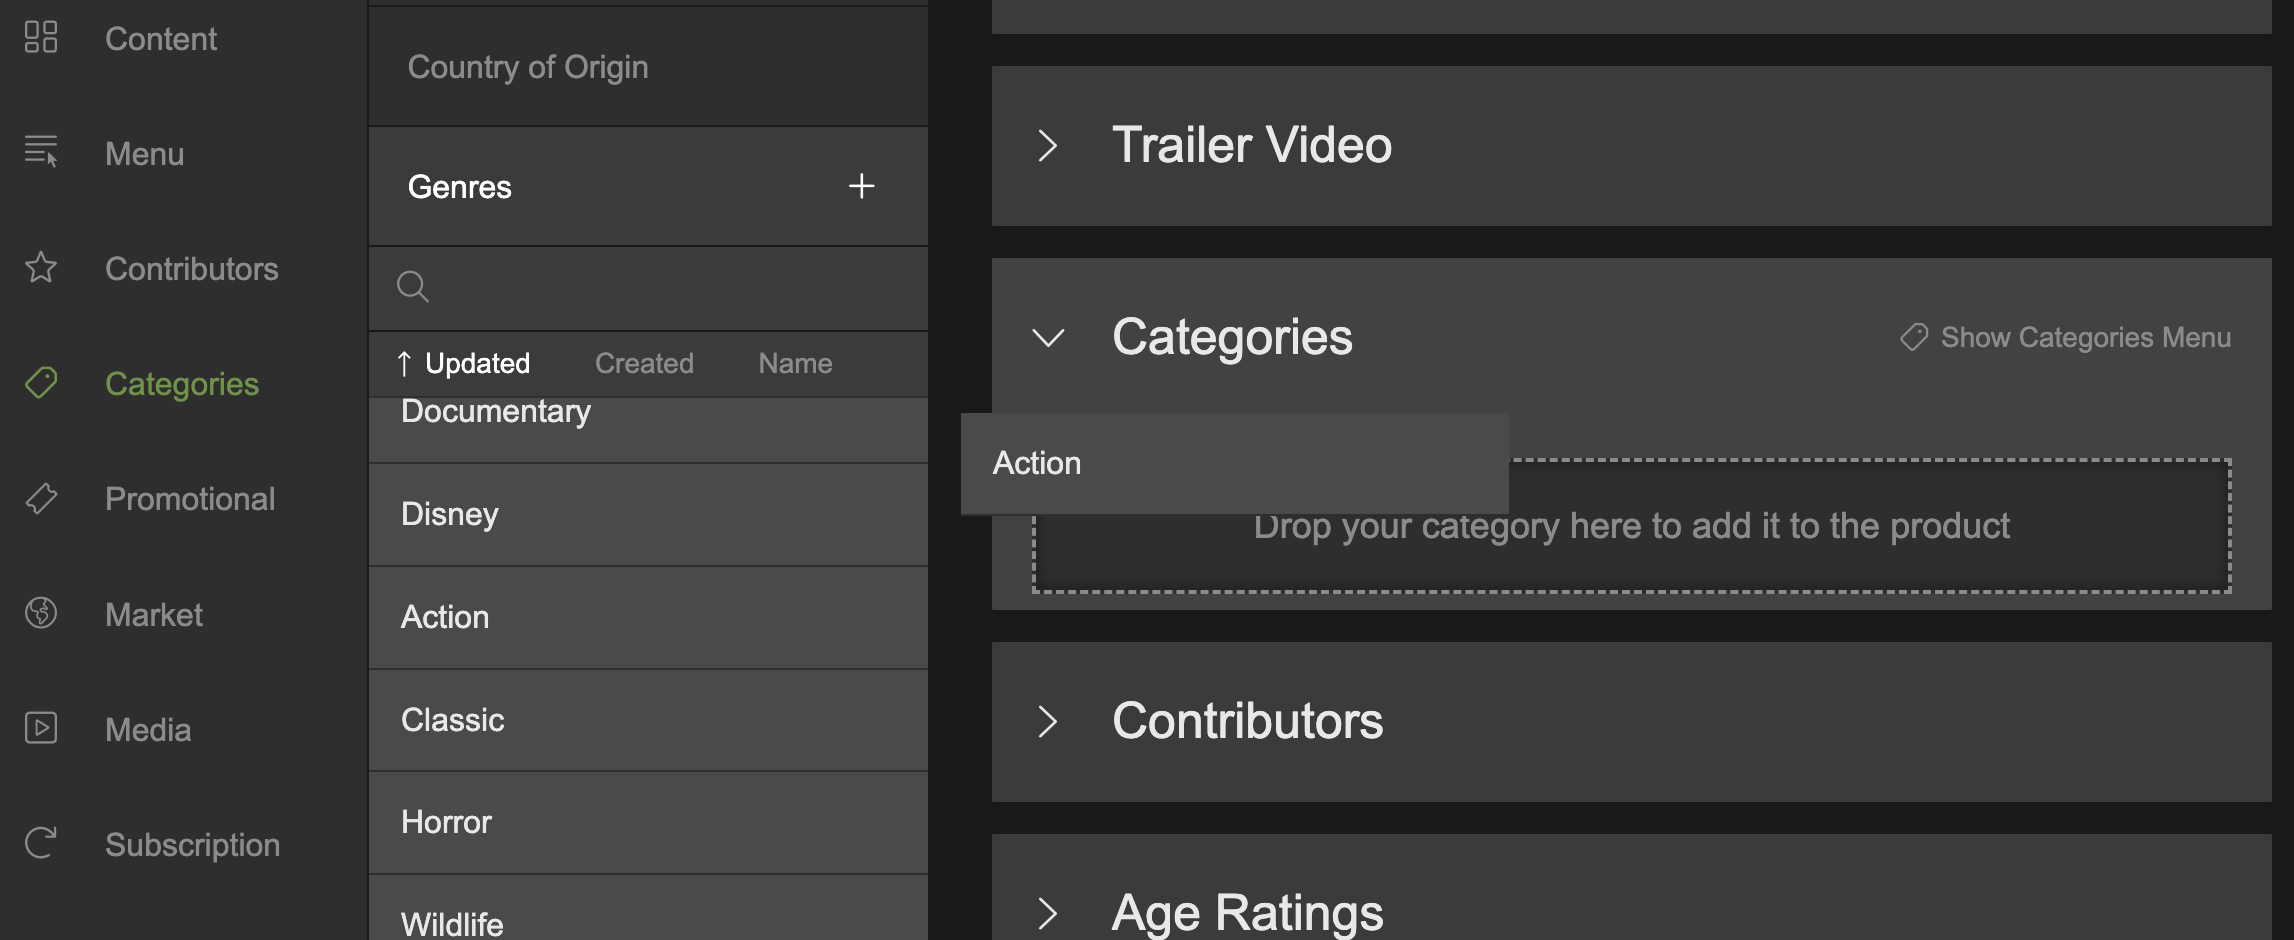
Drag and drop a categories over the categories section on the product
Once dropped onto the product, the category is automatically placed into a category type folder
Contributors
Existing contributors can be added to a product by dragging and dropping them from the contributors menu on the left.
- Click the Contributors section to expand it. You will see a list of all available contributor types.
- Click a contributor type to expand it.
- Select Contributors from the main menu on the left, followed the Contributors option in the subsequent menu.
You can click 'Show Contributors Menu' in the Contributors section of the product to open the contributors list directly.
- A list of existing contributors will be displayed.
- Select a contributor and drag it onto the expanded contributor type on the product. By doing so, you will add the chosen contributor to the product and simultaneously specify its corresponding contributor type.

Drag and drop a contributor onto a contributor type
To remove a contributor, mouse over it and click x Remove which appears on mouseover.

Click 'x Remove' to remove the contributor from the product
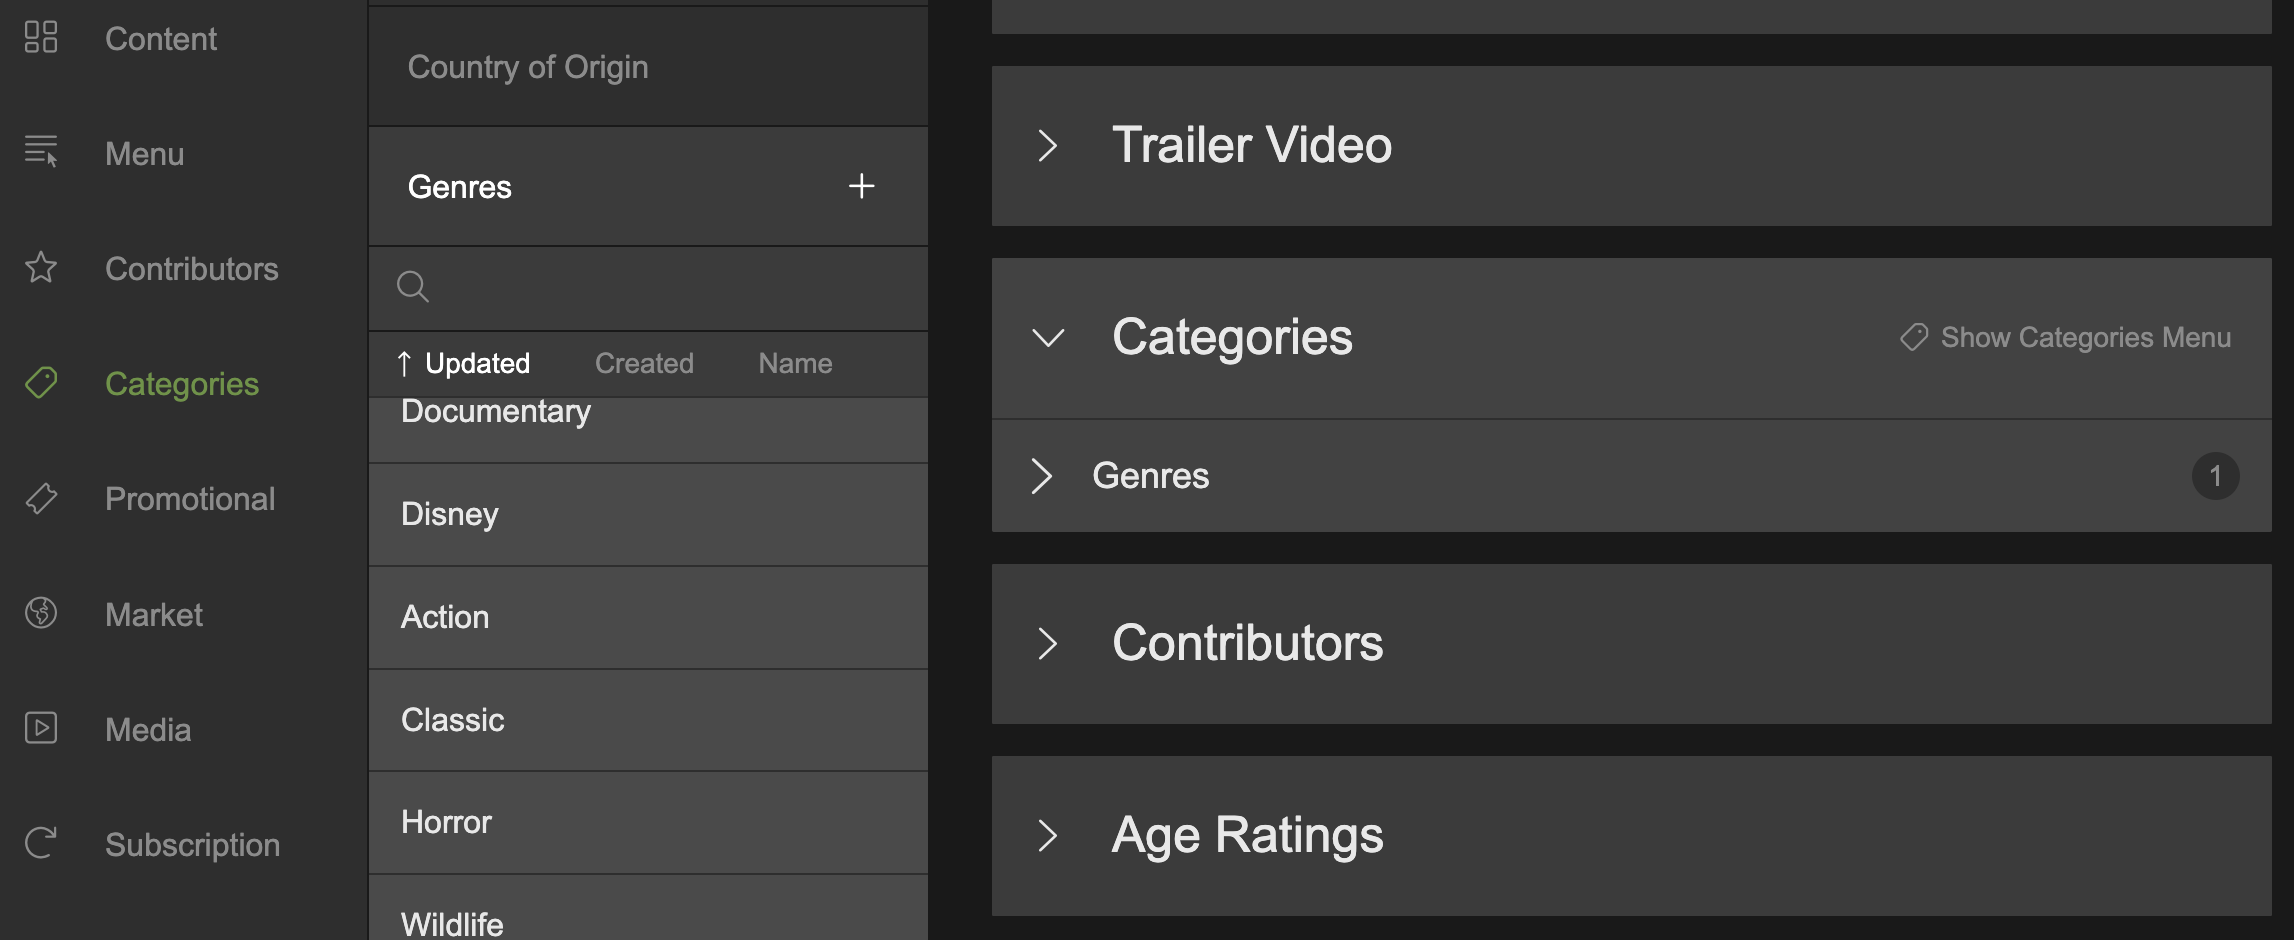
Once you have added one or more contributors, you can define an optional role for each contributor. A role could be the role the contributor plays in movie, the position they play in a sports team, or anything that suits your requirements. In the customer apps and website, the contributor will be displayed on the product page along with their name and role.
- Click a contributor type to expand a list of contributors you have already added to the product.
- For each contributor to the right of 'Role:' you can click + Add to create a role.
- Enter the name of the role and click the 'tick' button or press RETURN to commit, or the 'x' button to discard.
- To edit an existing role, click the pen tool and edit the role name.
Click +Add to add a role, or the pen tool to edit the name of an existing role
Age Ratings
Add one or more age ratings a product. For a detailed overview of Age Ratings, please refer to Global > Age Ratings.
- Click the Age Ratings section to expand it.
- A list of existing Age Rating sets will be displayed.
- Click an Age Rating set to expand it.
- Click the radio button next to the age rating of your choice to associate it with the product.
Depending on which market the age rating set has been targeted at will affect which user group sees the selected age rating.
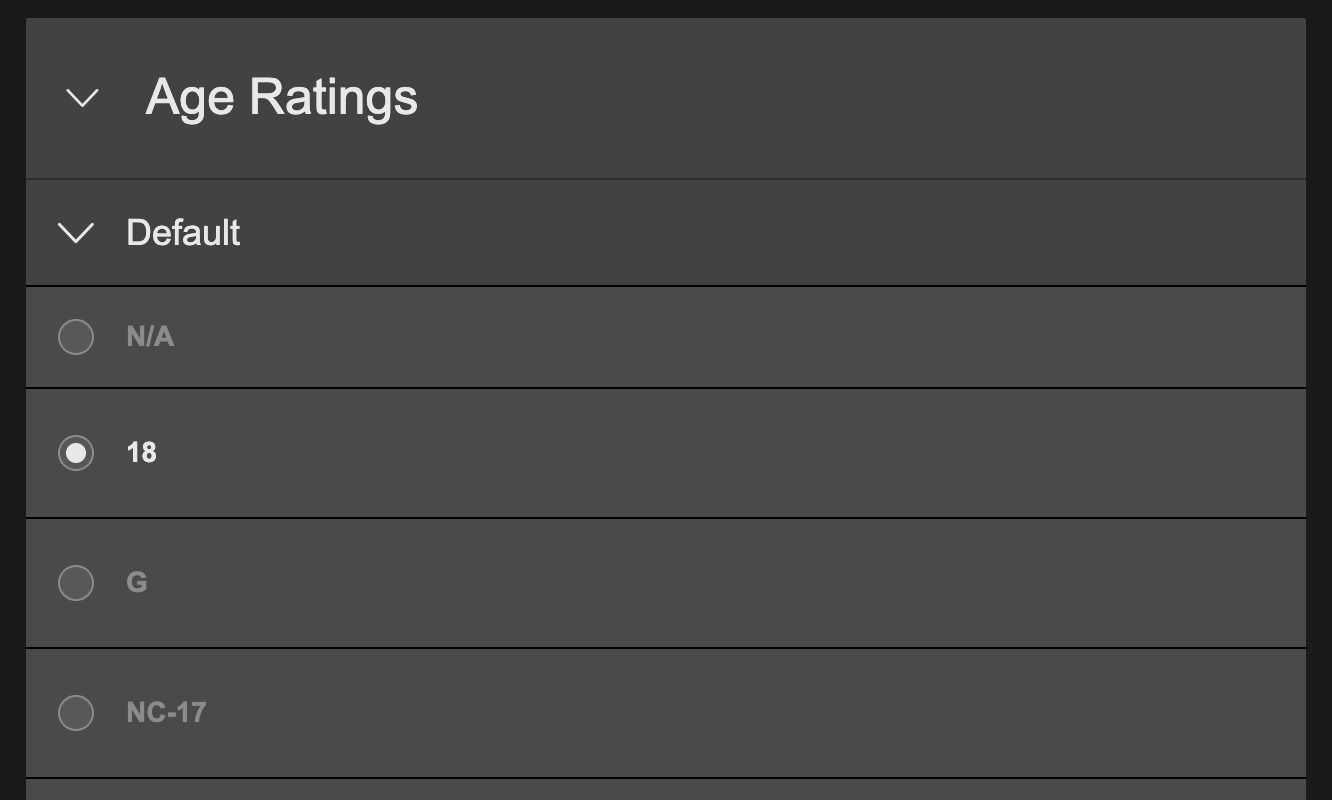
Select an age rating from the xpanded age rating set
Links
You can add one or more links to your product. Each link can point to:
- An internal destination, i.e. product page, collection page etc
- An external destination using a URL
- System page, i.e. register, sign-in, settings etc
To create a link:
- Click the Links section to expand it
- Click Add to add a new link. A new link will be added, ready to be configured.
- Edit the link Label. This is the text for the link that your customer will see.
- Switching the Open in New Tab to on (the 'tick' icon) will result in the link's destination being open in a new browser tab when the customer clicks the link.
Link Type
Using the Link Type select menu, you can select between:
- External link: Add a URL web address for an external website
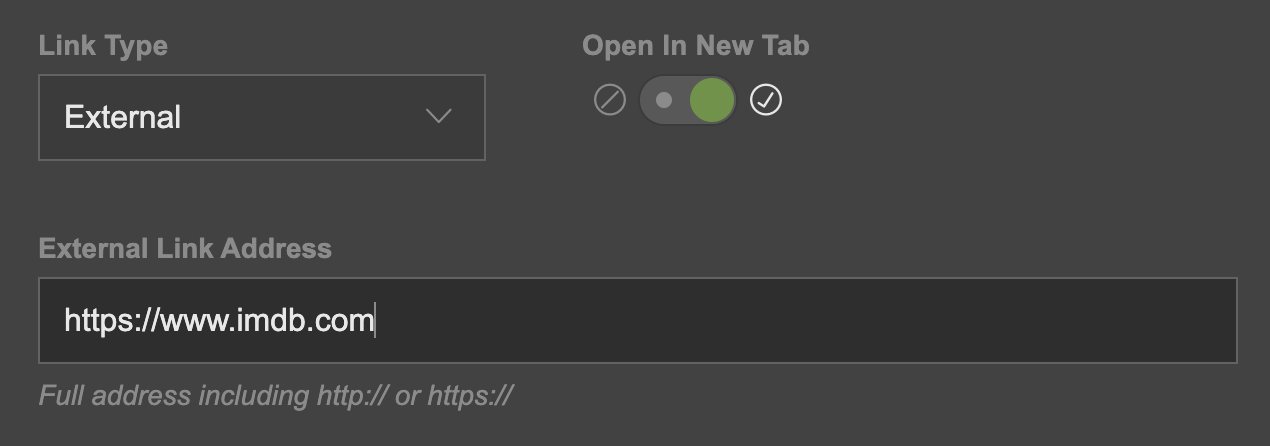
External Link
- Internal link: Link to an internal destination, such as a product page, collection page etc. Drag and drop an internal destination from the content menu on the left.
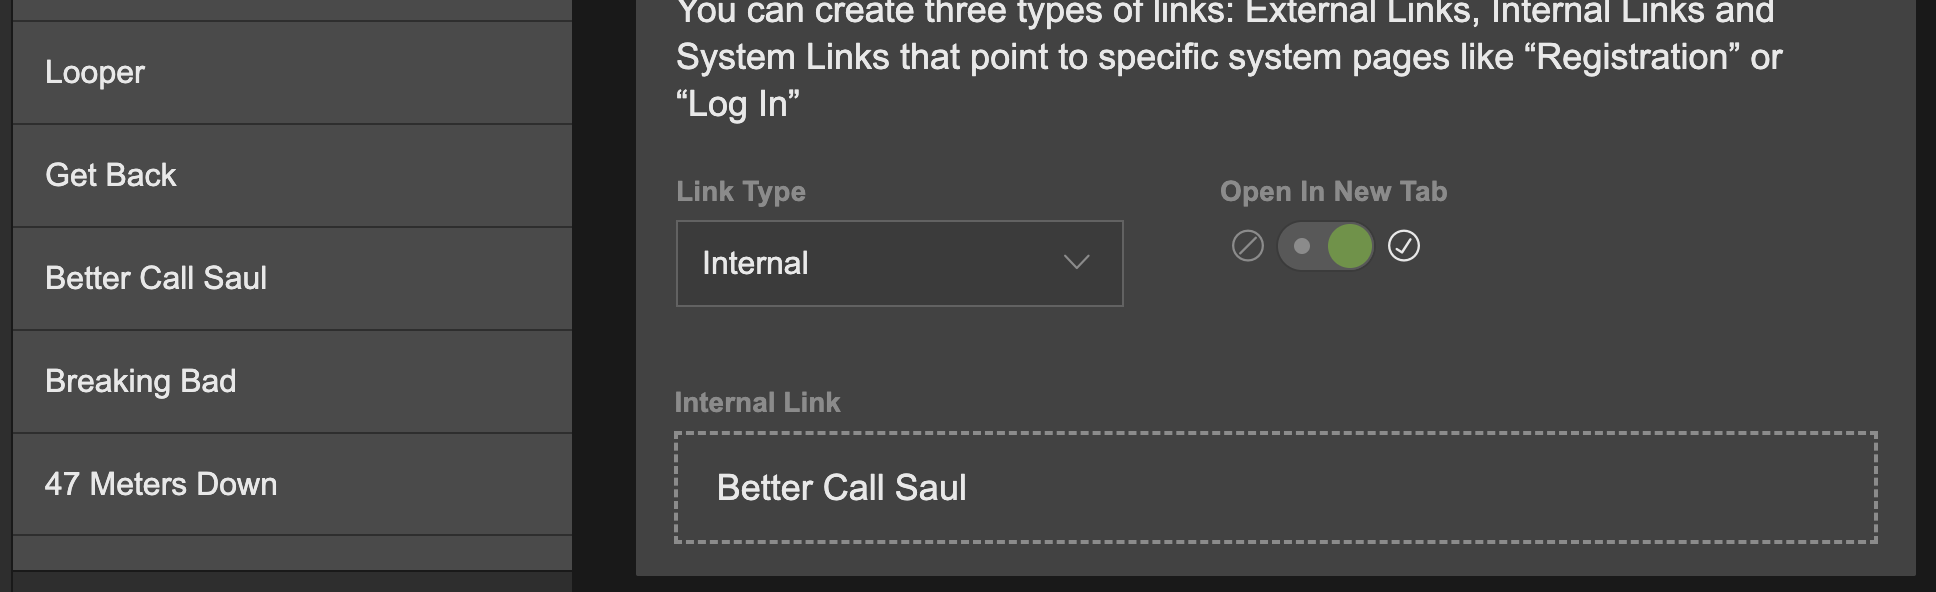
Internal Link
- System Link: Link to a special system page, including sign-in, registration and settings. Having selected 'System' from the Link Type menu, select an option in the secondary menu below.
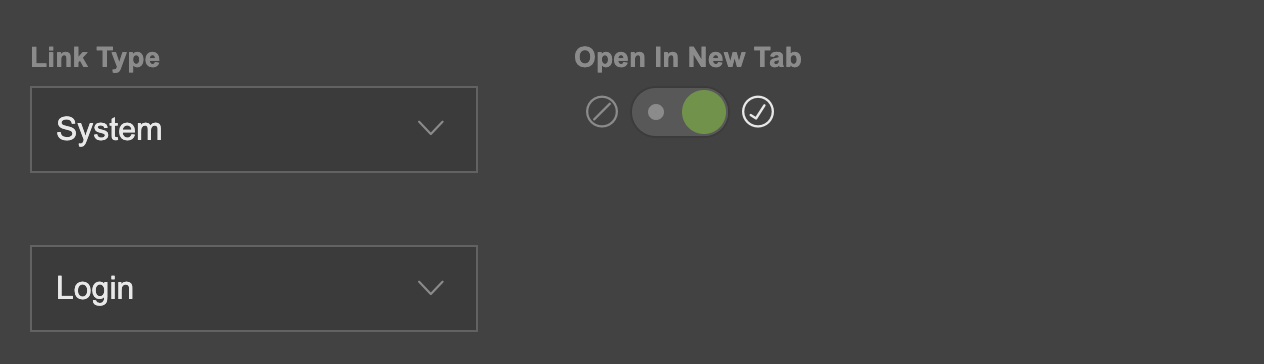
System Link
Video Ads
Video ads with matching categories can play before, during, after a product video. The three points at which video ads can play are:
- Pre-roll: A playlist of video ads before the main feature video
- Mid-roll: A playlist of video ads at a point during the main feature video
- Post-roll: A playlist of video ads after the main feature video has finished playback.
The settings for pre-roll, mid-roll and post-roll e can be defined in the global settings. You can also override the global settings for each product.
Pre-rolls
- Enable/disable mid-rolls for the current product by flipping the switch on the right of the pre-rolls section.
- Define the total maximum duration of video ads by editing the minutes and seconds text fields under Total max duration.
- See the maximum number of ads that will show during the pre-roll slot by using the select menu under Max ads.
When you make any changes to the above settings, a blue broken link icon will appear denoting that the global configuration has been overridden. To revert the setting back to the global configuration, mouse over the blue icon and click 'Reset'
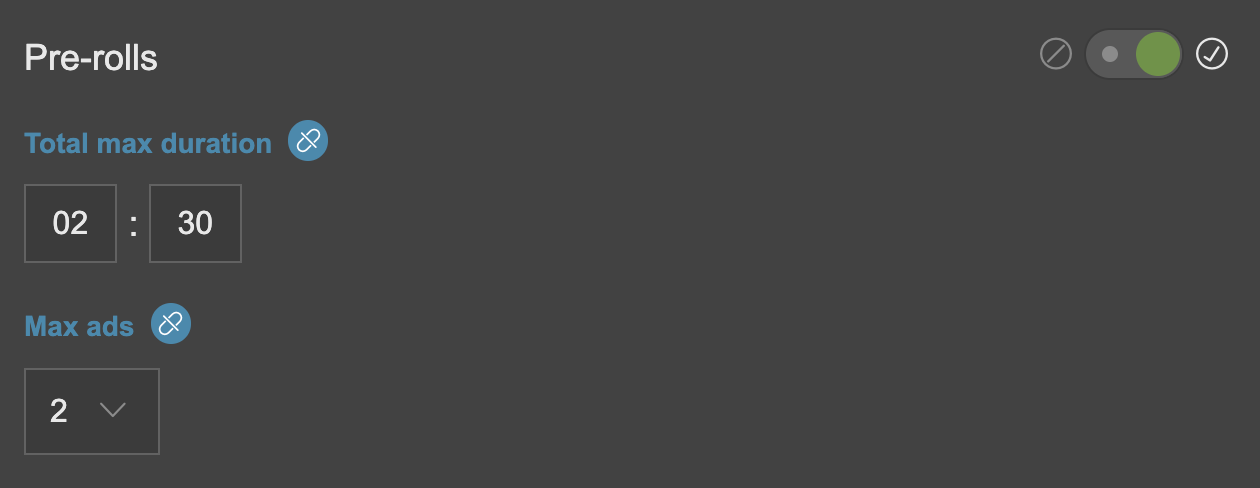
Pre-rolls settings
Mid-rolls
You can add one or more mid-roll points to a product video.
- Click + Add Midroll to add a new mid-roll slot.
- Set the time at which the mid-roll will interrupt the main feature video playback. The Insert Position can be set using the hour, minute and second text fields.
- Define the total maximum duration of video ads by editing the minutes and seconds text fields under Total max duration.
- See the maximum number of ads that will show during the mid-roll slot by using the select menu under Max ads.
- A mid-roll slot can be deleted by clicking Delete mid-roll.
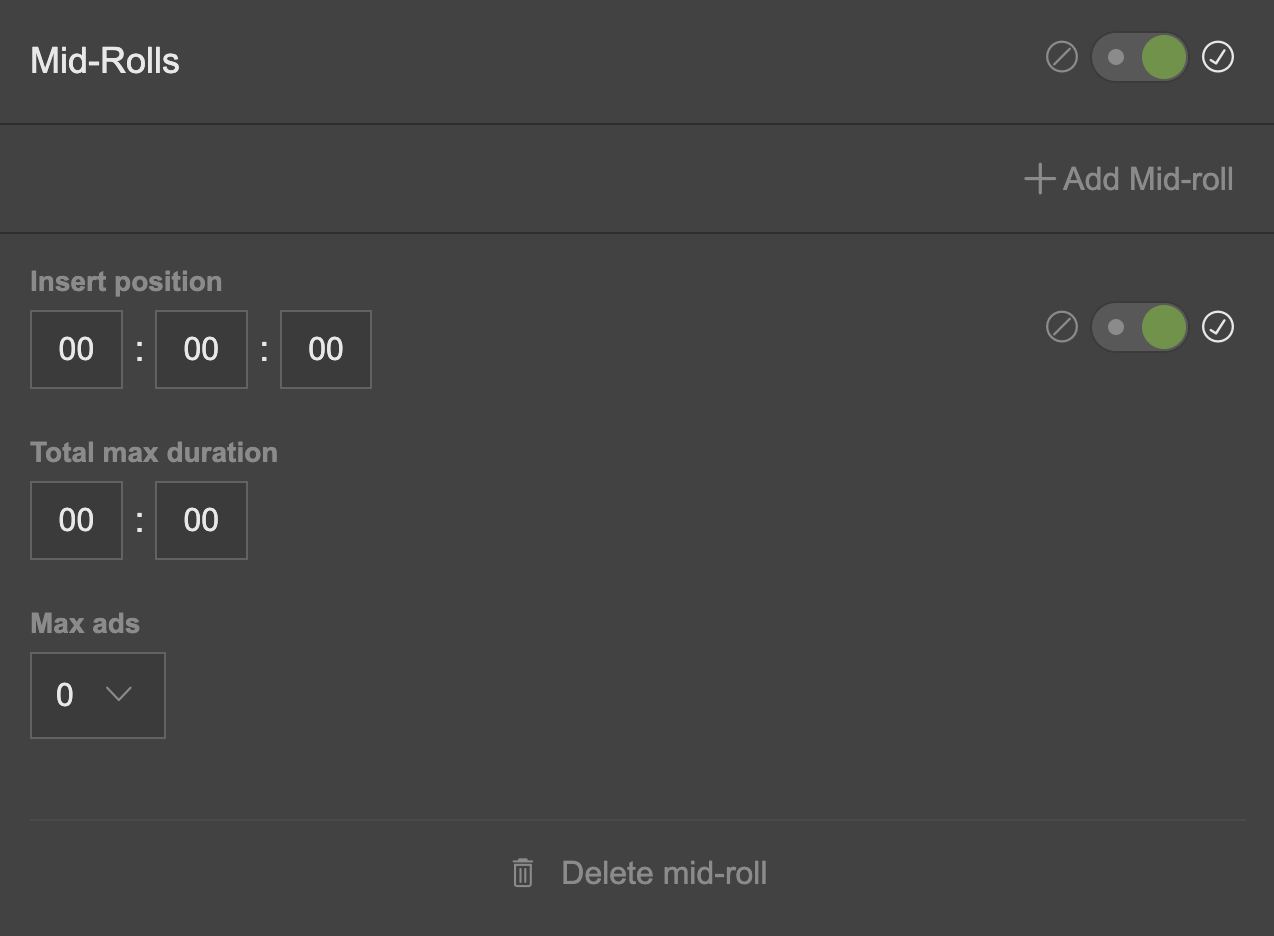
Mid-roll settings
Post-rolls
- Enable/disable post-rolls for the current product by flipping the switch on the right of the post-rolls section.
- Define the total maximum duration of video ads by editing the minutes and seconds text fields under Total max duration.
- See the maximum number of ads that will show during the post-roll slot by using the select menu under Max ads.
When you make any changes to the above settings, a blue broken link icon will appear denoting that the global configuration has been overridden. To revert the setting back to the global configuration, mouse over the blue icon and click 'Reset'
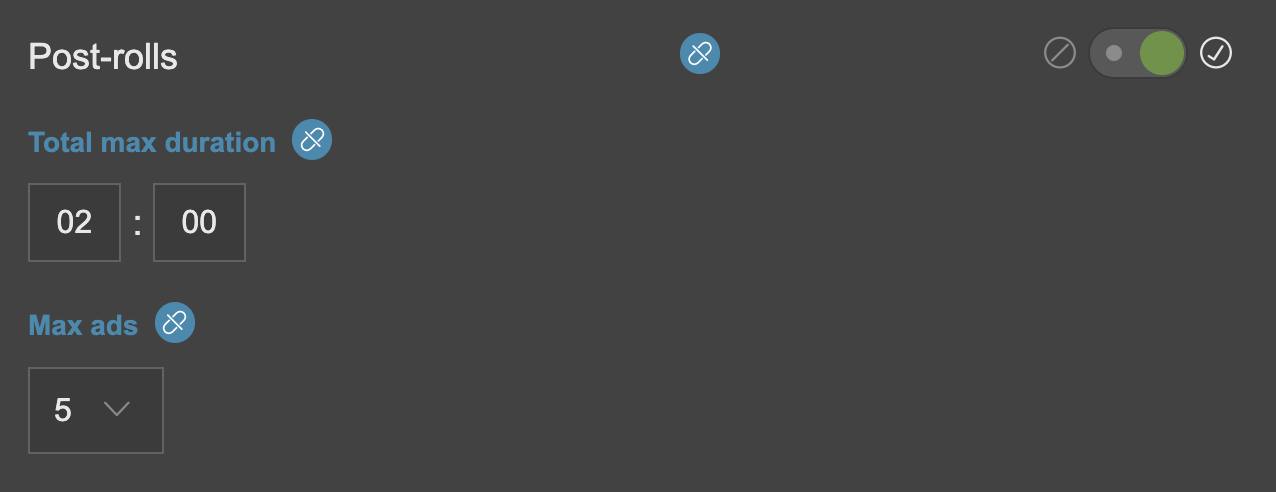
Post Roll settings
Updated 8 months ago