Video Ads
Video ads are single video assets that can be targeted at products to play out as part of a pre-roll, mid-roll, or post-roll.
- Pre-roll: The video ad plays to the customer along with other compatible ads before a featured video.
- Mid-roll: The video ad plays to the customer during pre-designated ad breaks during featured video playback.
- Post-roll: The video ad plays to the customer along with other compatible ads after a featured video.
Creating a Video Ad
- Click Promotional in the main menu on the left.
- Within the "Promotional" menu, select the Video Ad option.
- Click on the + icon on the selected Video Ad option.
- After clicking the plus icon, an overlay will appear on the screen. In this overlay, enter a reference name for the video ad and click the Create button.
- You can now proceed to customize and configure the details of the newly created Video Ad.
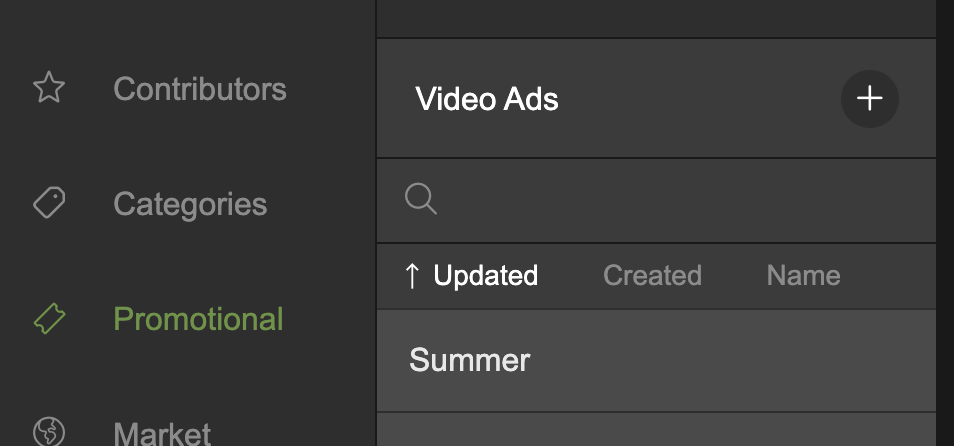
Click the + icon to create a new video ad
Options
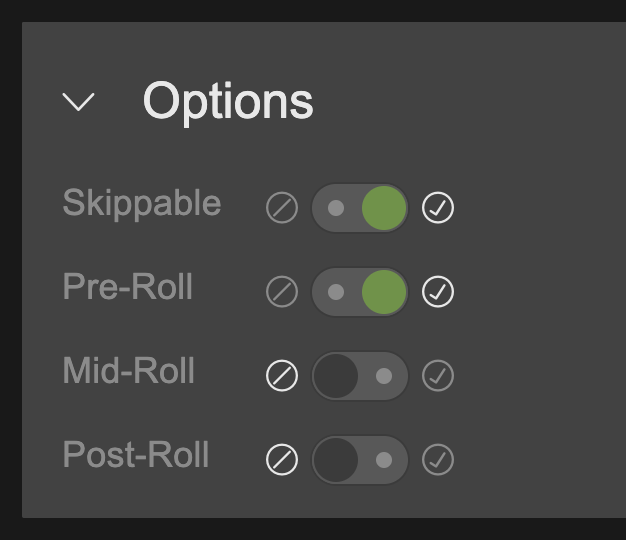
- Click the Options section to expand it.
- Flip the Skippable switch to set whether the customer can skip this particular video ad or not.
- To have the video play out as part of a pre-roll, shift the Pre-roll switch to the right.
- To have the video play out as part of a mid-roll, shift the Mid-roll switch to the right.
- To have the video play out as part of a post-roll, shift the Post-roll switch to the right.
Categories
- Click the Categories section to expand it.
- Open the Categories menu on the left and drag and drop a category onto the video ad Categories section.
- Clicking Show Categories Menu is a quick way to display the categories menu on the left.
- Once a category has been added to the video ad, you will see a number displayed next to it. This number represents the category weighting, which affects how likely the video ad will be displayed in a targeted pre/post/mid-roll.
- To adjust the category weighting, click on a category to expand it.
- Within the expanded category, you will find a slider. Drag this slider to increase or decrease the weighting. The options range from "Never Show" through a scale of 1-5, with "Very Likely" being the highest weighting.
- To remove a category from the video ad, simply hover over the category and a Remove button will appear. Click the 'Remove' button to remove the category from the video ad.
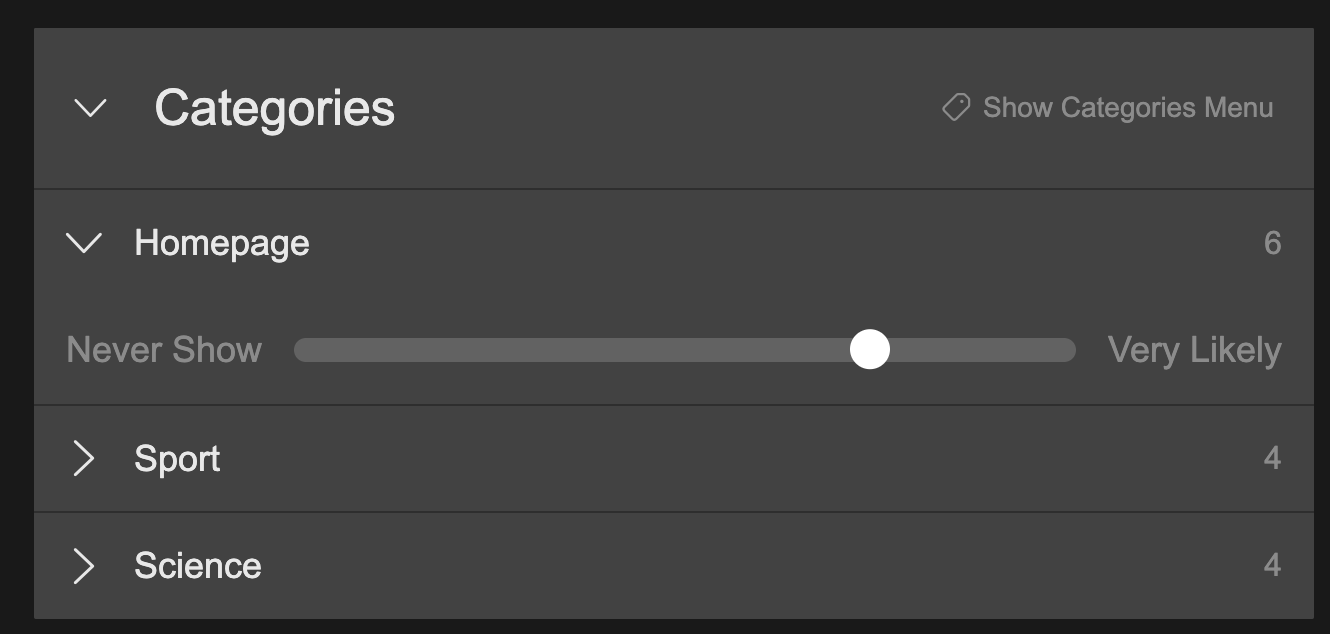
Set the weighting of each category
Video Asset
The video asset is an essential part of your video ad. Adding a video file to your video ad is simply a case of drag and dropping.
- Click the Video Asset section to expand it.
- Drag and drop a compatible video file from your hard drive to the drop zone in the Video Asset section.
- Once dropped, the video file will upload. Uploading progress is expressed with a blue progress bar.
- Once uploaded, the video file will automatically be encoded. Encoding progress is expressed with a green progress bar.
- Once the file has been encoded, the green progress bar will disappear, leaving the encoded filename.
- Known file metadata is displayed below the progress bar, including:
- Duration
- Aspect Ratios
- Resolution
- Frame Rate (FPS)
- Codec
- Encode Started
- Encode Ended
- More information can be found by clicking the Show more button. Additional information includes:
- Profile
- Bitrate
- Sample Aspect Ratio
- Pixel Format
- Encoder Version
- Manifest Version
- To remove a video file, click the Remove button in the top right of the Video Asset section.

Updated 8 months ago
Did this page help you?