Contributors
In the Dashboard CMS, you can manage contributors and contributor types with ease. This guide will walk you through the steps to create, modify, and delete contributors.
Contributors represent people such as actors, directors, football players etc. Each contributor has a name, an optional description (for example, their bio), and an optional image. This guide will walk you through the process of adding contributors to the Dashboard.
Creating a Contributor
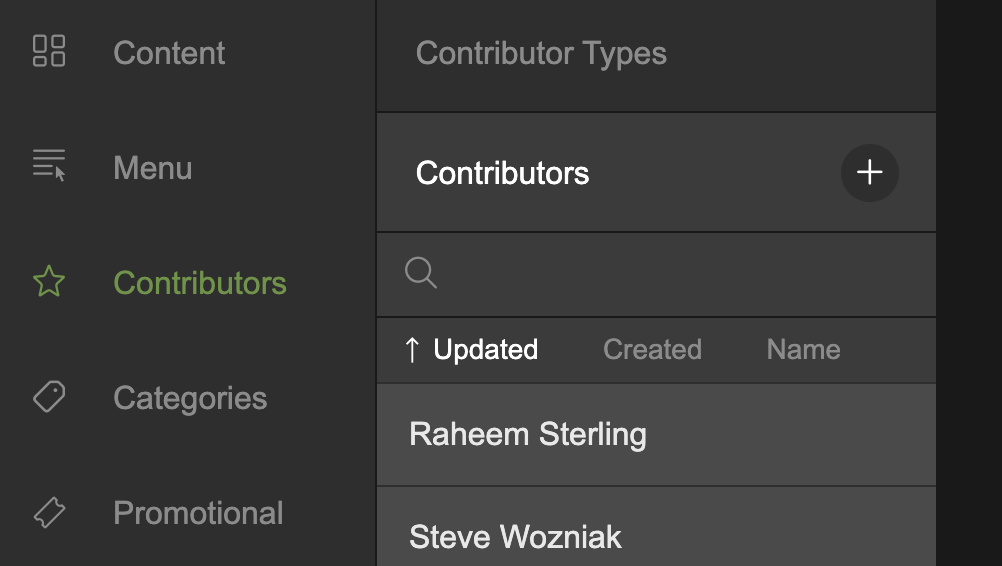
- To create a new contributor, first, click on the Contributors option in the main menu.
- Once you're on the contributors page, locate the "+" (plus) icon and click on it.
- A form will appear where you can enter the contributor's name.
- After entering the name, click on the "Create" button to add the contributor.
Select Contributors in the (left) main menu and click the + icon next to Contributors
Editing a Contributor's Name
- To edit a contributor's name, start by navigating to the contributors list.
- Find the contributor you want to edit and click on it.
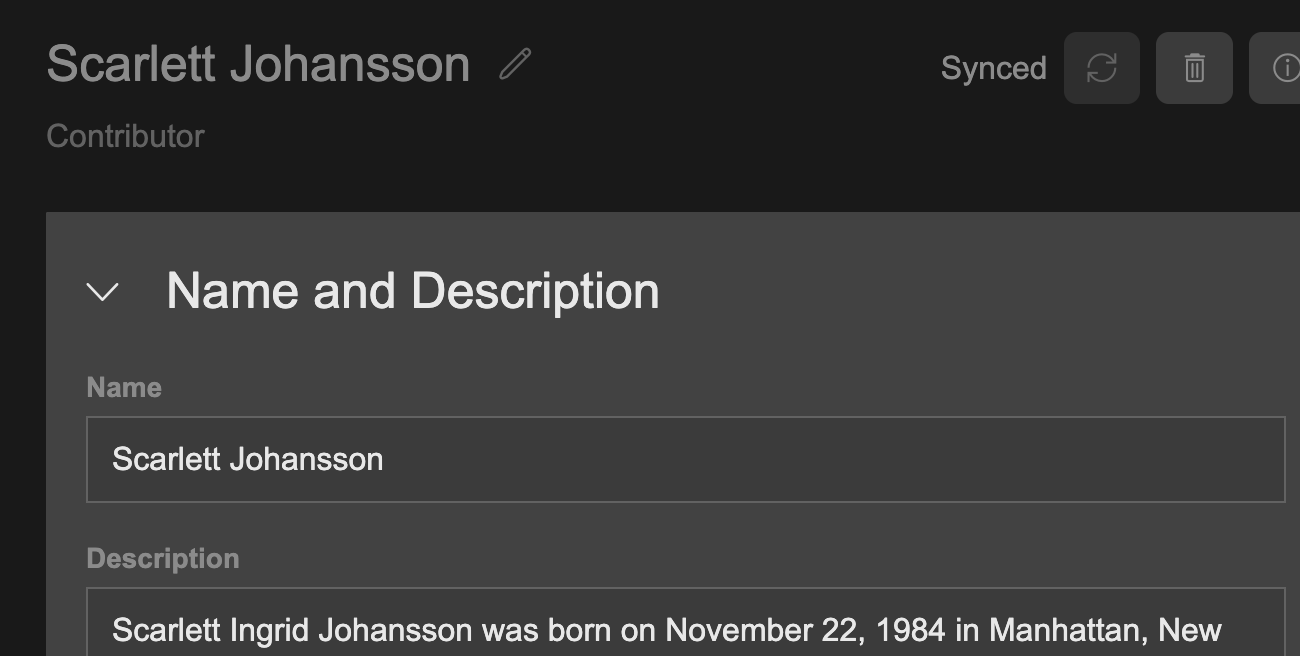
- Within the contributor details, locate the "Name and Description" section and click to expand it.
- In the expanded section, you can edit the "Name" text field.
- You can also edit the contributor's name by clicking the pen icon next to the large contributor name at the top of the page.
Add a Contributor's Description
- Follow the same steps as above to navigate to the contributor you want to update.
- Expand the "Name and Description" section.
- Locate the "Description" field and enter the contributor's bio.
- The changes will be made as you click away from the text field.

Adding an Image for the Contributor
- To add an image for the contributor, expand the "Images" section.
- Open a file explorer window on your computer and locate the image file you want to use.
- Drag and drop the image file from your hard drive into the Dashboard CMS.
- The image you upload will be set as the "Image Set Master", which will create two child image types: "Hero" and "Thumbnail".
- Updating the Image Set Master will in turn update both related image types.
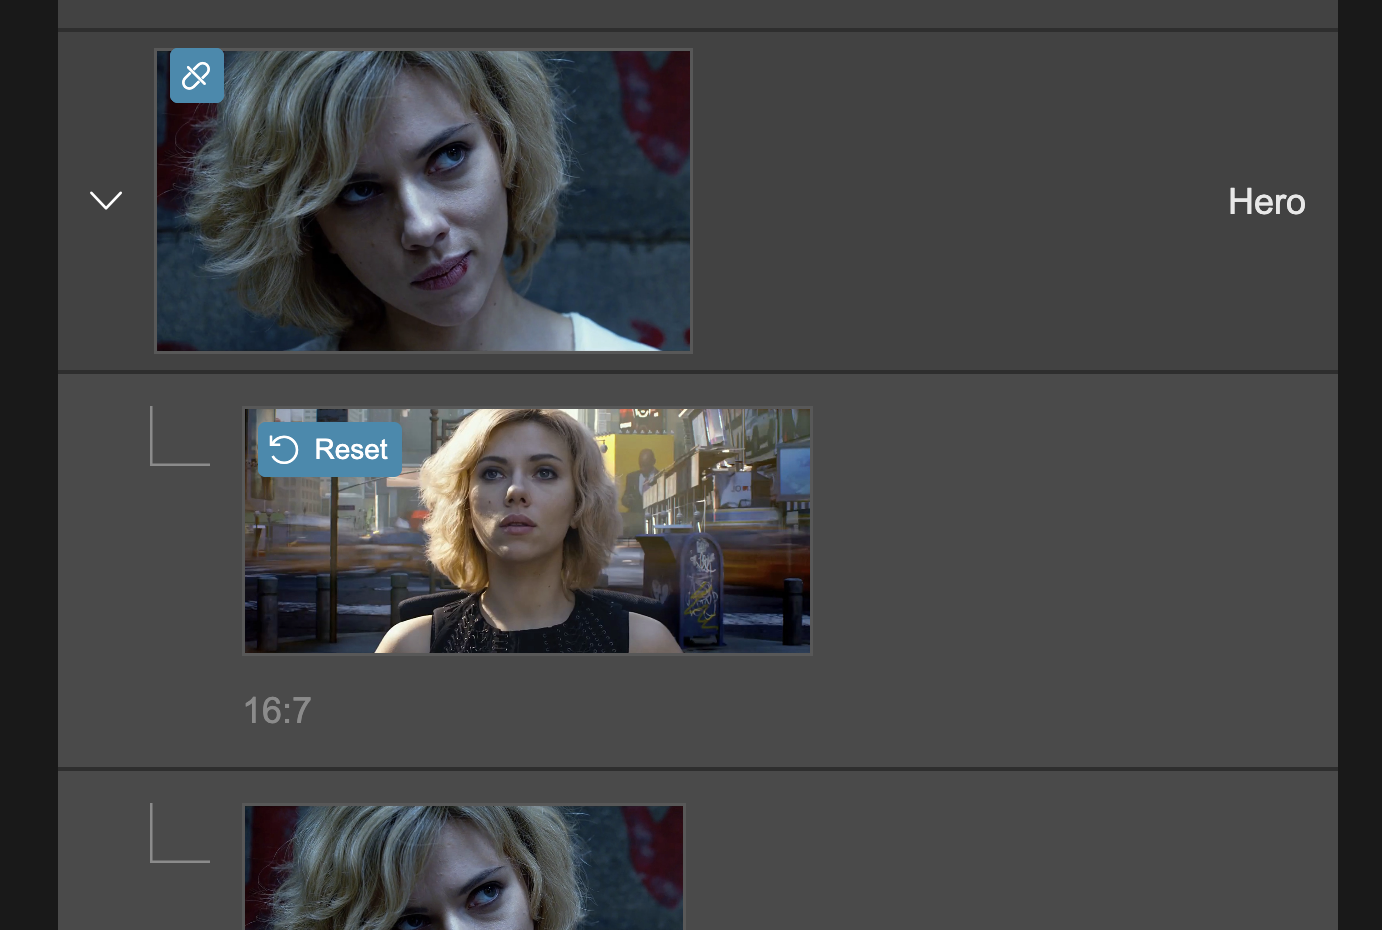
- The "Hero" image type has predefined ratio crops: 16:7, 16:9, 5:4, 2:3.
- The "Thumbnail" image type has multiple ratios, but currently only the 1:1 ratio is used in the customer website and apps.
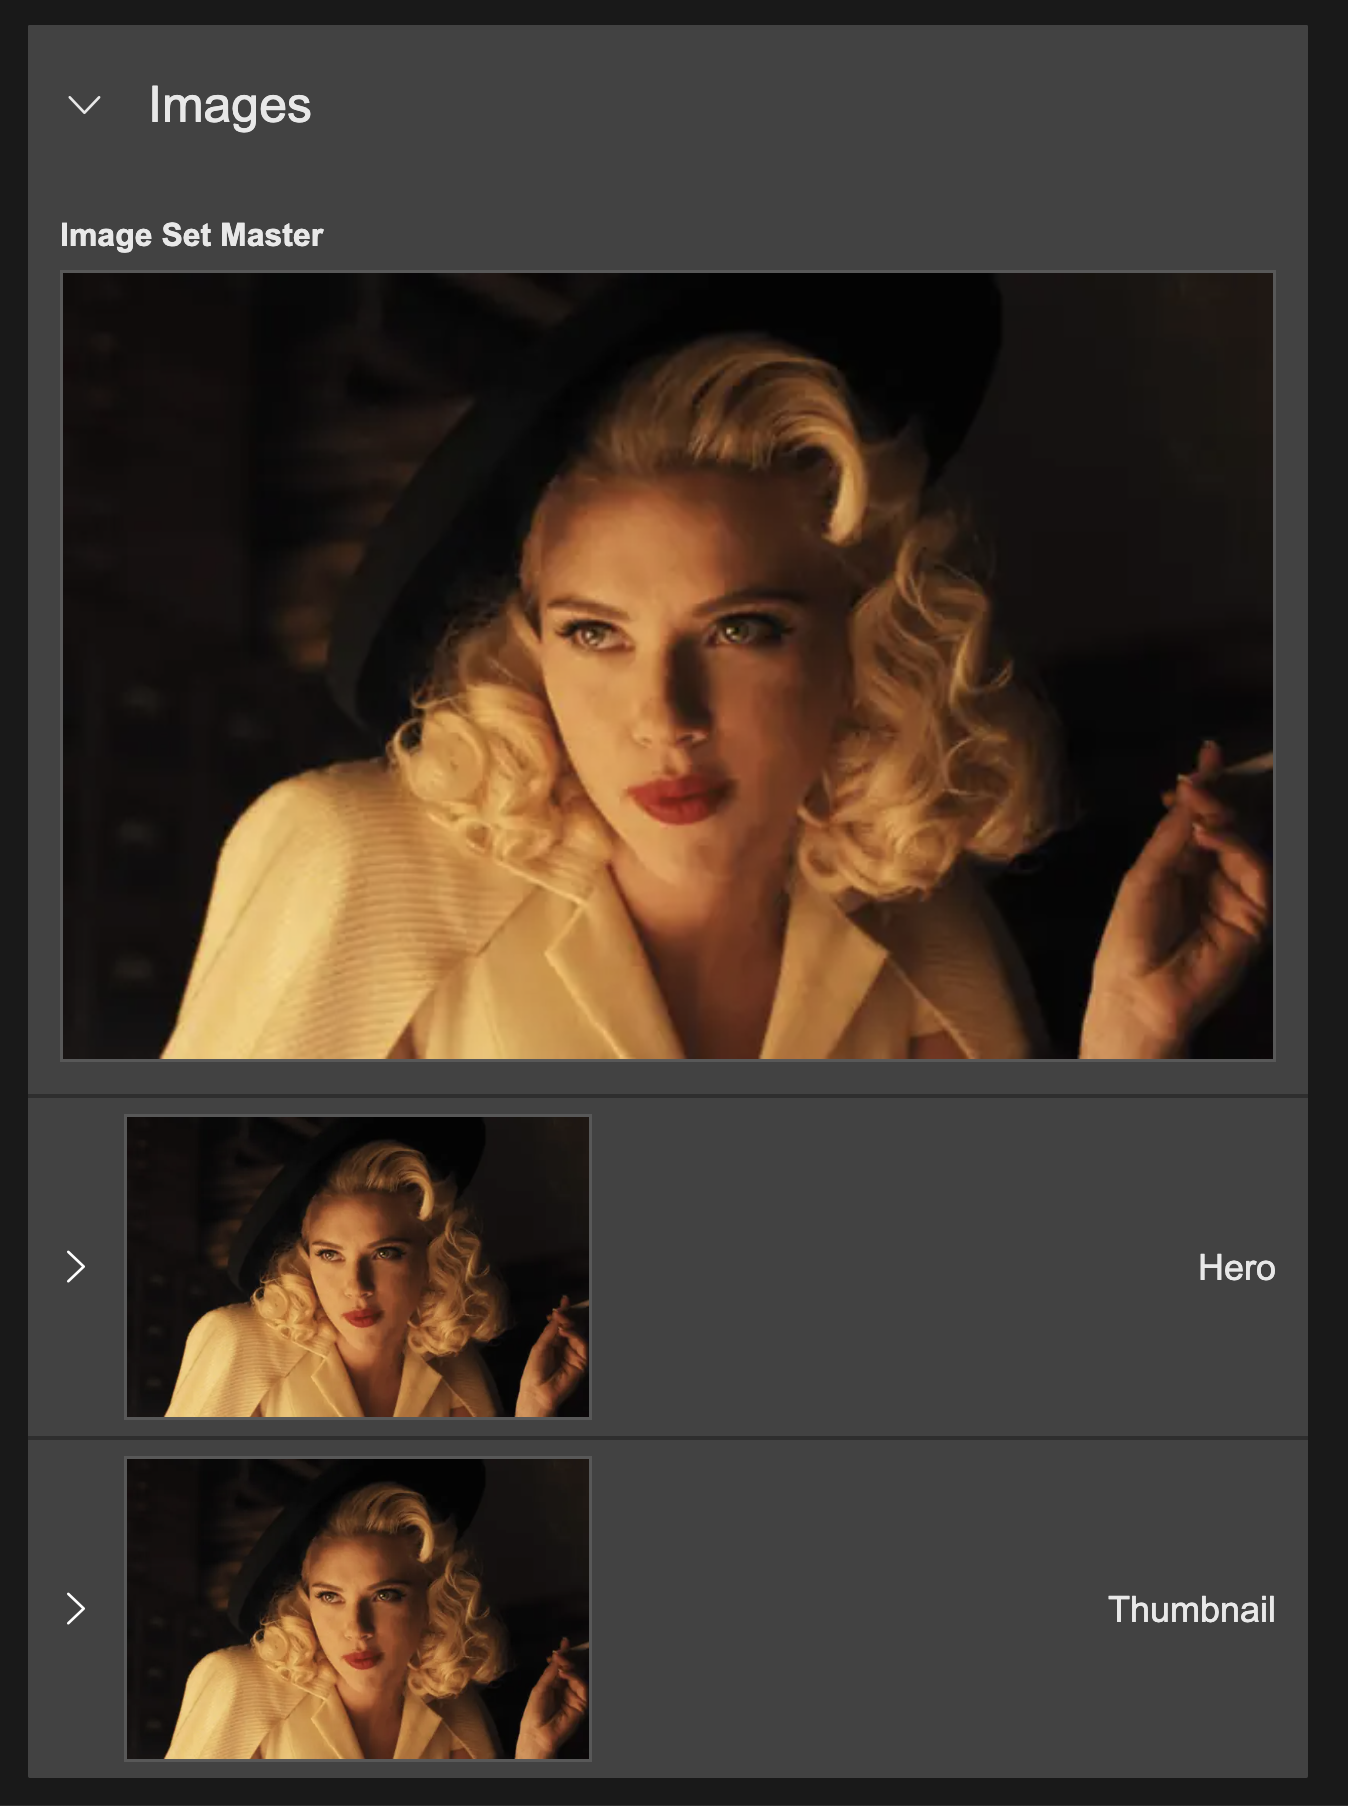
Updating the Image Set Master will update the related image types (Hero and Thumbnail)
Updating Image Types
- To update the "Hero" or "Thumbnail" image types individually, click on the respective image type in the "Images" section.
- You can then replace the existing image with a new one.
- Once updated, the relation between the image type and master image is broken and updating the master image will no longer affect the updated image type.
- To reinstate the relation between the parent Image Set Master and child image type, mouseover the image type and click "Reset". The image type will once again inherit the image of the Image Set Master.
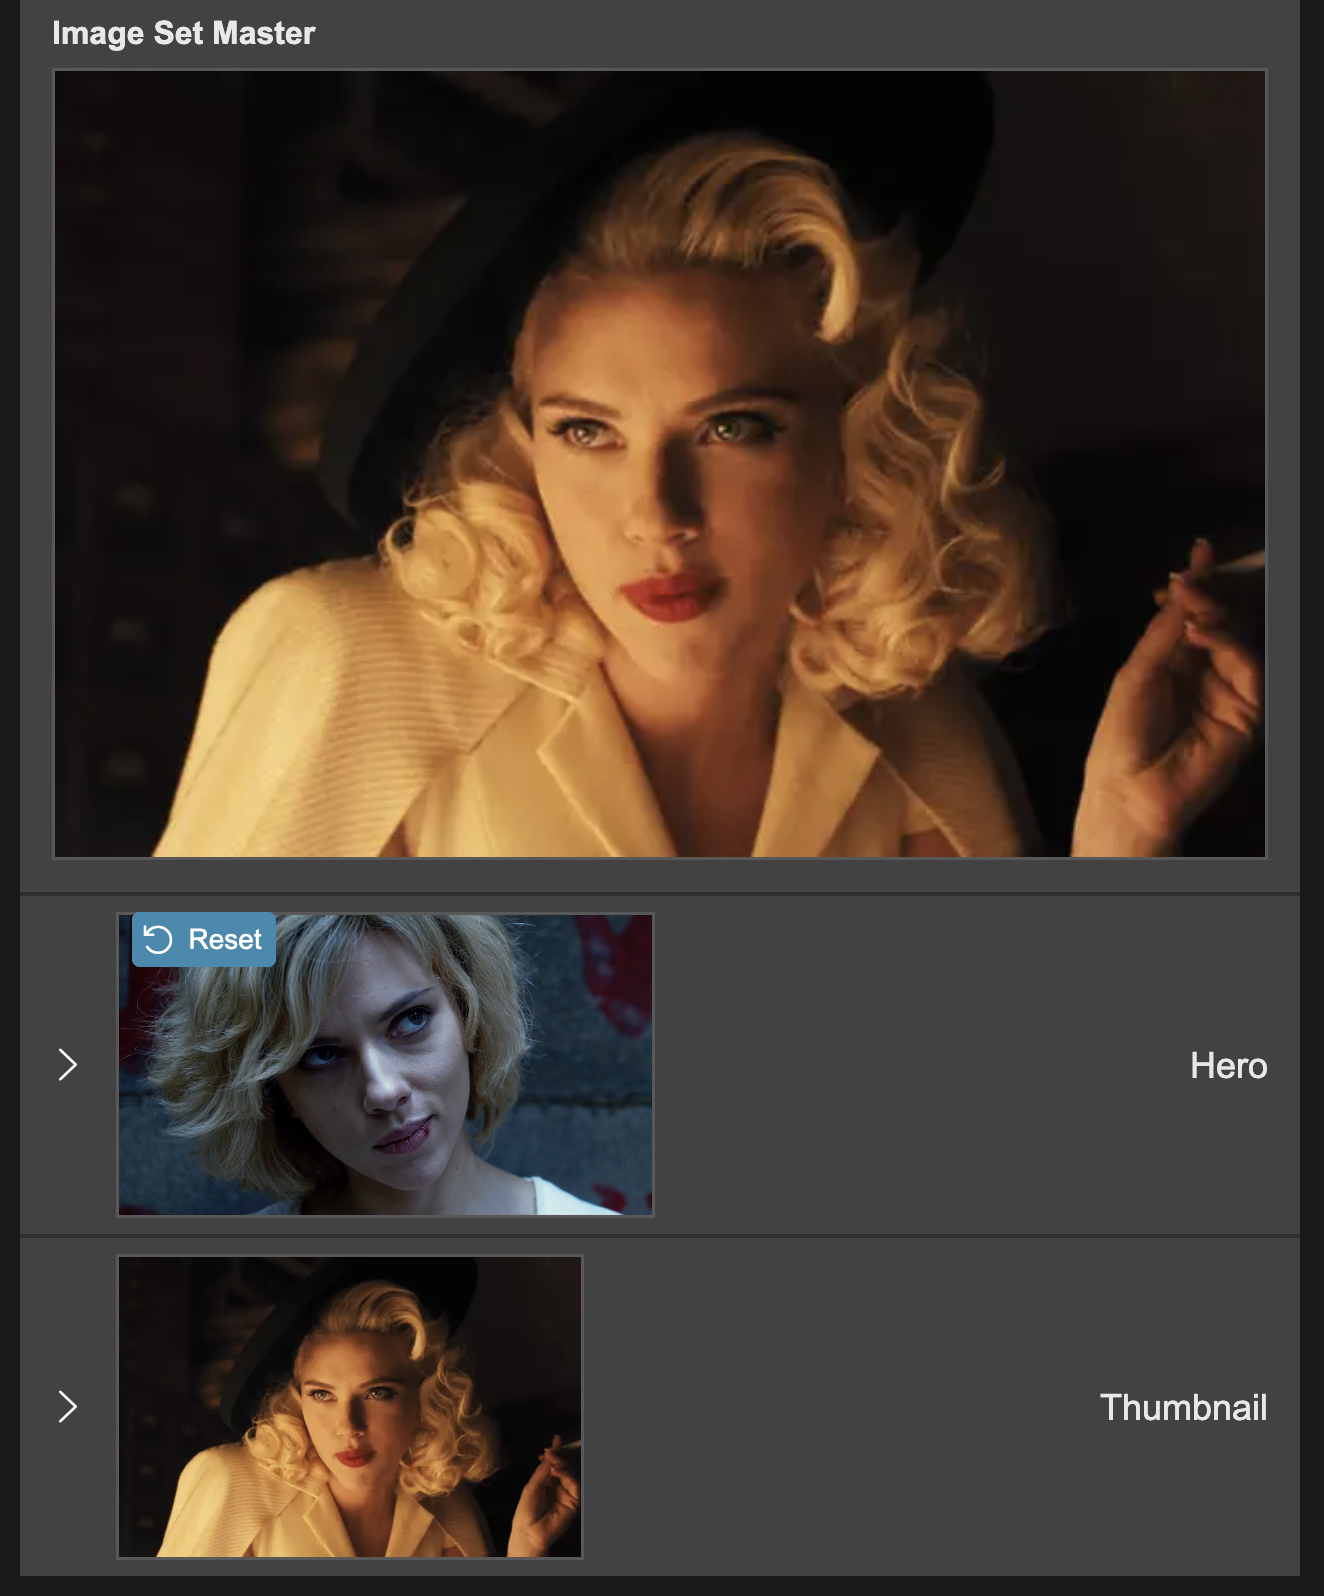
An updated image type is not longer related to the Image Set Master. Click Reset to change it back to the master image
Updating Image Ratios Crops
- Each image type is a parent of image ratio crops.
- You can replace an existing image crop with a new one by dragging an image file onto the existing crop.
- Once updated, the relation between the ratio crop and the parent image type is broken and updating the image type will no longer affect the updated image ratio crop.
- To reinstate the relation between the parent image type and image ratio crop, mouseover the crop and click "Reset". The cropped image will once again inherit the image of the parent image type.
An updated image ratio crop is no longer related to the image type. Click Reset to change it back to the parent image type
Updated 8 months ago