Categories
The Dashboard CMS (Content Management System) allows users to create and manage categories for different category types. This guide will walk you through the process of adding and editing categories in the Dashboard.
Adding a Category
- Select Categories from the main menu.
- From the categories menu, select an existing Category Type (Category Types can be create in the Global Menu).
- Click the + icon next to the Category Type name.
- A subsequent overlay or dialog box will appear, prompting you to enter a name for the new category.
- Enter the desired name for the category in the provided text field.
- Once you are satisfied with the name, click on the "Create" button to add the new category.
- The category will now be available in the Dashboard under the appropriate category type.
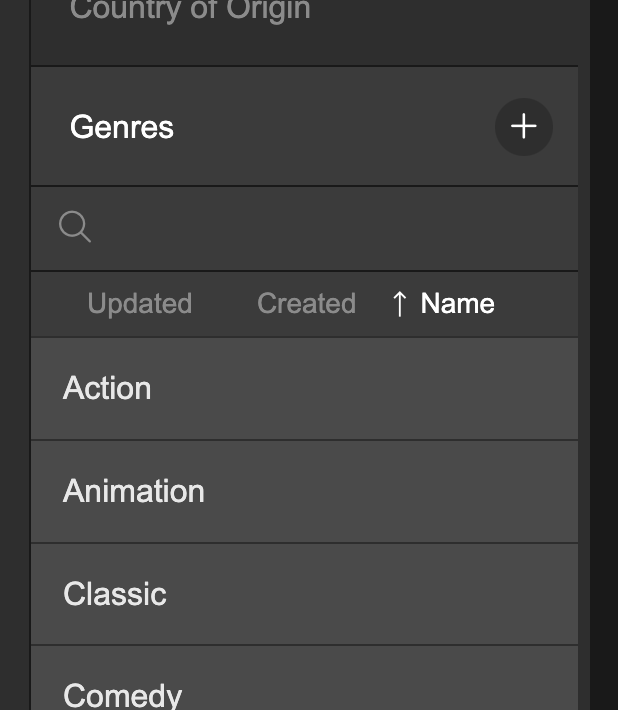
Select a category type and click the + icon to create a child category
Editing a Category
- In the "Categories" section of the CMS, locate the category you wish to edit.
- Click on the category to access its details.
- Once you are on the category details page, you will find a text field containing the category name.
- Edit the name by modifying the text in the text field.
- You can also update the name by clicking the pen tool next to the large category name at the top of the page.
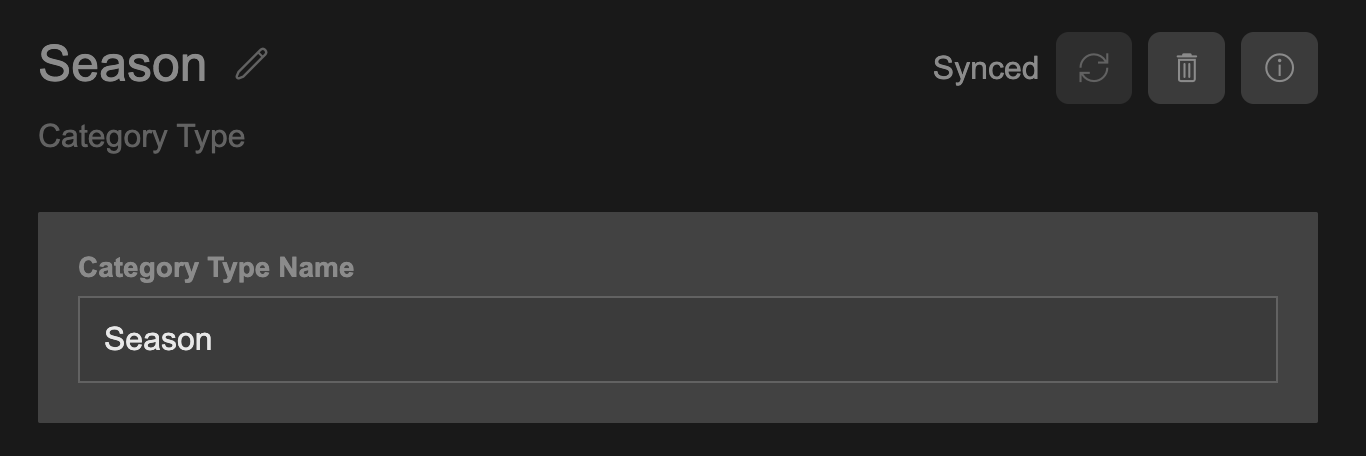
Edit the category name in the text field or click the pen icon next to the large category name at the top of the page
Updated 8 months ago
Did this page help you?