Subscriptions
Use the flexibility and power of Easel TV subscriptions to do subscriptions your way
Easel TV subscriptions have been designed with flexibility in mind to accommodate various subscription use cases. This guide provides a high-level overview of how subscriptions are structured.
Tiers and Packages
Tiers and Packages are similar in structure. Each one includes a name/title and can optionally have a description, image, and pricing. A tier or package represents what your customers will subscribe to and the price you define.
The key distinction between the two is that a customer can subscribe to multiple packages simultaneously, but they can only subscribe to a single tier.
Example: Packages could include options like movies, sports, and music, and customers can choose to subscribe to any combination of these.
Tiers, on the other hand, might offer bronze, silver, and gold levels, and customers can select only one tier, but they have the flexibility to switch between tiers.
Each Package/Tier can include pricing with a choice of one to four renewal windows, including Daily, Weekly, Monthly, and Yearly.
Bundles
You have the option to group multiple packages into a bundle and offer all included packages for a single bundled price. This allows you to provide bundled packages to customers at a discounted rate.
Groups
Tiers, Packages, and Bundles are organized into Groups. A Group can consist of all Tiers or all Packages and Bundles. Tiers and Packages cannot be mixed within a single Group.
Subscription Pages
You can add one or more Groups to a subscription page. Customers access a subscription page through a product associated with a subscription Tier/Package or via a menu link.
You have the flexibility to create multiple Subscription Pages and use market settings to control their availability for different user groups.
Tiers, Packages and Bundles
Creating a Tier/Package/Bundle
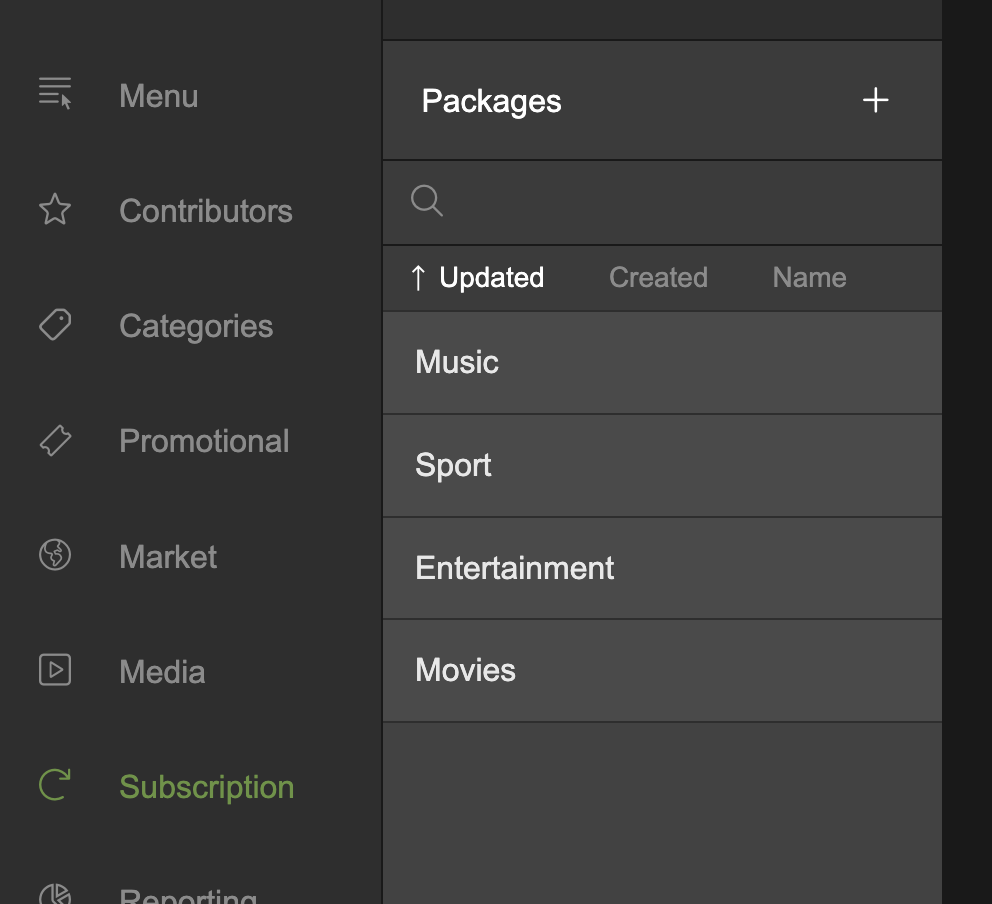
- Select Subscriptions from the left menu and click Tiers, Packages or Bundles to expand the options. Existing Tiers/Packages/Bundles will be listed.
- Click the + icon to create a new Tier/Package/Bundle.
- Add a name for your Tier/Package/Bundle and click Create. Click Cancel to discard the Tier/Package/Bundle.
Your new Tier/Package/Bundle will be created and ready for editing.
Availability Windows
You can schedule the availability of Tiers, Packages and Bundles over one or more availability windows, each with pricing.
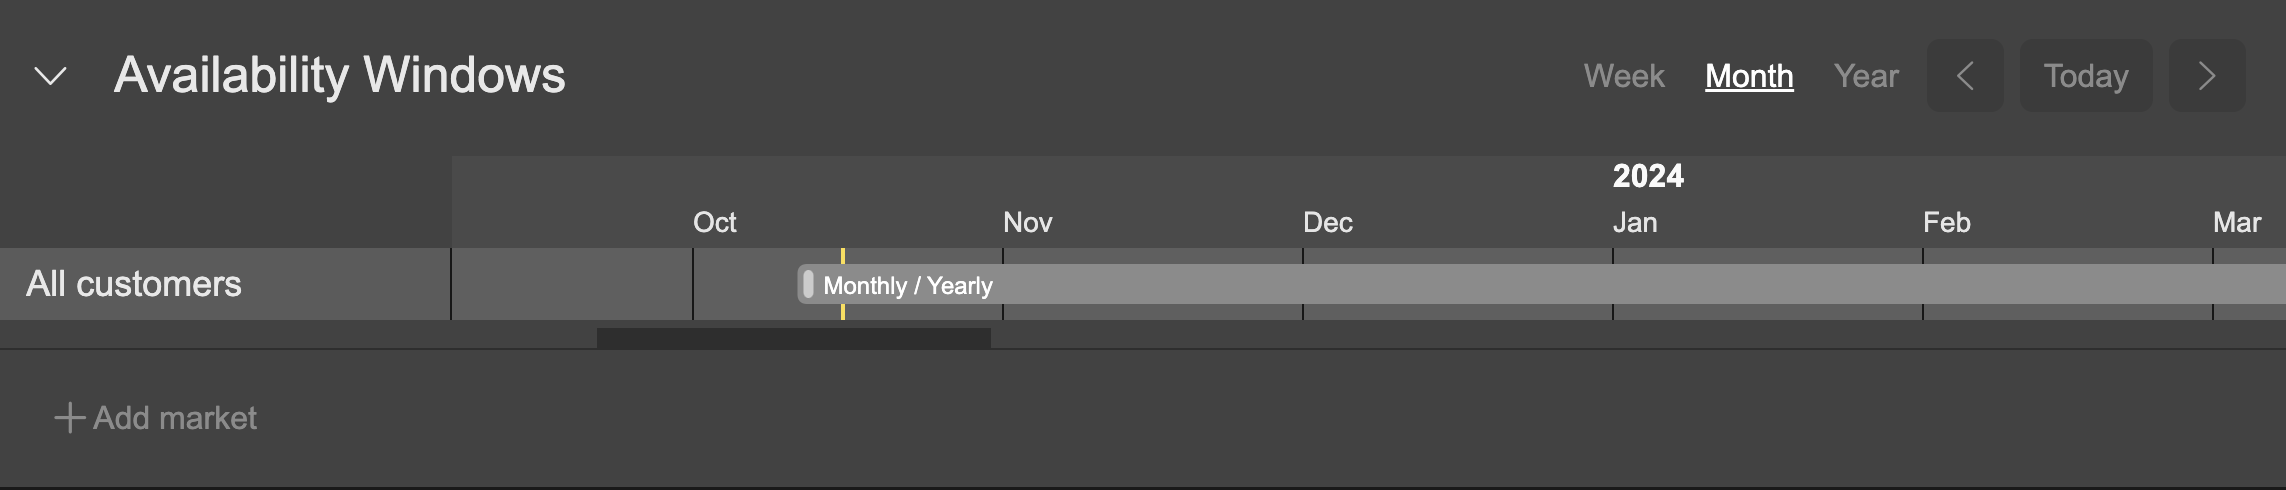
- Click Availability Windows to expand this section.
- To add a new window, click an empty space on the timeline, making sure it's to the right of the yellow marker for future dates.
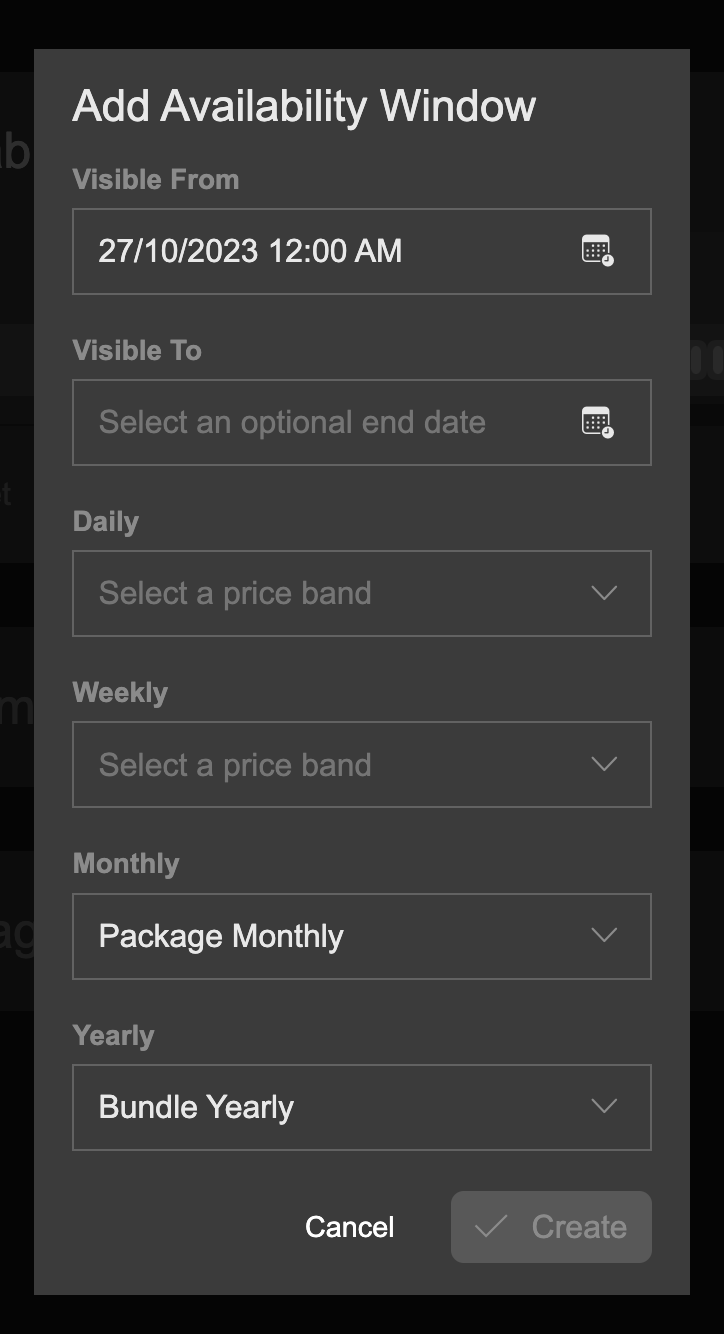
- A editable dialogue overlay will appear.
- Define a start date/time and an optional end date/time (the start date defaults to today's date).
- Add a price for Daily, Weekly, Monthly, and Yearly by selecting from the drop-down menu for each renewal period. You can add prices for any or all of the renewal periods by selecting an existing price band.
- Click Create to create the Availability Window or Cancel to discard it.
Adding New Markets
You can availability windows at different markets.
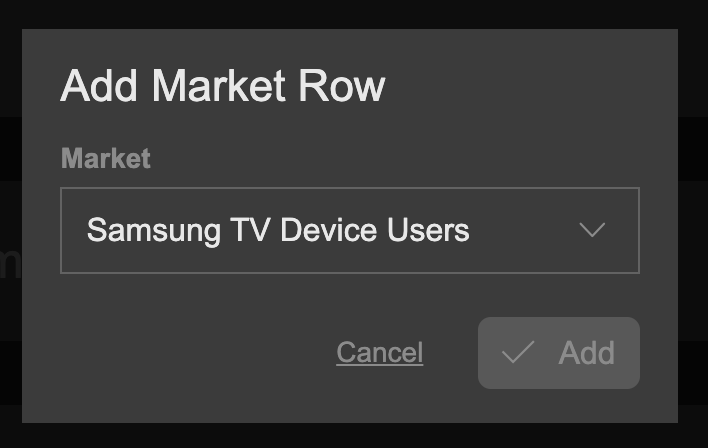
- In the expanded Availability Windows section, click Add Market
- In the subsequent dialogue overlay, select an existing Market from the drop down select menu.
- Click Add
- A new timelines is added and you can add availability windows targeted at the new timeline's market.
Name, Description, and 'Details and Small Print'
- The name is pre-filled from when you created the Tier/Package/Bundle. You can edit the name by clicking the text field.
- Click the Description text field to add a description.
- Use the Details and Small Print text field to provide additional information. This information is hidden from customers until they click the 'Show details' button on the consumer website.
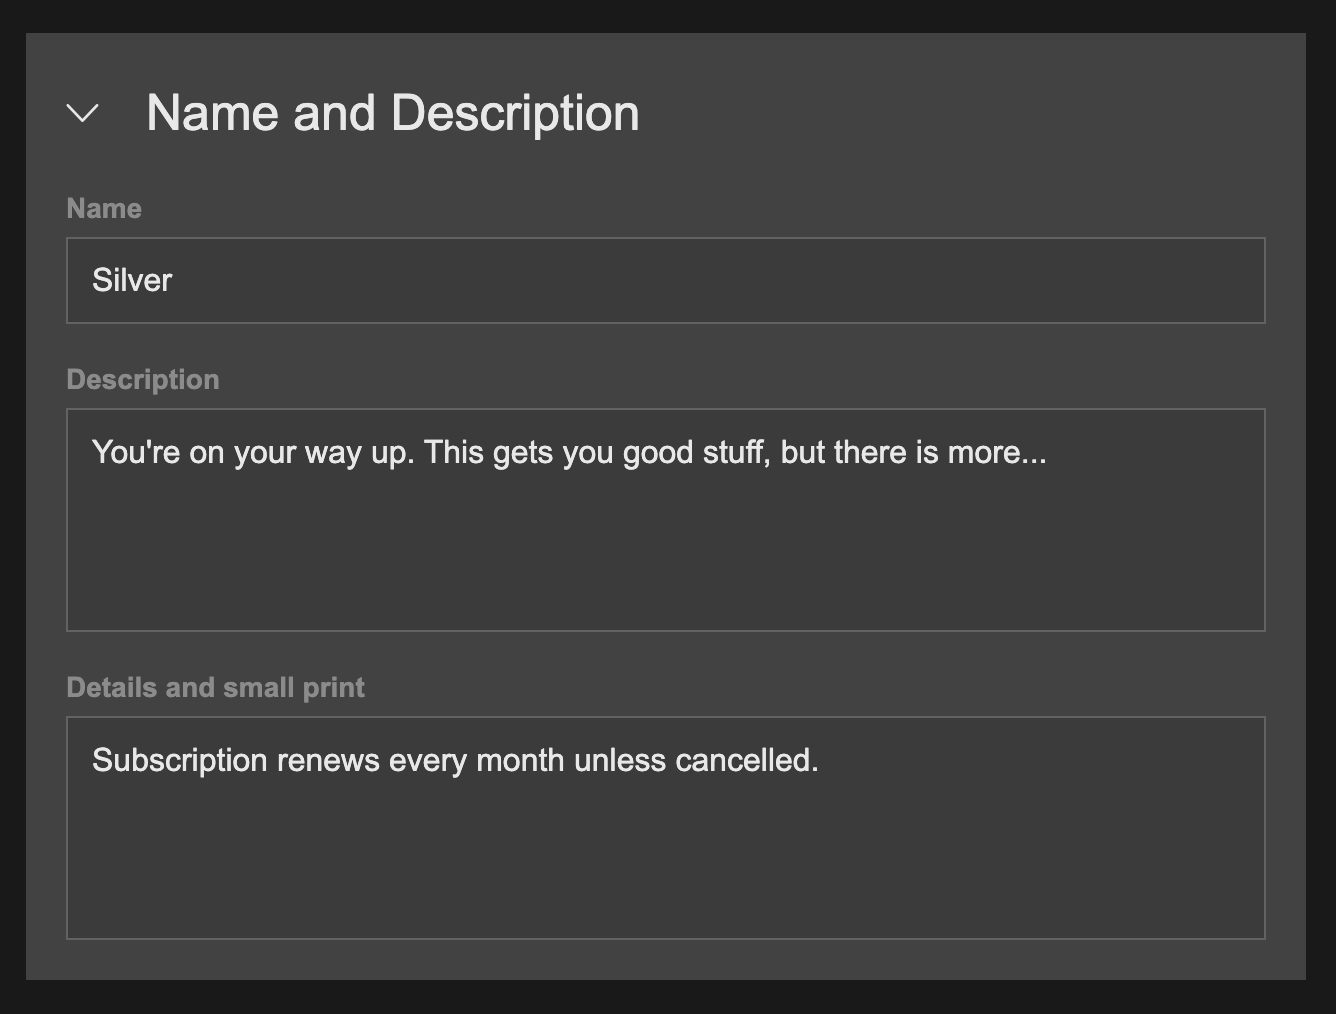
The Details and Small Print text field is not available for Bundles.
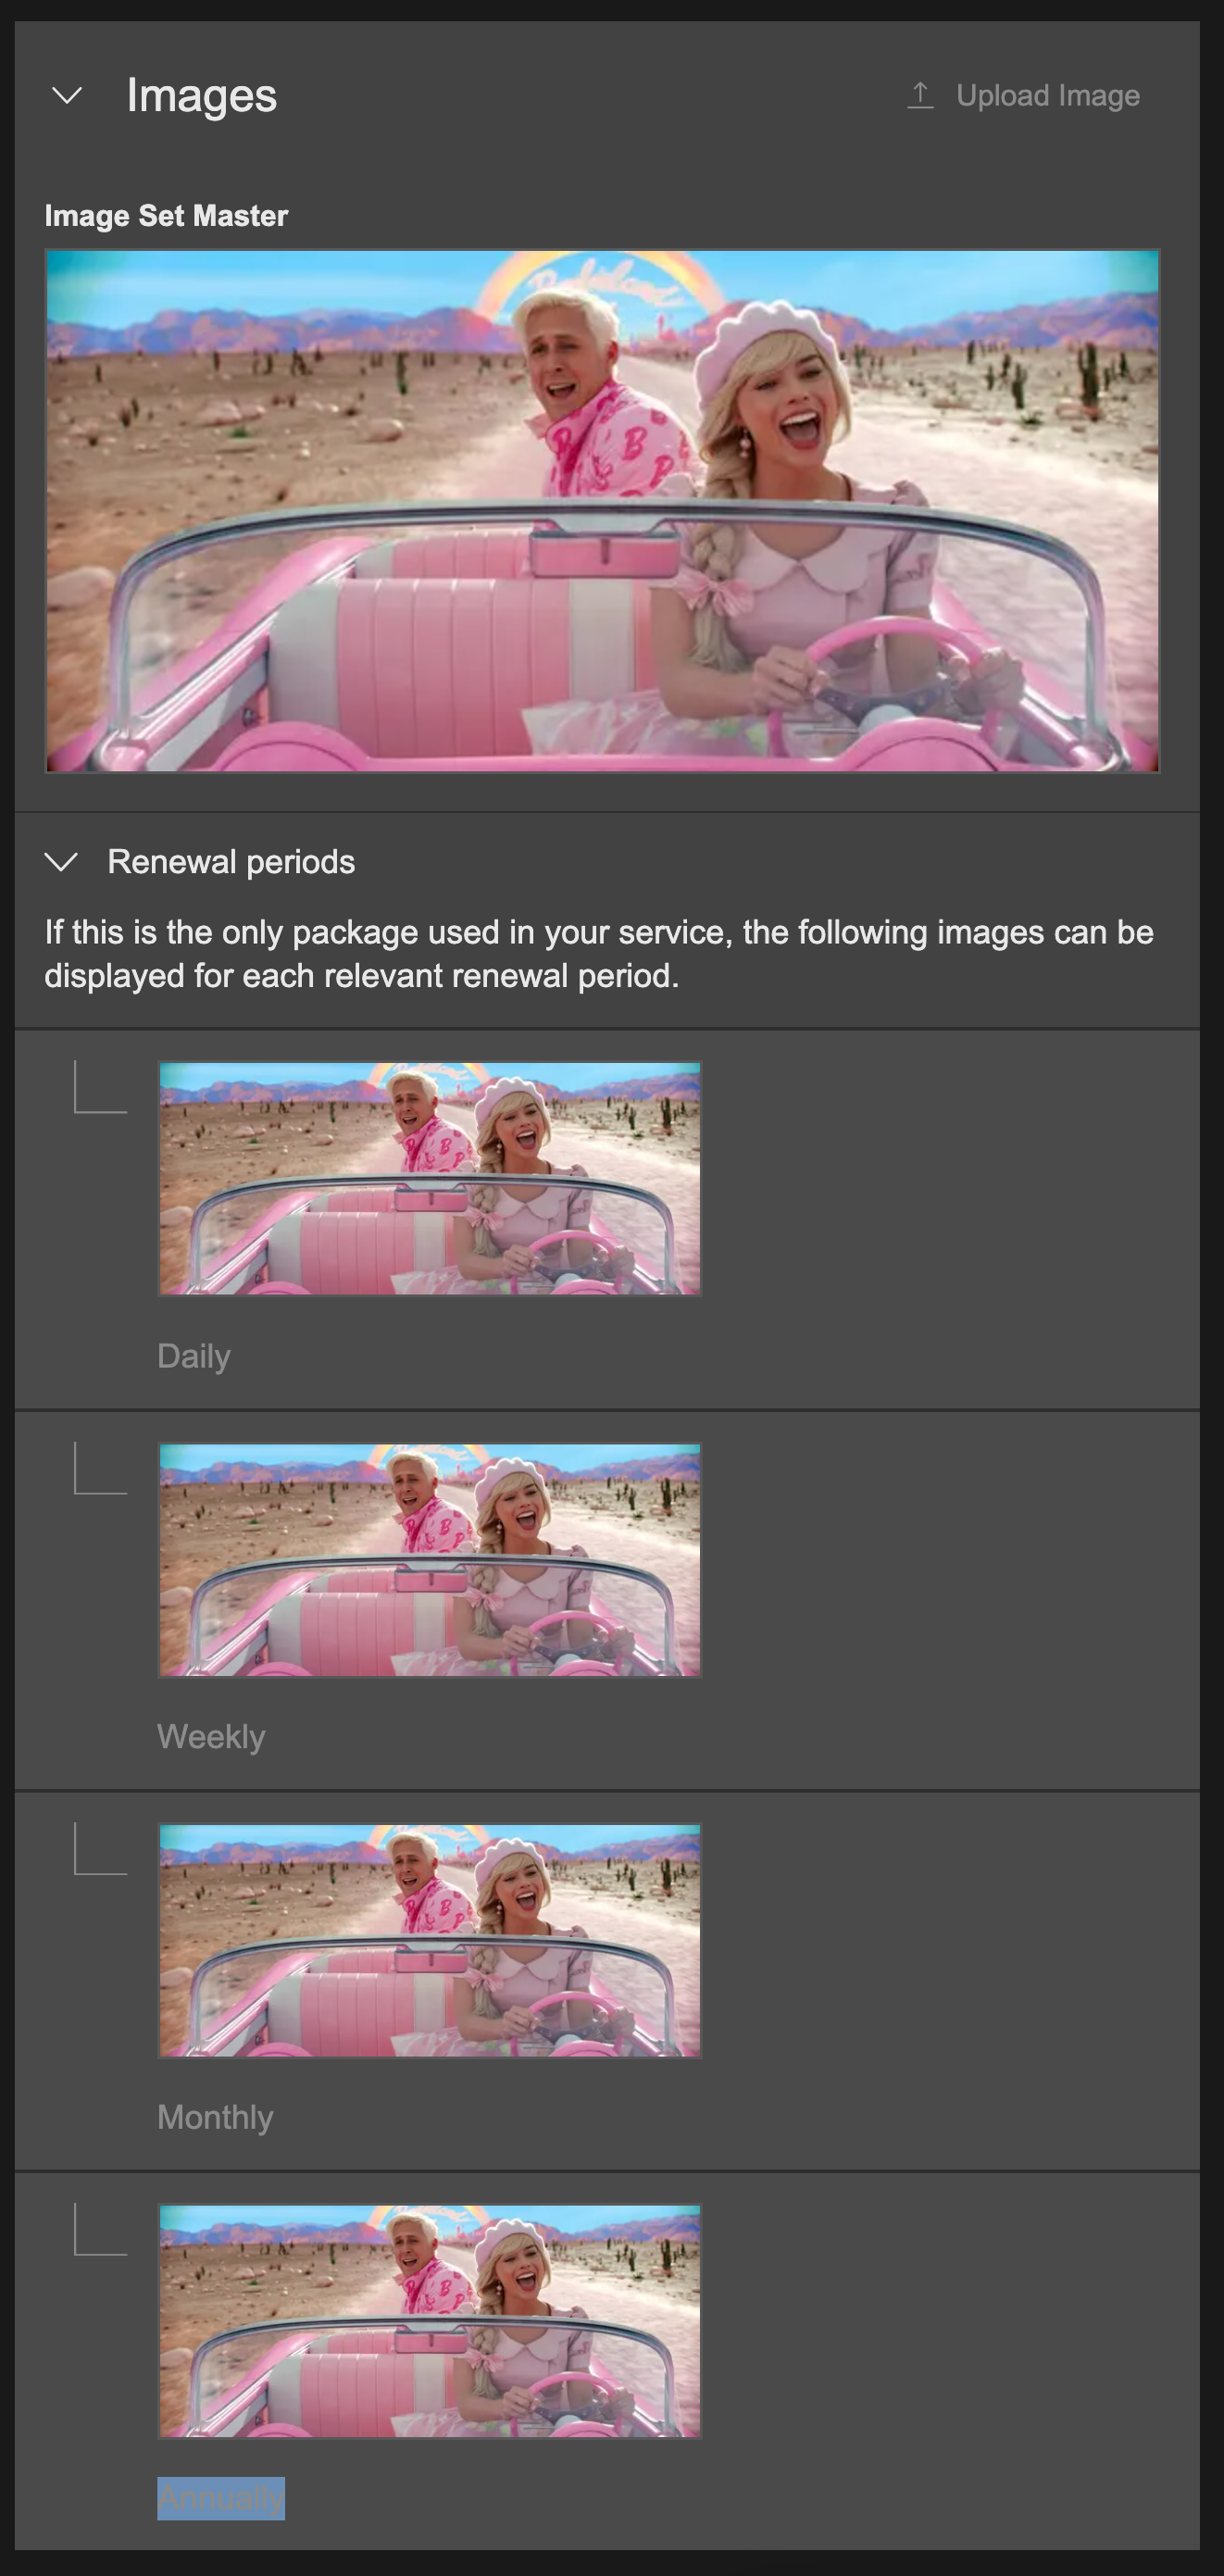
Images
You can add a decorative image to a Tier/Package/Bundle for display to customers. This image becomes the Image Set Master.
- Click Images to expand this section.
- Drag and drop an image into the designated area or click Upload to browse your hard drive for an image.
Once uploaded, the image will be converted into representations for each renewal period (Daily, Weekly, Monthly, and Yearly). These images are shown to customers when you have only one Tier/Package/Bundle with multiple renewal periods. For example, if you offer one Tier/Package/Bundle with monthly and yearly renewal periods, two tiles will be displayed, each with the associated renewal period image.
Update Image Set Master
Updating the Image Set Master will update all unedited Renewal Period Images. You can update the Inage Set Master by dragging and dropping a new image onto the current version or by clicking the upload icon when hovering over the Image Set Master.
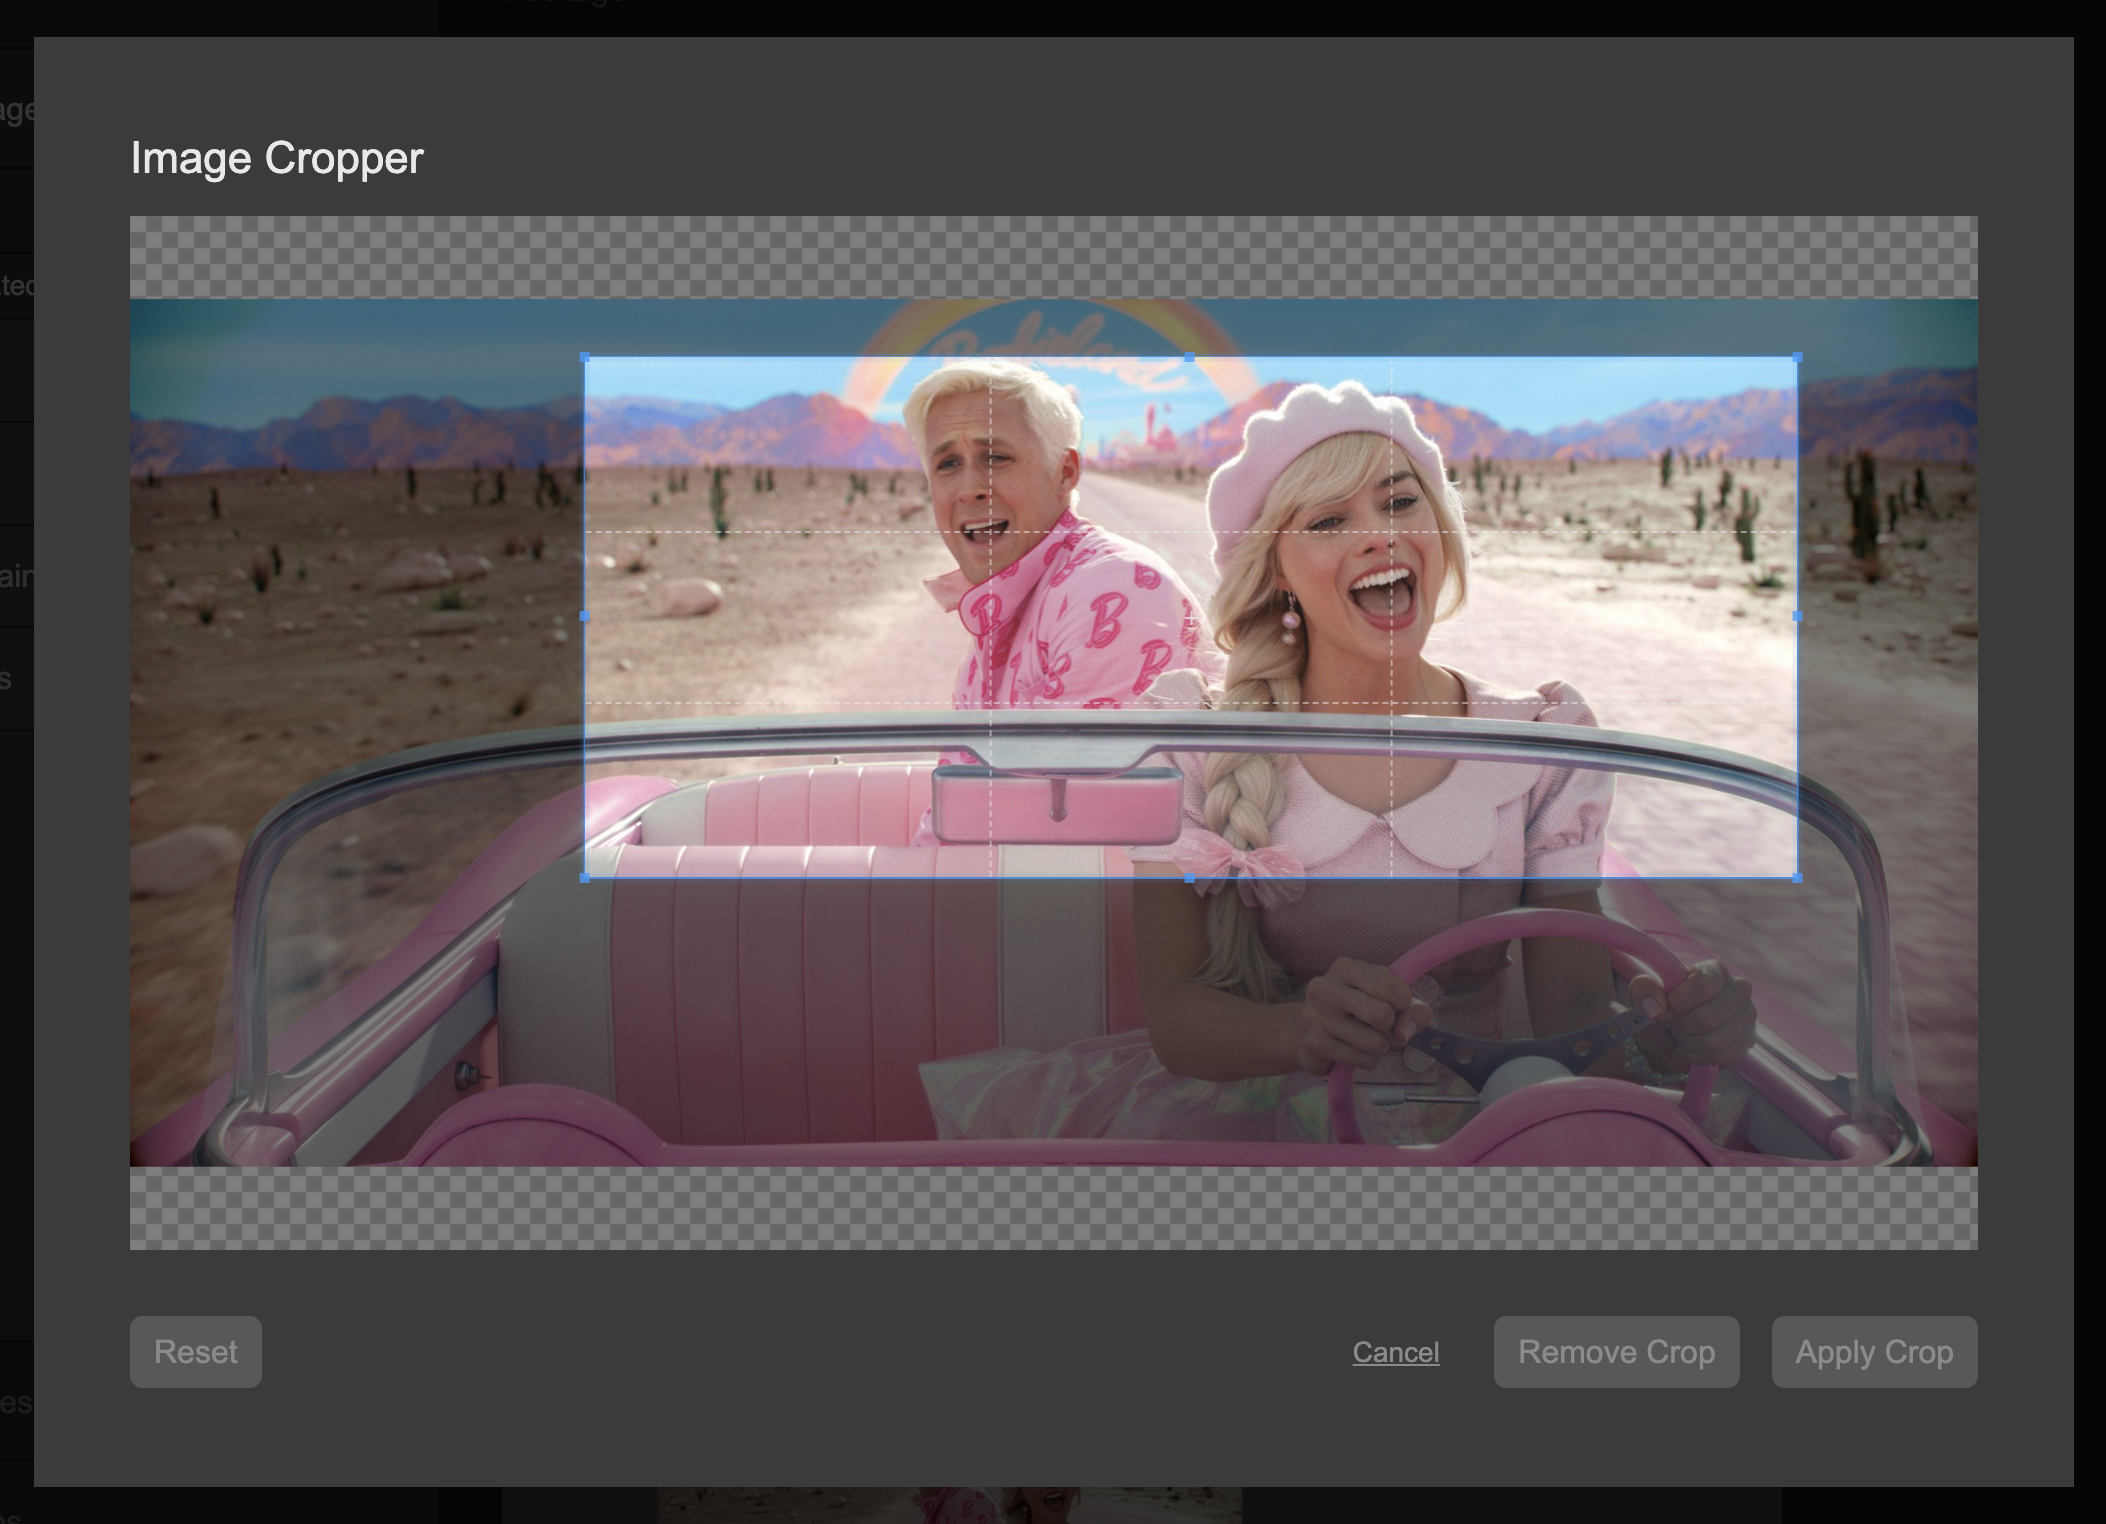
Crop a Renewal Period Image
You can adjust the crop of any renewal period image.
- Hover over a renewal period image.
- Click the crop icon.
- In the pop-up Image Cropper, drag the corners of the crop bars to resize the crop (the ratio remains fixed). Drag the cropped area itself to reposition it. Click Apply Crop to save your changes to the selected Ratio Crop.
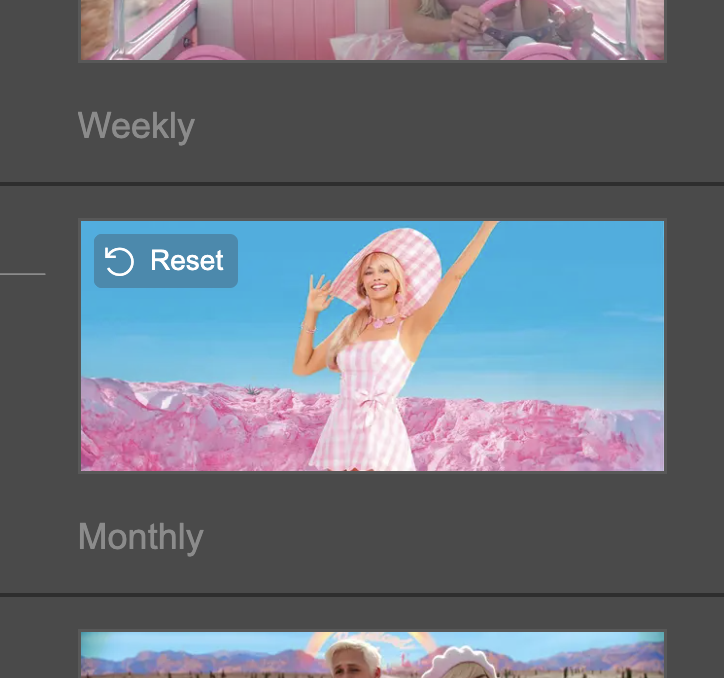
Once you edit the crop of a Renewal Period Image, updating the Image Set Master will not affect it. To reset the Renewal Period Image to the Image Set Master, hover over the edited image and click Reset.
Replace a Renewal Period Image
You can update any of the Renewal Period Images by dragging and dropping a replacement image onto the current version or by hovering over a Renewal Period Image and clicking the upload icon.
Similar to cropping, updating a Renewal Period Image will not be affected by updating the Image Set Master. To reset the Renewal Period Image to the Image Set Master, hover over the edited image and click Reset.
Adding Packages to a Bundle
- Selecting an existing Bundle.
- Click the Packages section to expand it and expose the 'drop zone'.
- Drag and drop Packages from the Packages menu onto the drop zone.
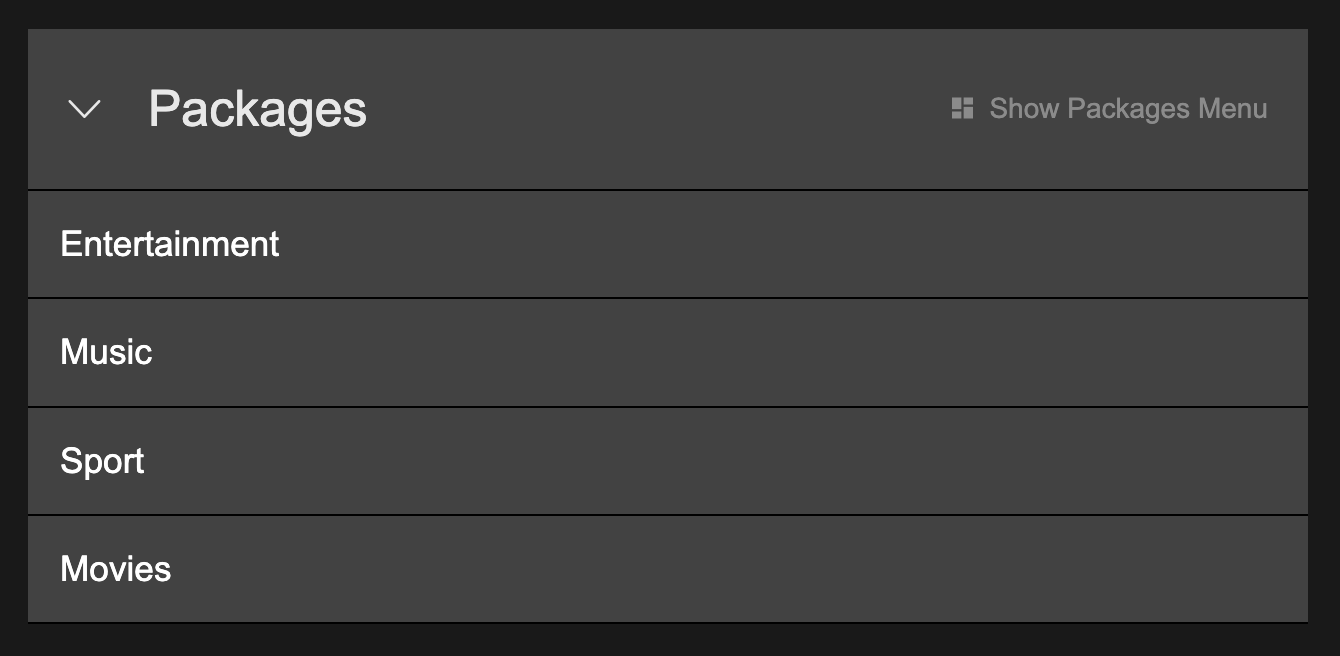
Clicking the Show Packages Menu button at the top right of the Packages section will conveniently auto-expand the Packages menu on the left
To remove a package from the list, either drag and drop it off to the side, or mouseover the package, and select Remove.
Only Packages can be added to a Bundle. Tiers can NOT be added to a Bundle
Creating a Group
Create one or more groups to have a location to drop in your Tiers/Packages/Bundles.
- Select Subscriptions from the left menu and click Groups to expand the options. Existing Groups will be listed.
- Click the + icon to create a new Group.
- Add a name for your Group and click Create. Click Cancel to discard the Group.
Your new Group will be created and ready for editing.
Name and Description
- The name is pre-filled from when you created the Group. You can edit the name by clicking the text field.
- Click the Description text field to add a description.
Images
You can add a decorative image to a Group for display to customers.
- Click Images to expand this section.
- Drag and drop an image onto the designated drop zone or click Upload to browse your hard drive for an image.
Update Image
You can update the Image Set Master by dragging and dropping a new image onto the current version or by clicking the upload icon when hovering over the Image Set Master.
Adding Tiers or Packages/Bundles to a Group
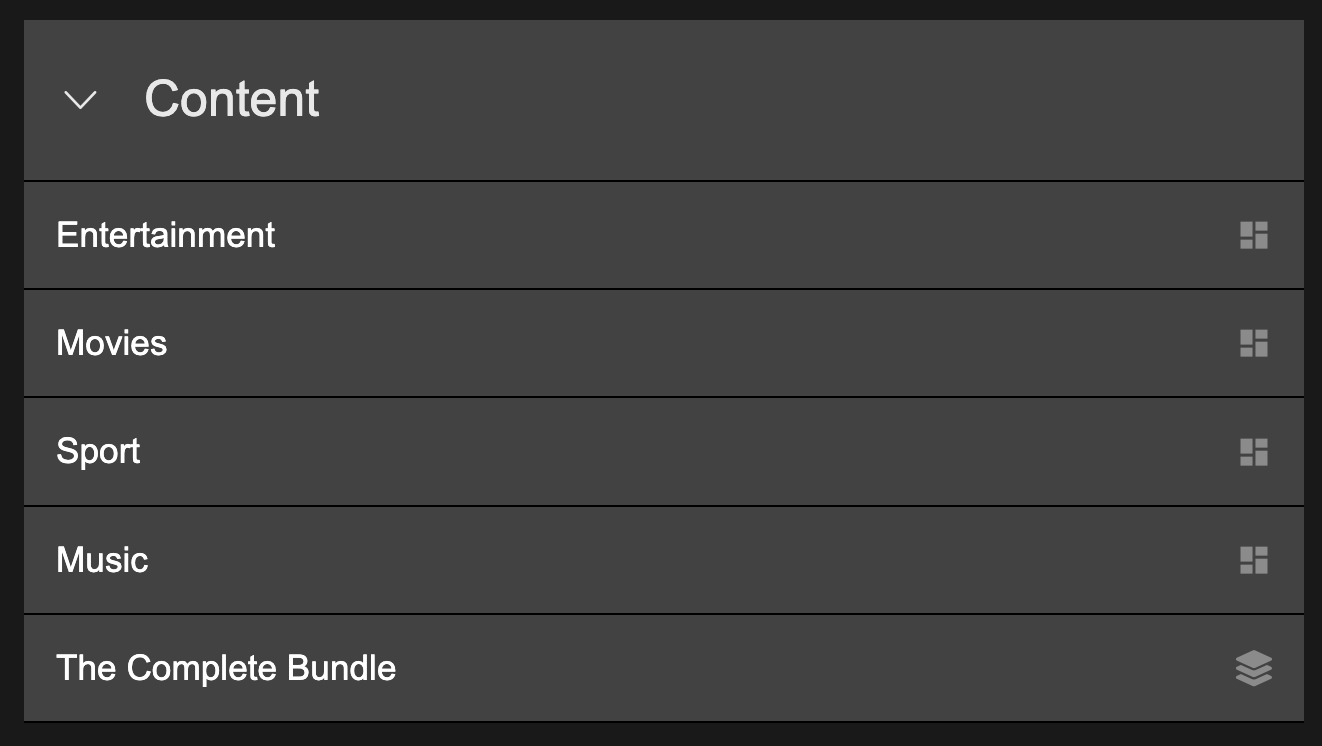
- Click the Content section to expand it and expose the 'drop zone'.
- Drag and drop Tiers or Packages/Bundles from the left menu onto the drop zone.
- If you have added multiple Tiers/Packages/Bundles to the Content section, you can click on a Tier/Package/Bundle to grab it and drag it into a new position within the list of Groups.
Tiers and Packages can not be mixed together in the same group. Bundles can be added to the same group at Packages, but not Tiers
Content Style
You can edit the style settings for how Tiers, Packages and Bundles are displayed within a group.
- Click the Content Style section to expand it.
- Flip the Image switch to display whether the images will be displayed or not.
- Flip the Name > Visibility switch to display or hide the names of a Group's Tiers/Packages/Bundles.
- Switch the Name > Alignment to left / centre /right.
- Flip the Description > Visibility switch to display or hide the descriptions of a Group's Tiers/Packages/Bundles.
- Switch the Description > Alignment_ to left / centre / right.
- Flip the Details and Small Print > Visibility switch to display or hide the 'Details and Small Print' of a Group's Tiers/Packages/Bundles.
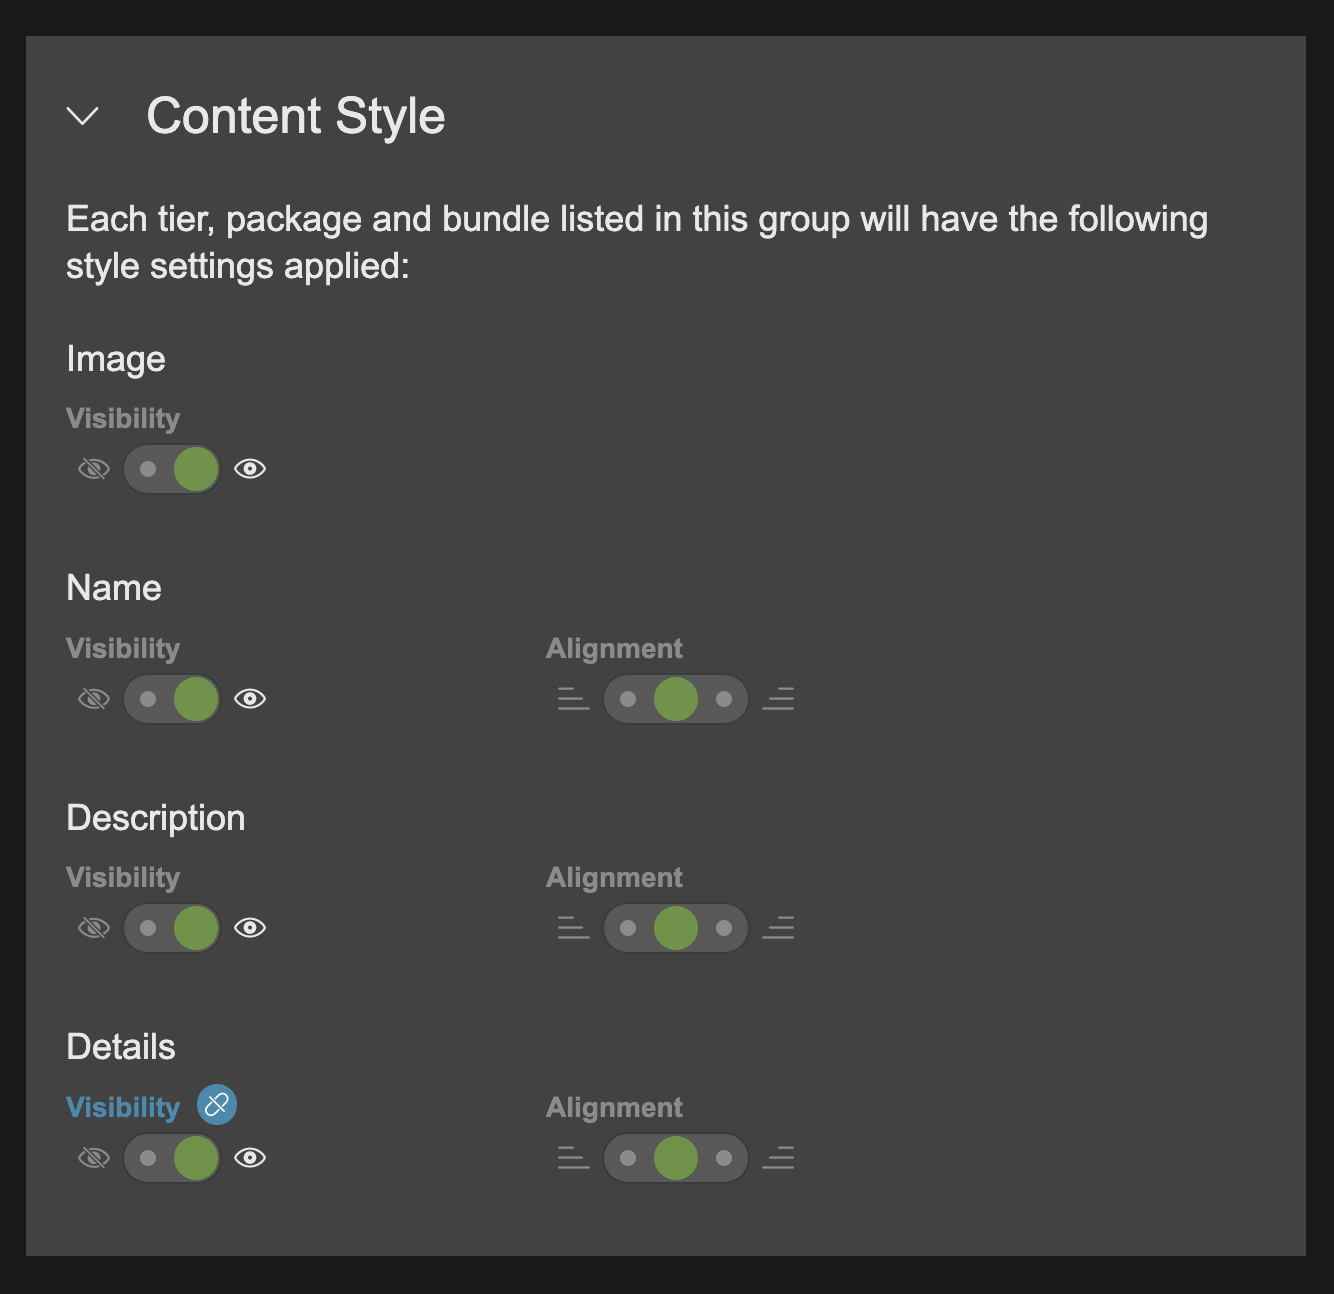
After updating a Content Style setting, the name of the style will turn blue and a broken link icon will appear. This identifies that the global setting has been overridden. Mouseover the icon and click Reset to reset the style back to the global setting.
Create a Subscription Page
You can create on or more Subscription Pages. Use markets to target each Subscription Page to a different user group. Each user group has access to only one market at a time.
- Select Subscriptions from the left menu and click Subscription Pages to expand the options. Existing Subscription Pages will be listed.
- Click the + icon to create a new Subscription Pages.
- Add a name for your Subscription Page and click Create. Click Cancel to discard the Subscription Page.
Your new Subscription Page will be created and ready for editing.
Availability and Market
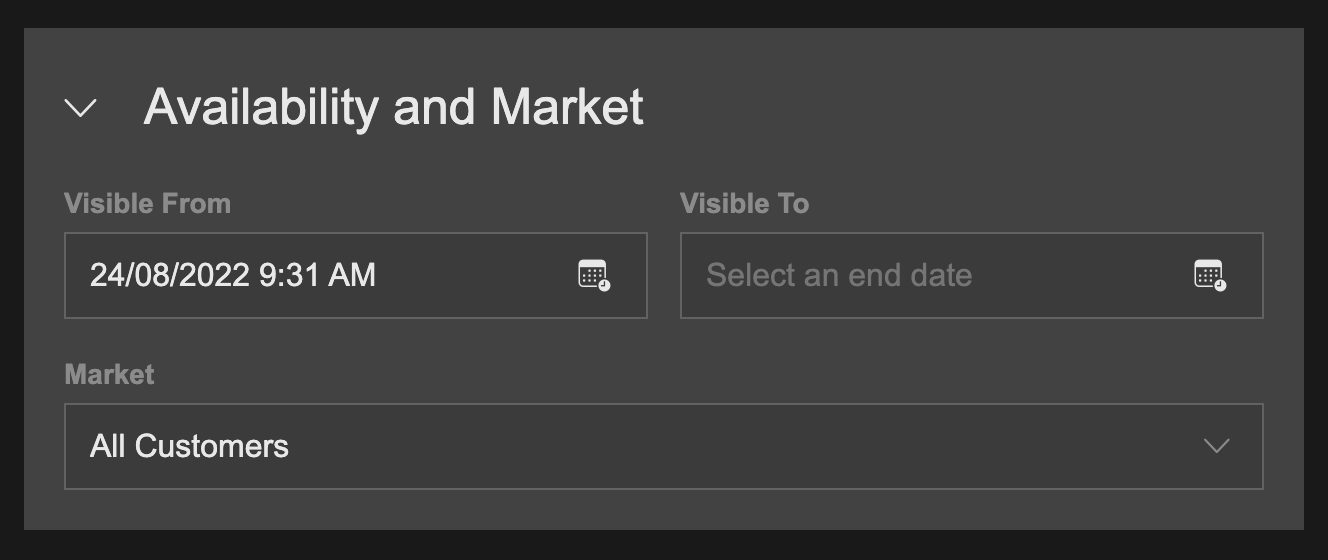
You can set when the subscription page will be available, and to which market.
- Click Availability and Market to expand it.
- The Visible From date defines when the Subscription Page will be available to customers. The Visibile From date and time will inherit the date from when you created the Subscription Page by default. Click Visible From to edit the date and time.
- The Visible To date/time is optional and defines the date/time from which the Subscription Page is not available to customers. If left blank, the Subscription Page will be available forever.
- Select a Market from the Market drop down select menu to define a Market (targeted user group) for the Subscription Page. The default option is All Customers.
Name and Description
The name is pre-filled from when you created the Subscription. You can edit the name by clicking the text field.
Click the Description text field to add a description.
You can define whether the Name and/or Description should be displayed by flipping the corresponding Visibility switch to show or hide.
You can define the alignment of the Name and/or Description by setting the Alignment switch to left/cetre/right.
Images
You can add a background image to a page. The background image will be full width and height and will be displayed behind the page content.
- Click Images to expand this section.
- Drag and drop an image onto the designated drop zone or click Upload to browse your hard drive for an image.
Update Image
You can update the Image Set Master by dragging and dropping a new image onto the current version or by clicking the upload icon when hovering over the Image Set Master.
For more information on updating ratio crops for different screen sizes, access the Images section.
Adding Groups to a Subscription Page
You can add one or more Groups to a Subscription Page
- Click the Content section to expand it and expose the 'drop zone'.
- Drag and drop Groups from the left menu onto the drop zone.
- If you have added multiple Groups to the Content section, you can click on a Group to grab it and drag it into a new position within the list of Groups.
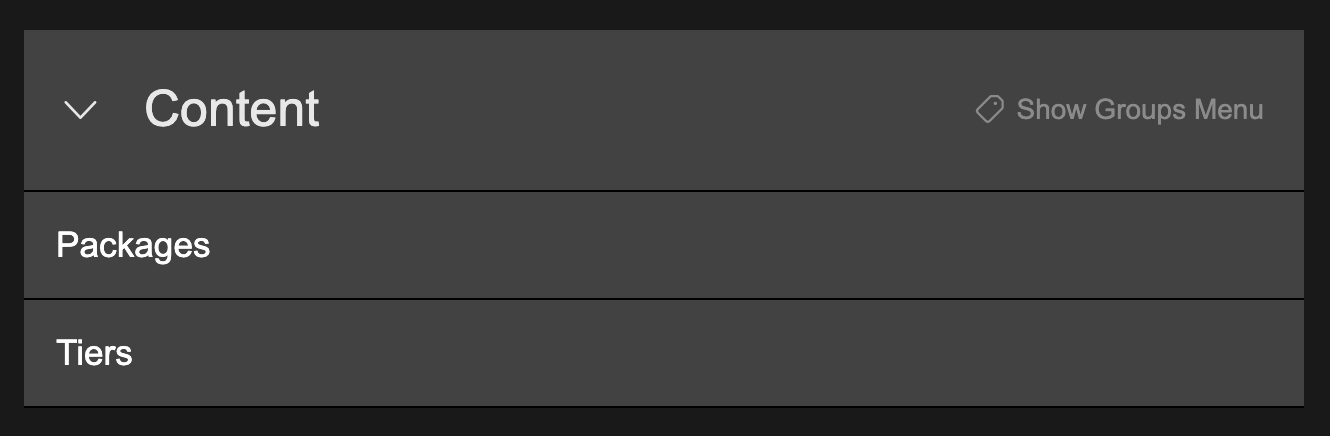
Clicking the Show Groups Menu button at the top right of the Content section will conveniently auto-expand the Groups menu on the left
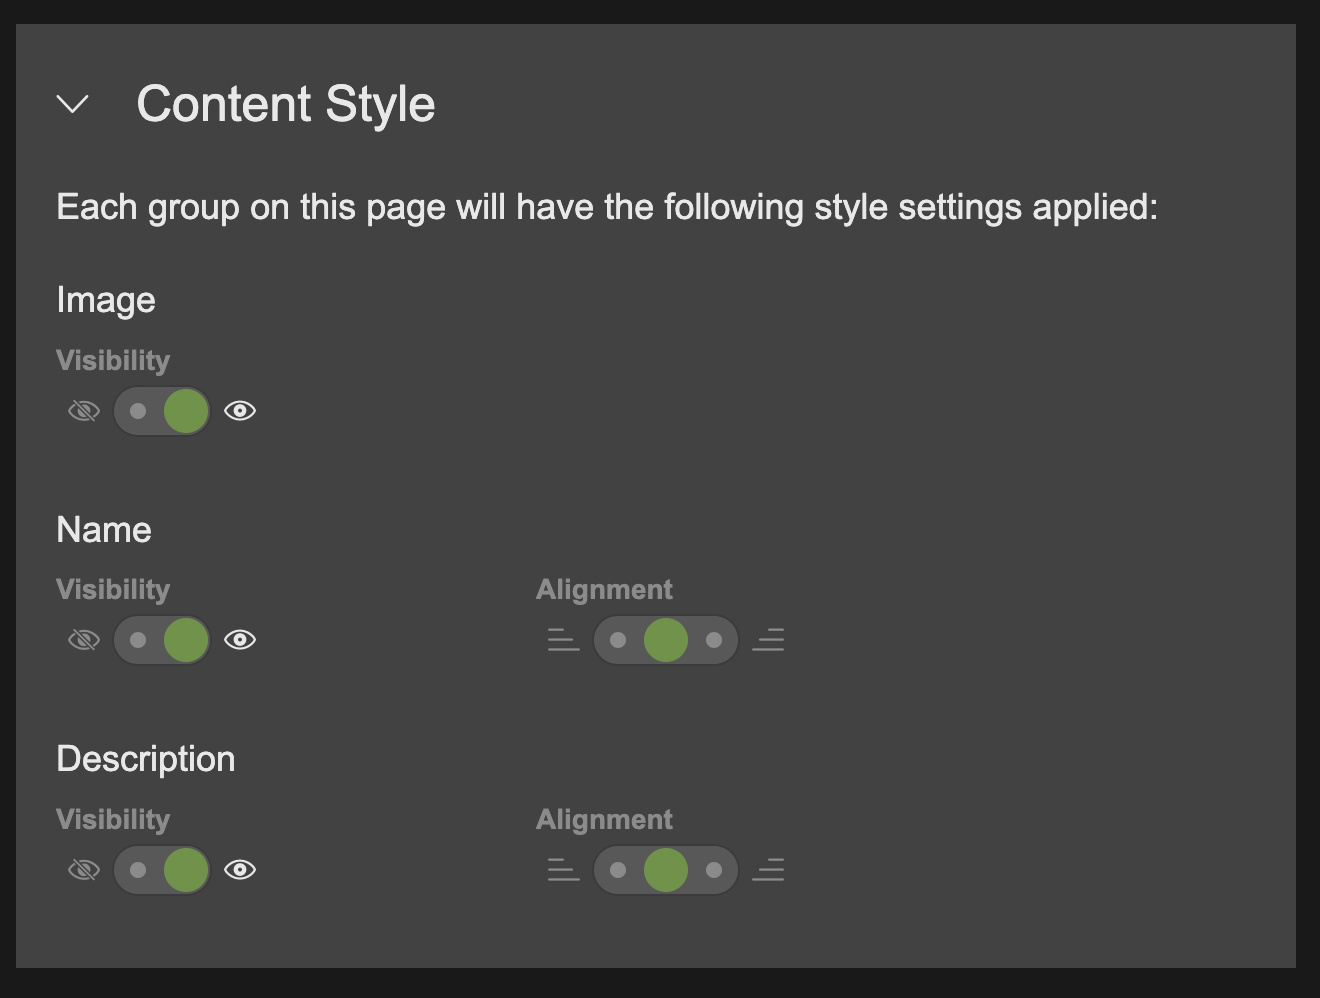
Content Style
You can edit the style settings for how Groups are displayed on your Subscription Page.
- Click the Content Style section to expand it.
- Flip the Image switch to display whether the Group image will be displayed or not.
- Flip the Name > Visibility switch to display or hide the names of a Groups.
- Switch the Name > Alignment to align the Group Names left / centre /right.
- Flip the Description > Visibility switch to display or hide the descriptions of Groups.
- Switch the Description > Alignment to align the Group descriptions to left / centre / right.
After updating a Content Style setting, the name of the style will turn blue and a broken link icon will appear. This identifies that the global setting has been overridden. Mouseover the icon and click Reset to reset the style back to the global setting.
Delete a Package, Tier, Bundle, Group, Subscription Page
Click the trashcan icon in the top right to delete the current Package, Tier, Bundle, Group or Subscription Page.
You will be asked to confirm your decision. Click Delete to confirm, or 'Cancel' to cancel the deletion and retain the Package, Tier, Bundle, Group, Subscription Page.

Deleting a Bundle, Group or Subscription page will not delete any content that had been associated with it (i.e. Tiers, Packages).
Updated 8 months ago